A fresh Unraid install communicates over unencrypted HTTP and has no connection to the update system. Before adding services, it is worth taking twenty minutes to fix both of those things. This guide walks through installing Unraid Connect, checking for OS updates, and enabling HTTPS for the web UI using a free Let’s Encrypt certificate.
Executive Summary#
We will install the Unraid Connect plugin, use it to check whether the OS is current and understand the difference between the Stable and Next update branches, then provision a free Let’s Encrypt SSL certificate through the Management Access settings page and enable HTTPS. We will also confirm SSH is enabled for terminal access. By the end, your server will be reachable over a secure HTTPS connection and connected to the Unraid update system.
Prerequisites#
| Component | Requirement |
|---|---|
| Unraid Server | Running server with array started and web UI accessible |
| Unraid Account | Free account at account.unraid.net |
| Community Applications | Installed (see Installing Essential Plugins on Unraid) |
| Network | Server connected to the internet |
Assumptions: This guide follows on from Installing Essential Plugins on Unraid. You will need a free Unraid account to link your server. If you do not have one, create one at account.unraid.net before starting.
Implementation#
Step 1: Install Unraid Connect#
Unraid Connect is the official plugin that links your server to your Unraid account. It enables OS update management and SSL certificate provisioning. It is installed through the Apps tab like any other plugin.
- Click Apps in the top navigation bar.
- Type Unraid Connect in the search bar and press Enter.
- Find the result from limetech and click Install.
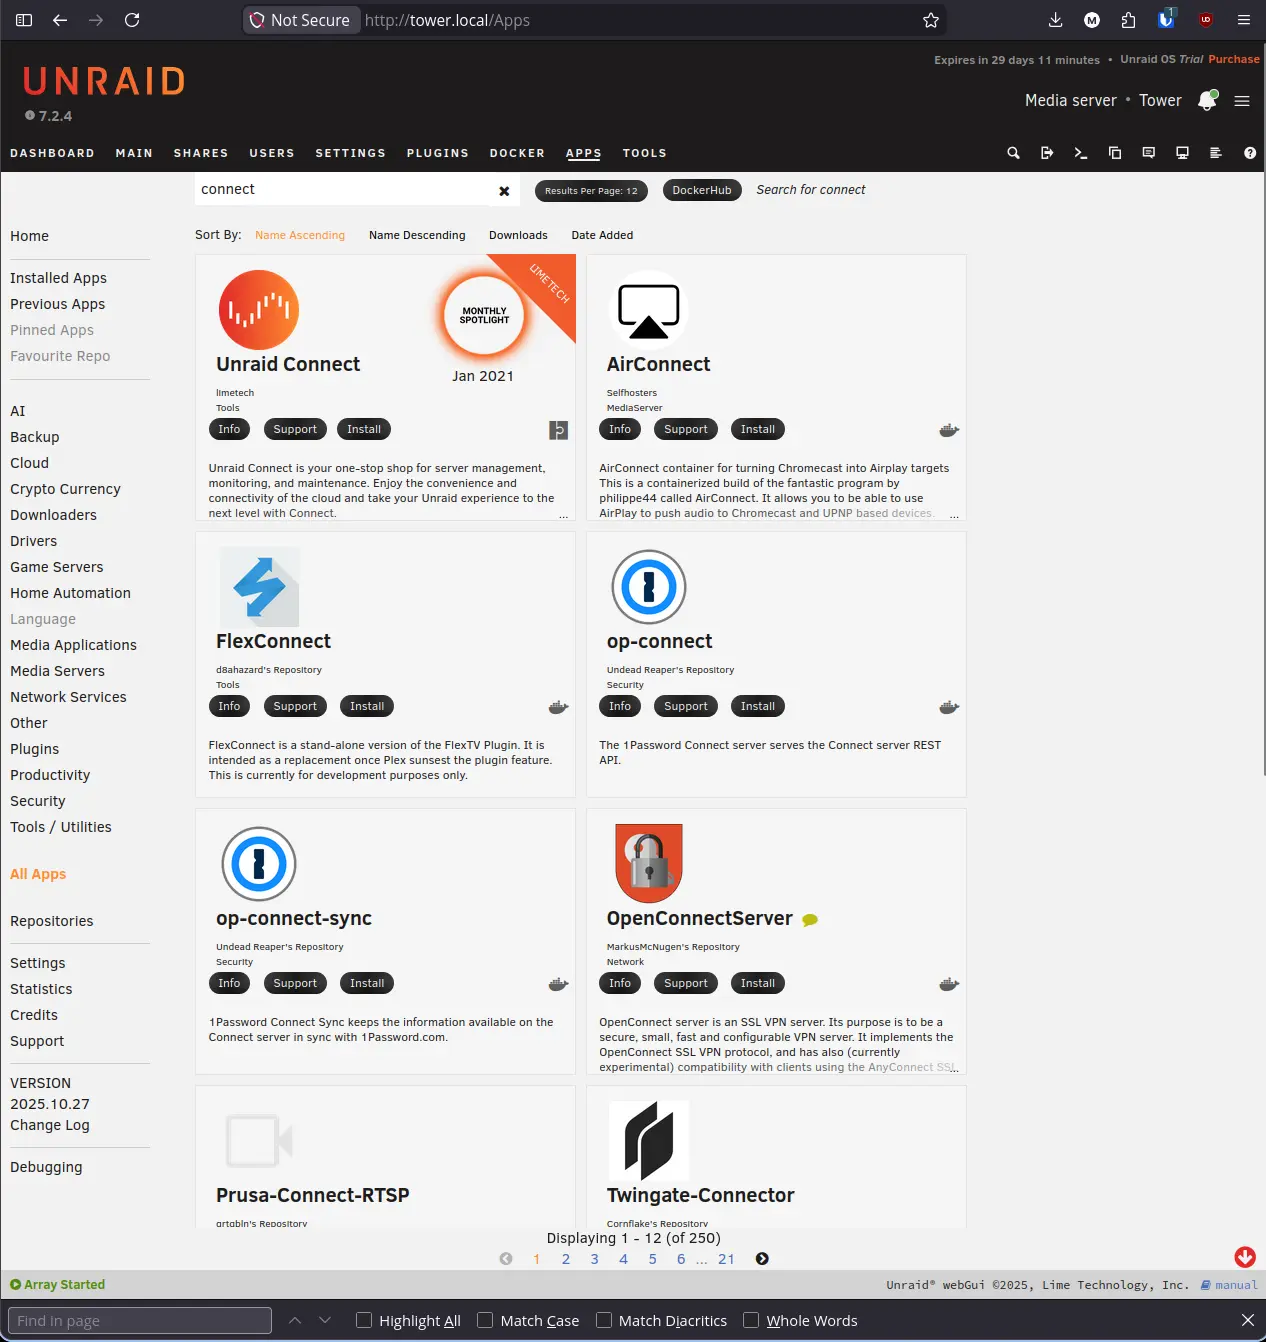
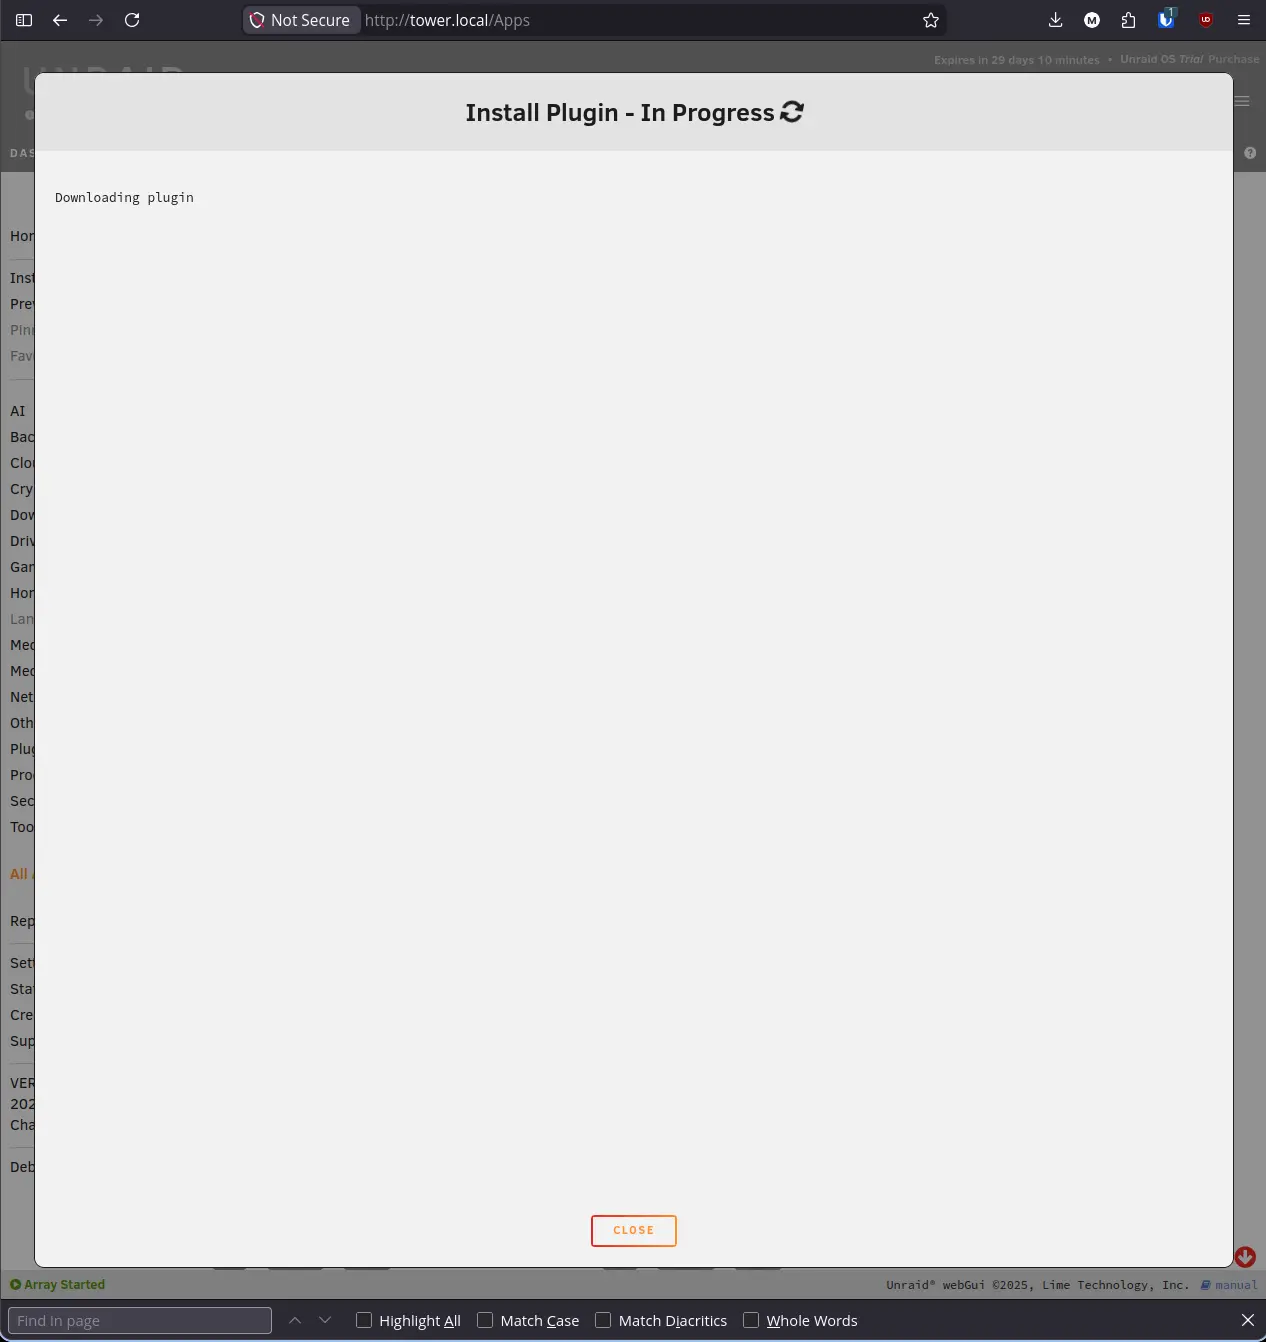
Unraid Connect is larger than most plugins because it includes a Node.js-based API service. The install takes a minute or two.
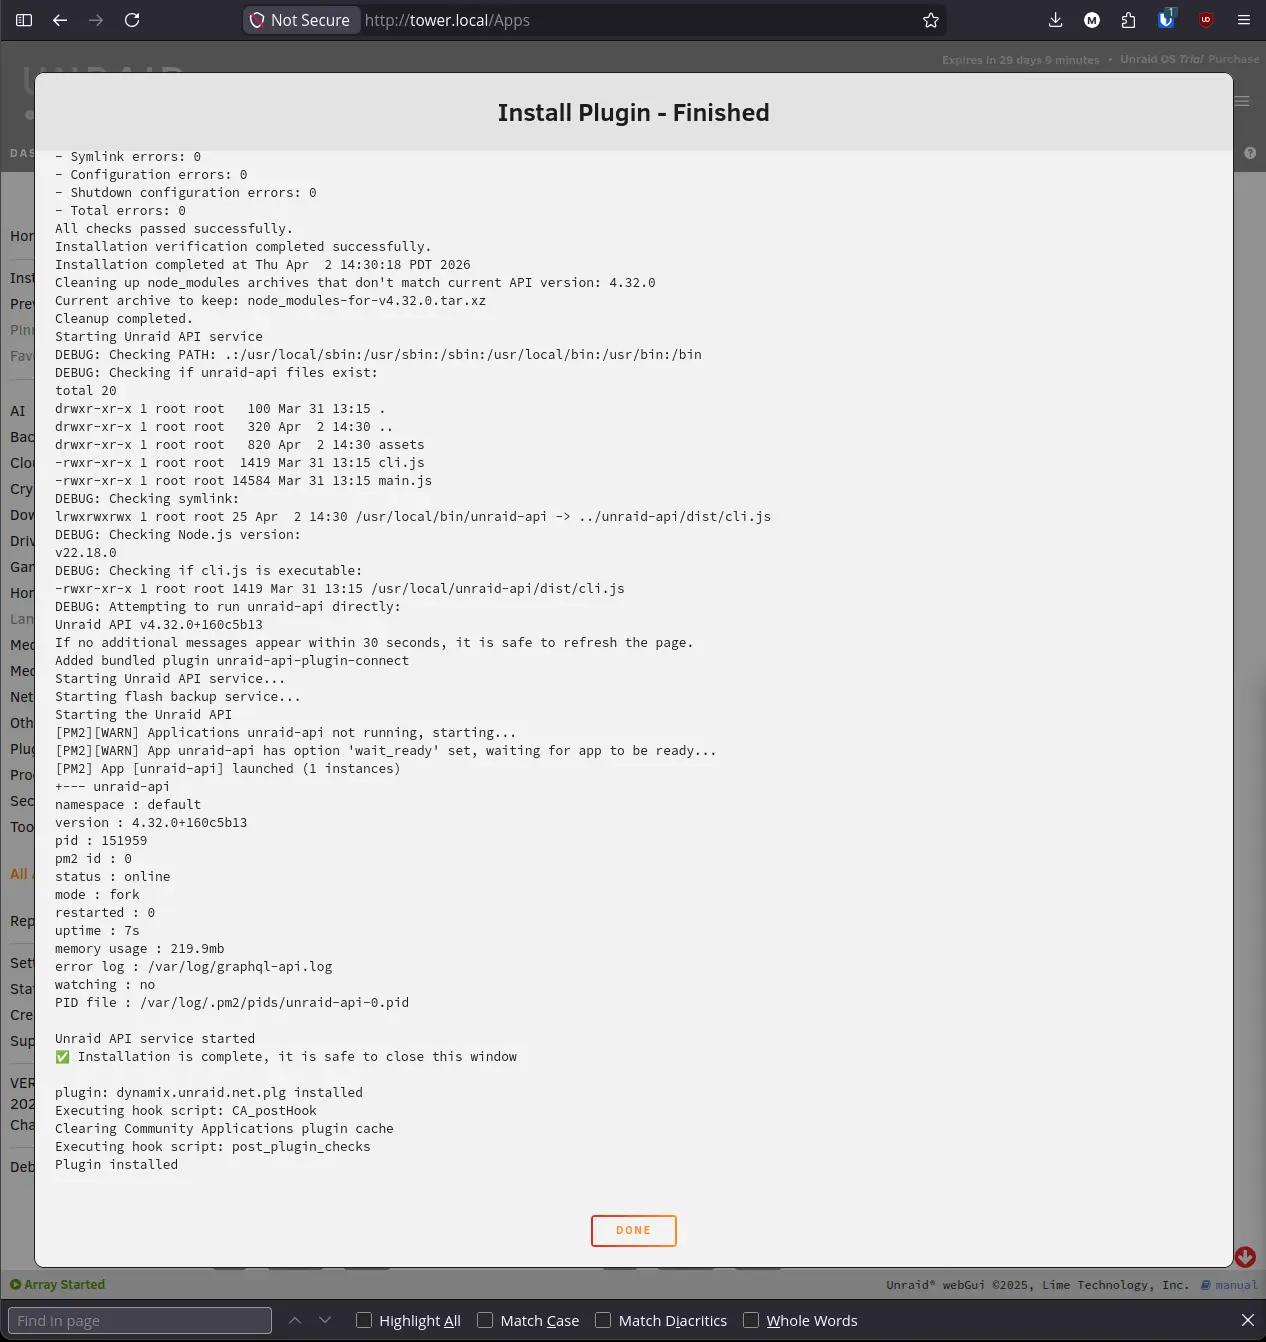
When the install finishes, the output will confirm that the Unraid API service started successfully.
Step 2: Verify the Plugin Is Listed#
Navigate to Plugins in the top navigation bar to confirm Unraid Connect is installed.
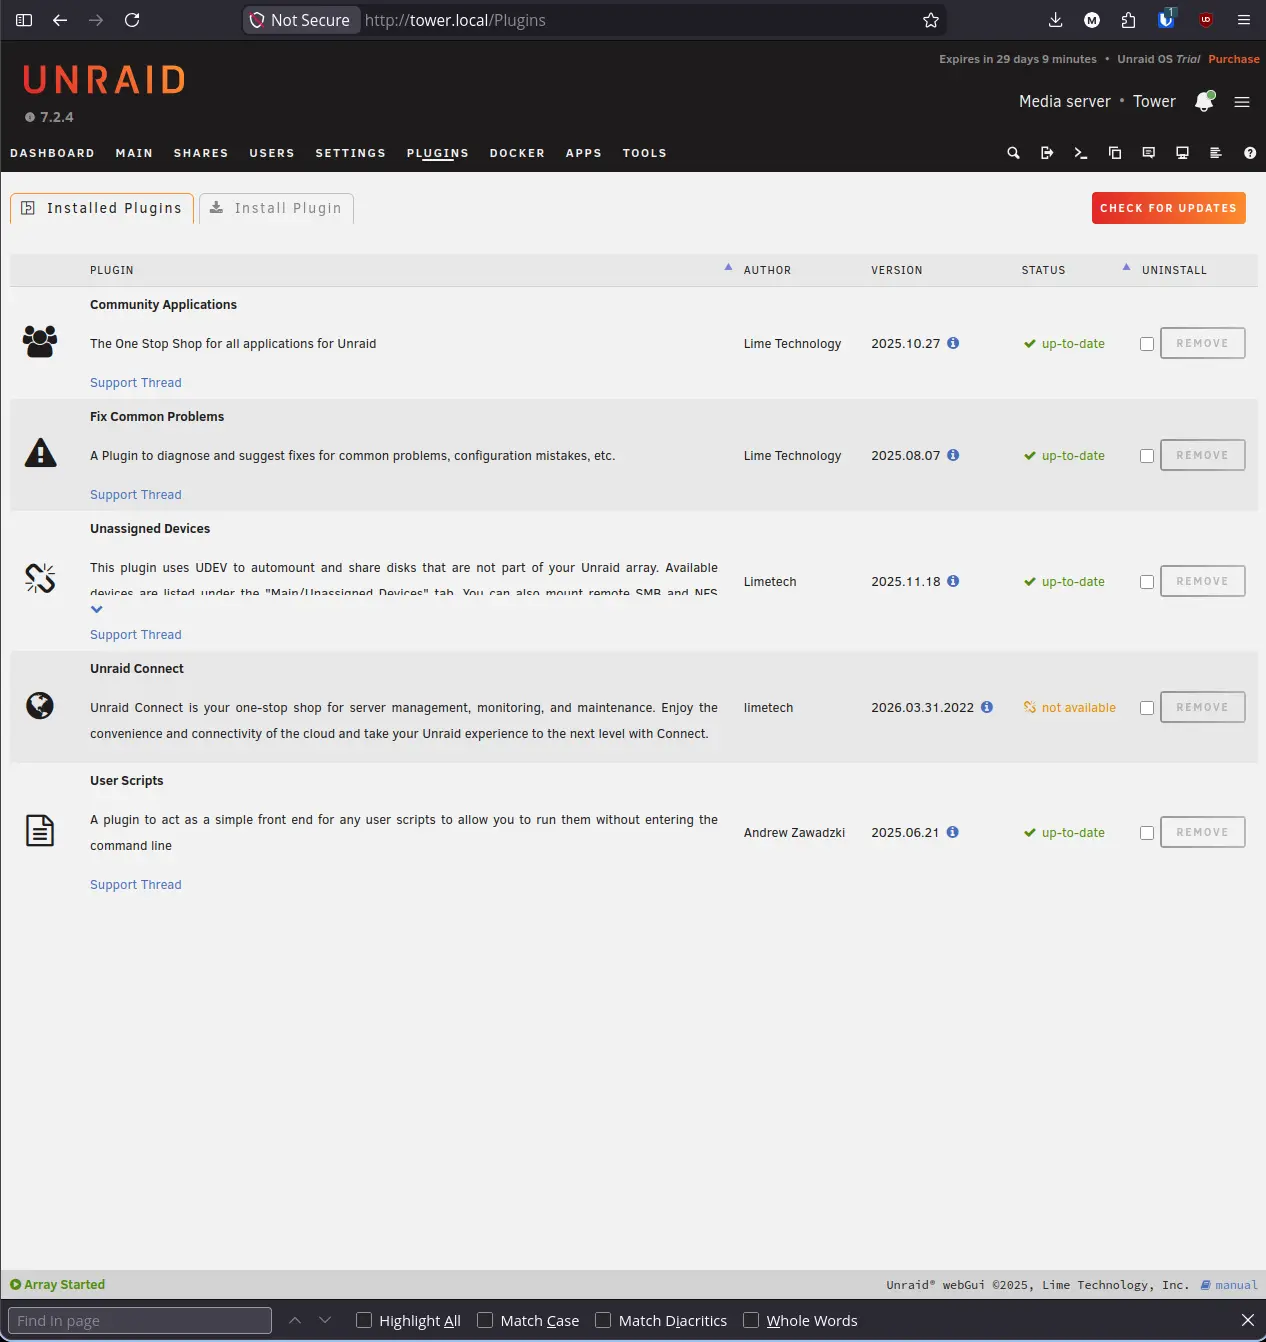
Click Check for Updates in the top right corner to verify all plugins are current.
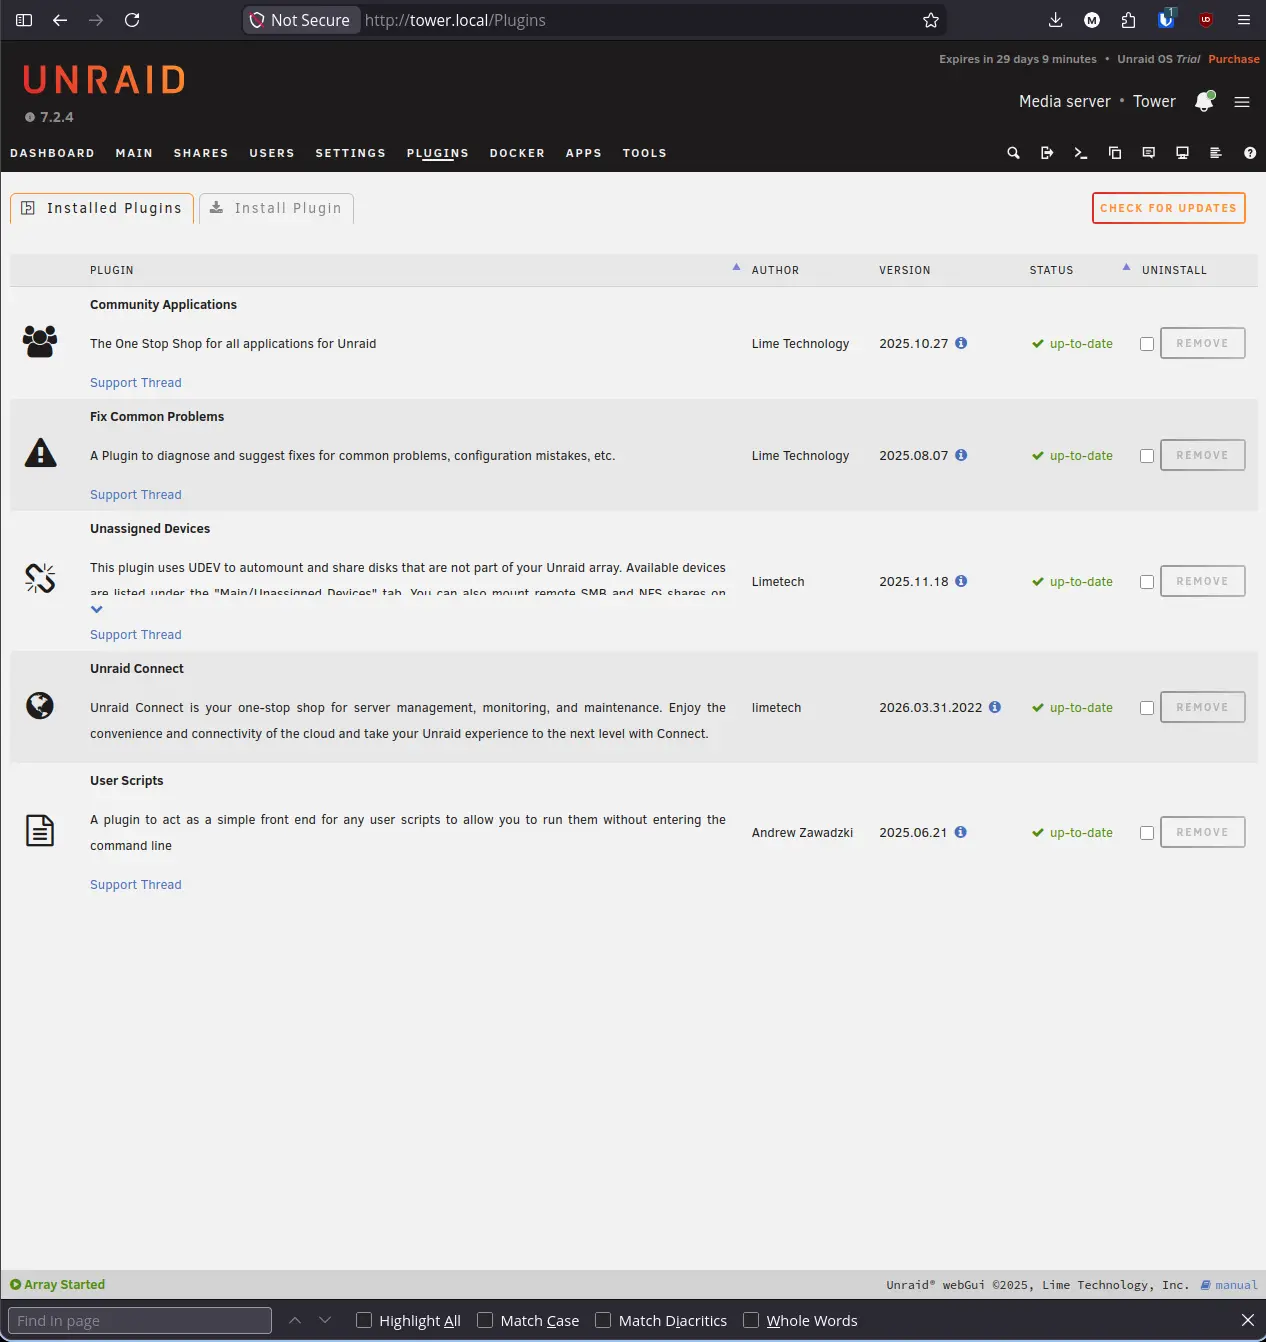
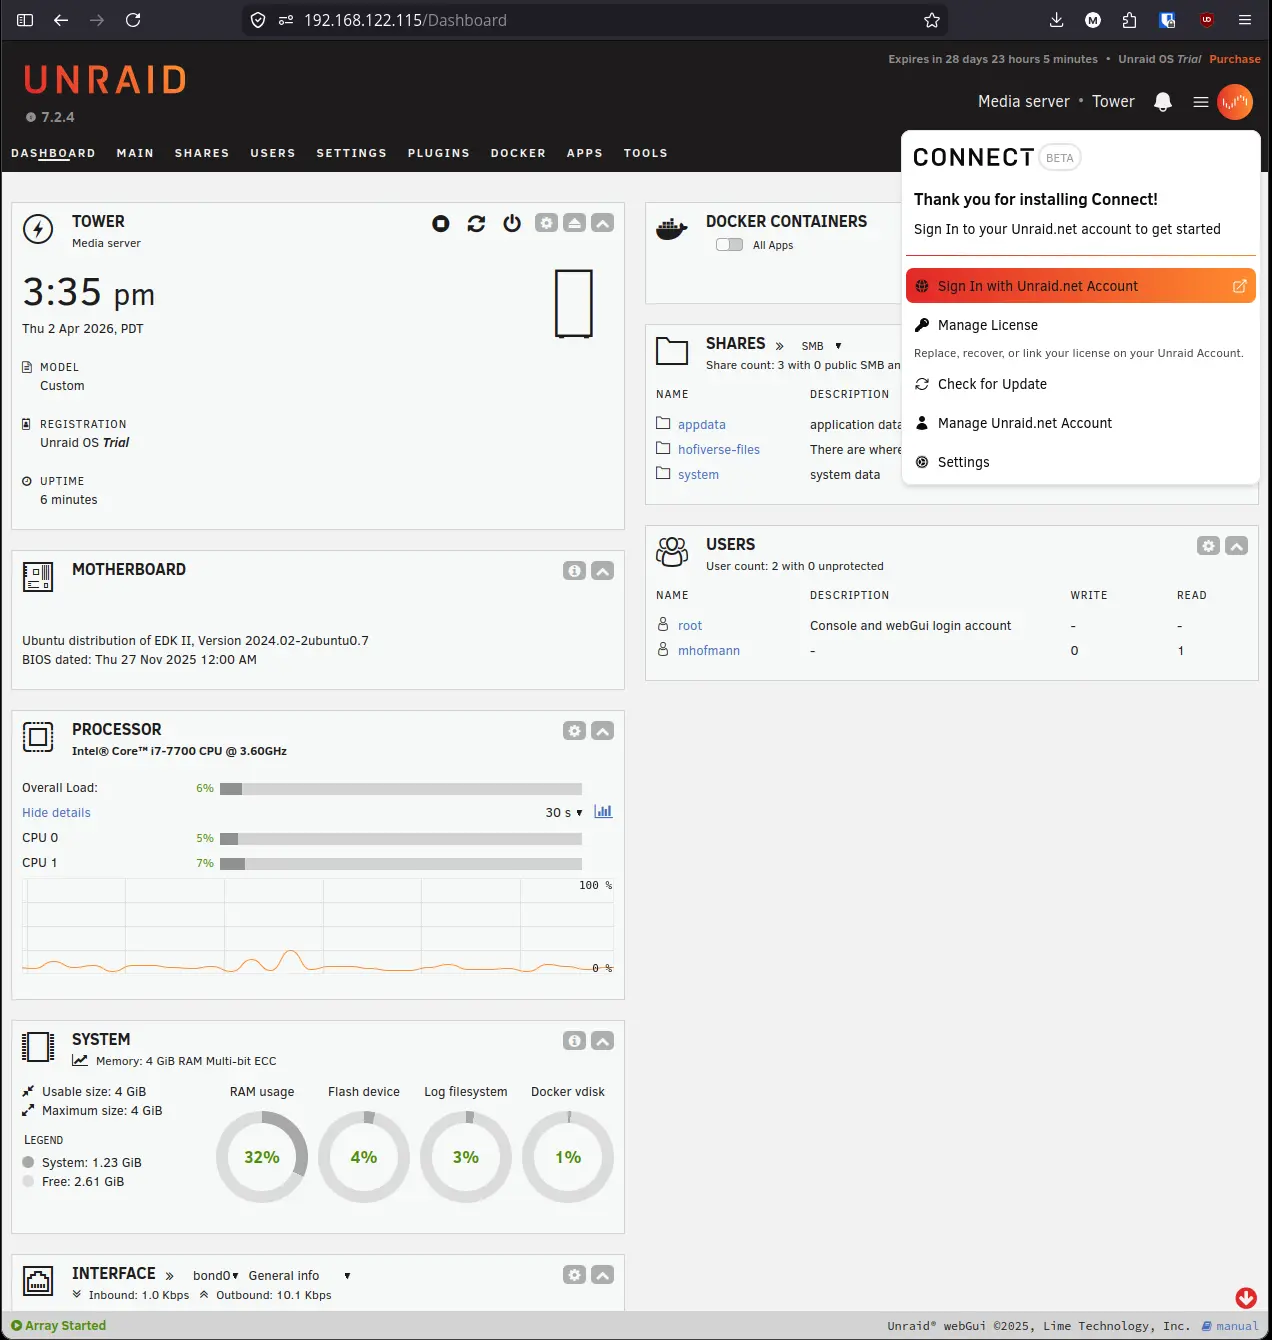
Step 3: Sign In to Your Unraid Account#
Before you can check for OS updates or provision an SSL certificate, your server needs to be linked to your Unraid account. Click the hamburger menu in the top right corner of the web UI to open the Connect panel, then click Sign In with Unraid.net Account and complete the sign-in flow in the new tab that opens.
Step 4: Check for OS Updates#
With Unraid Connect installed, the Tools tab gains access to the OS update system. This connects to your Unraid account at account.unraid.net to check for available releases.
- Click Tools in the top navigation bar.
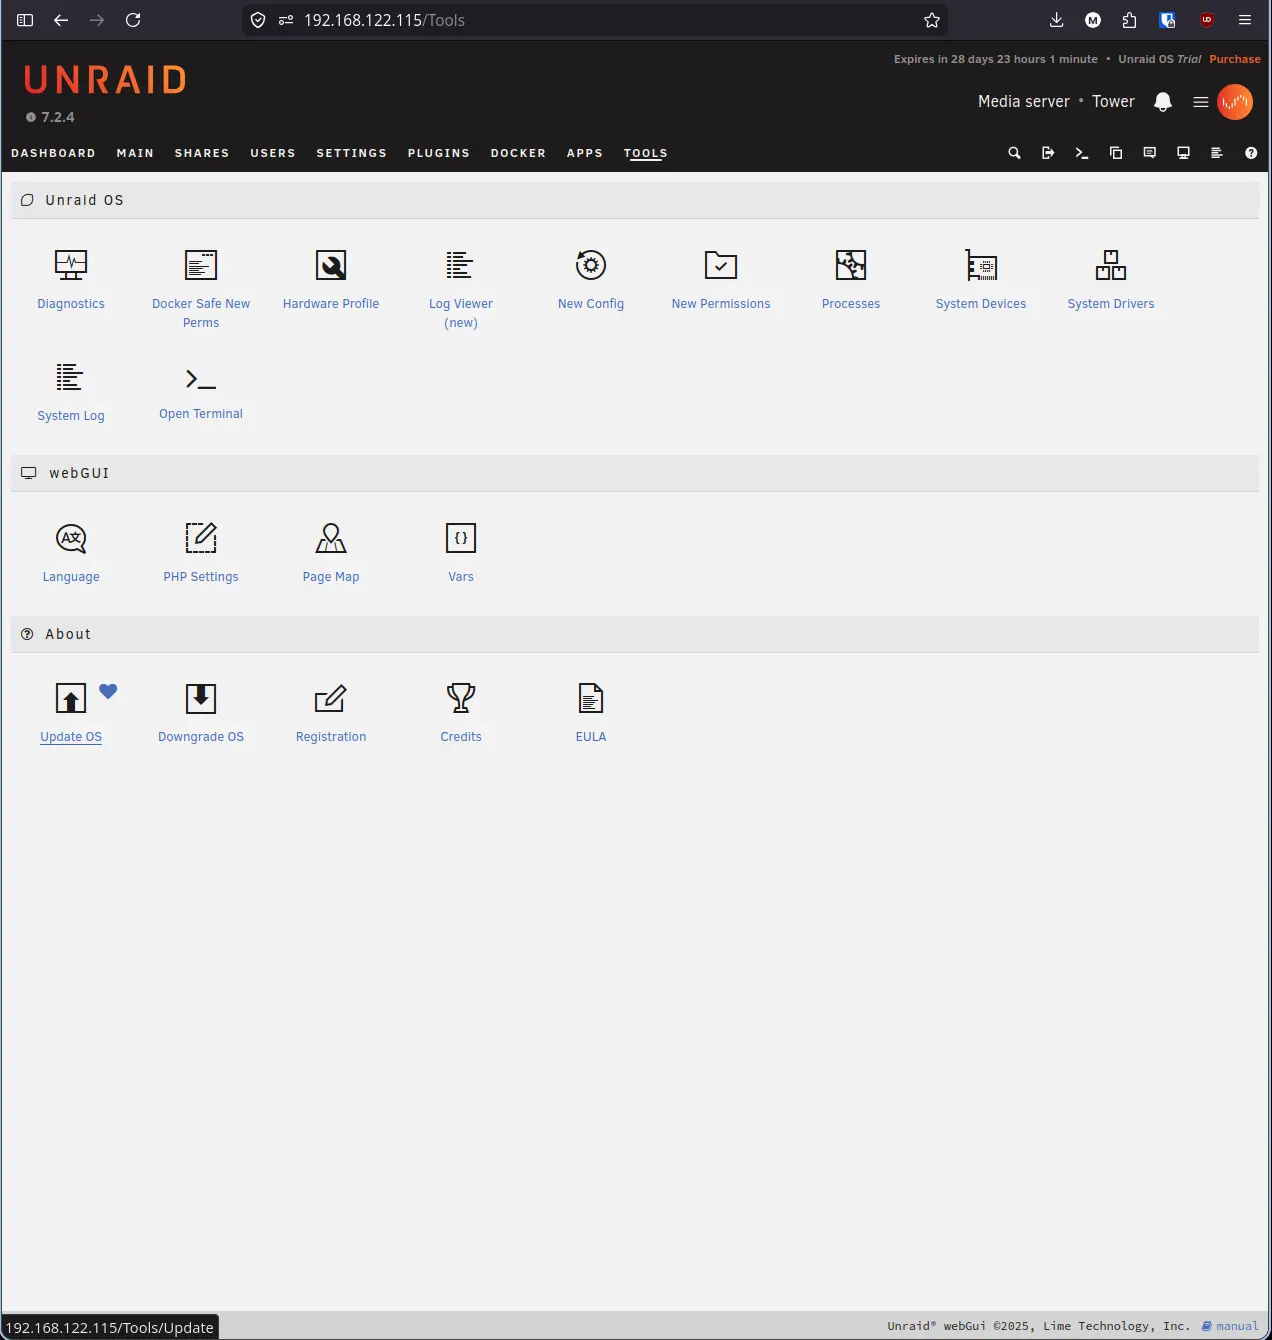
- Click Update OS.
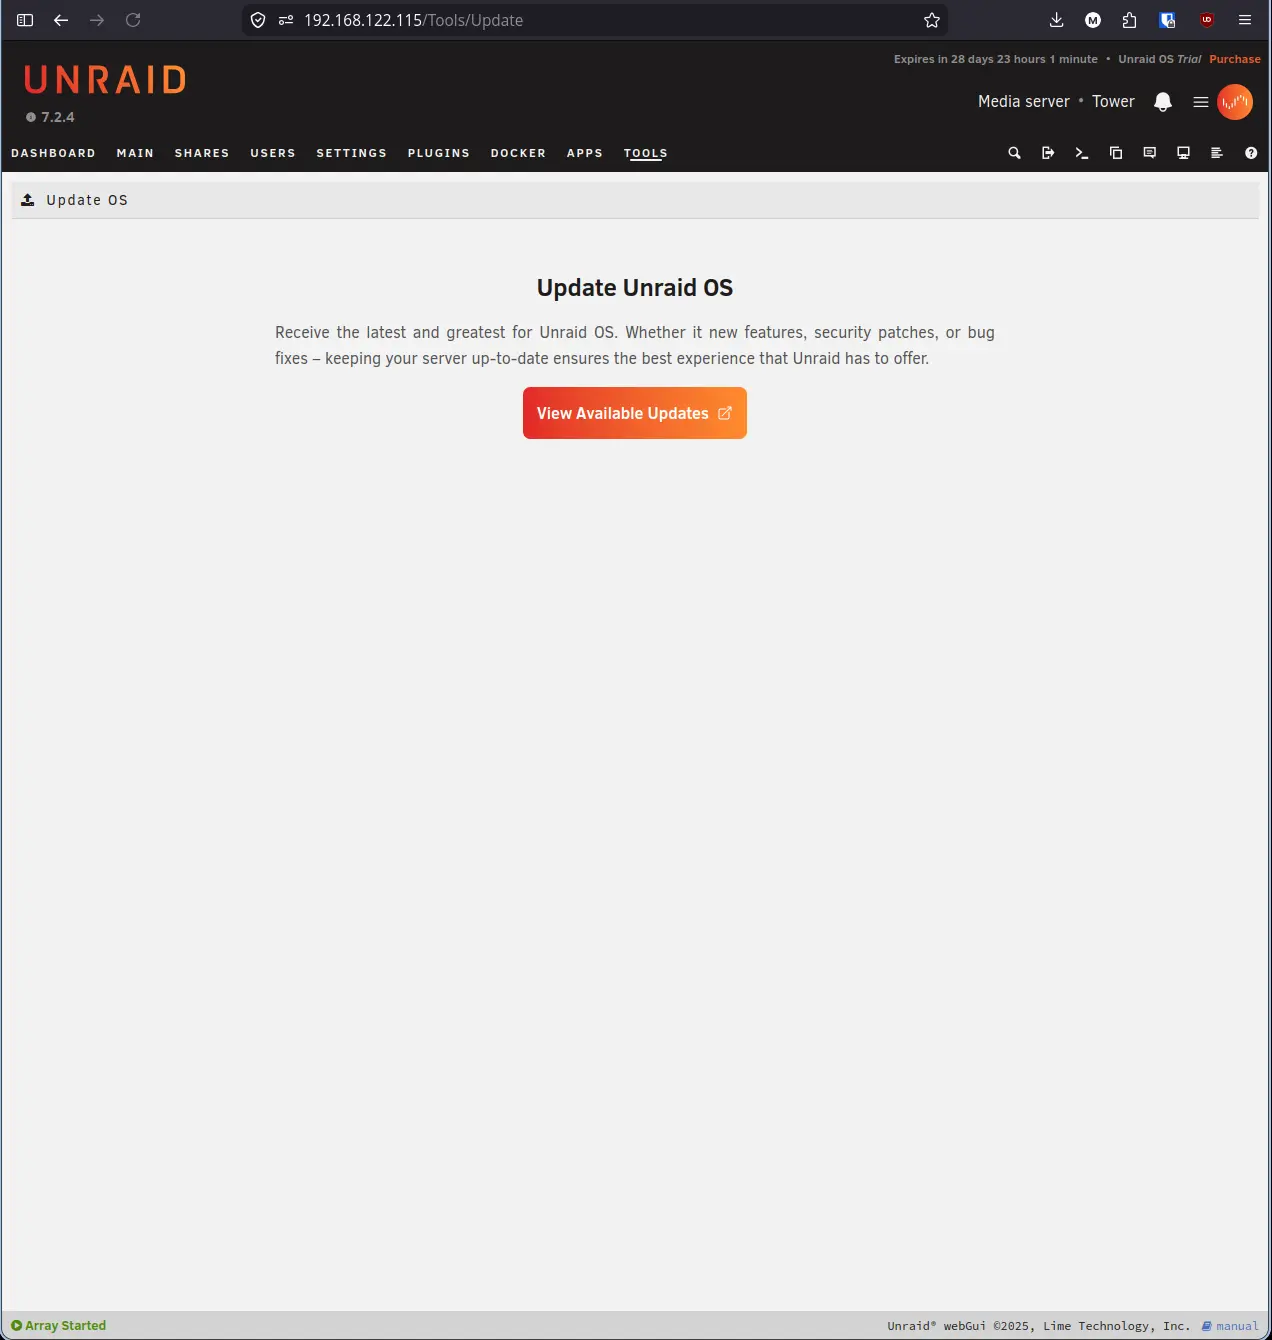
- Click View Available Updates. Your browser will open a new tab at account.unraid.net.
You will see two intermediate screens as the account app decodes the link and checks your server against the update system.
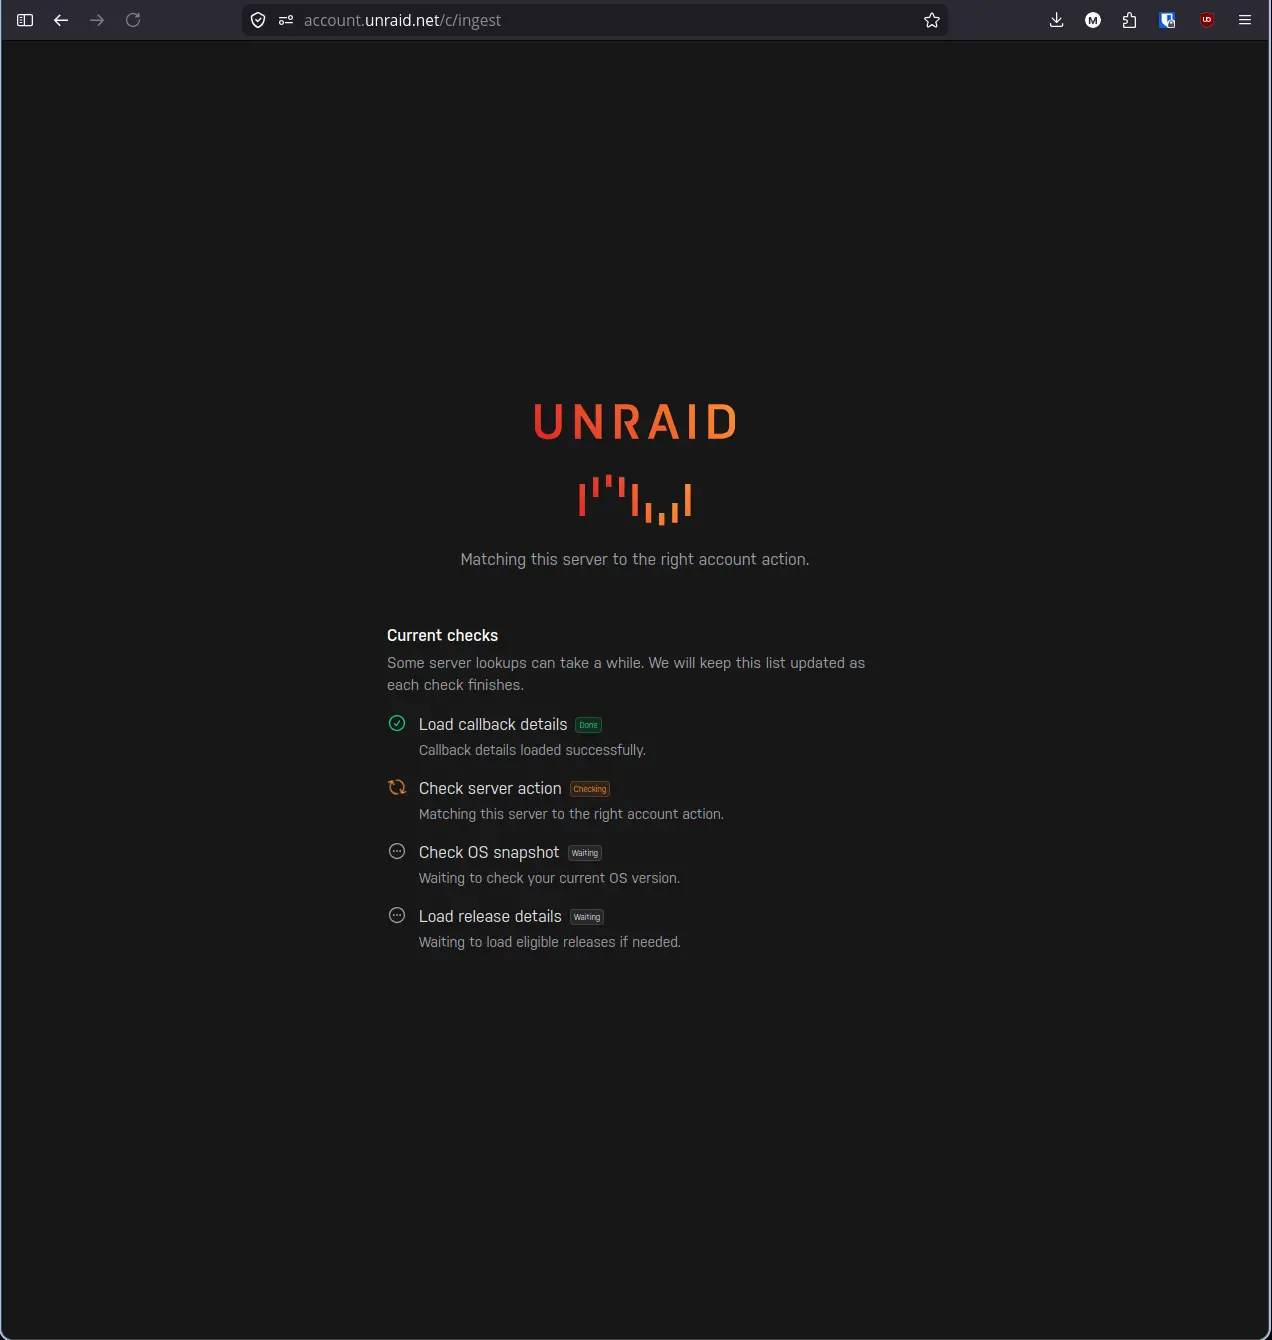
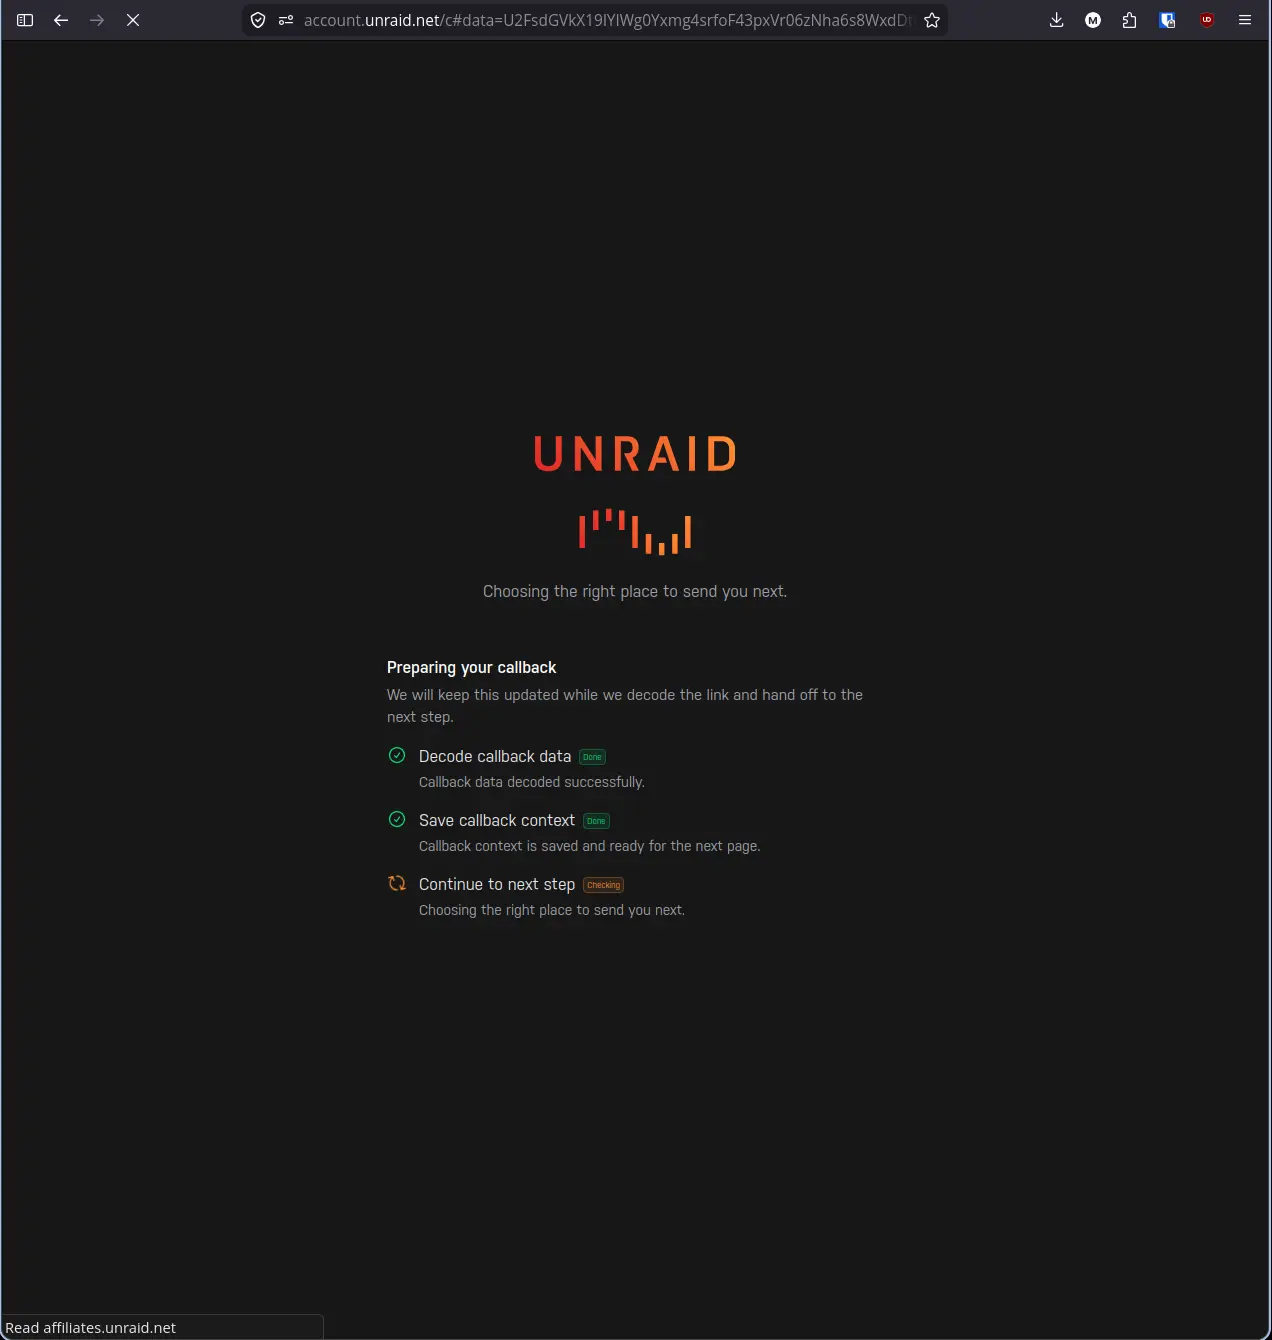
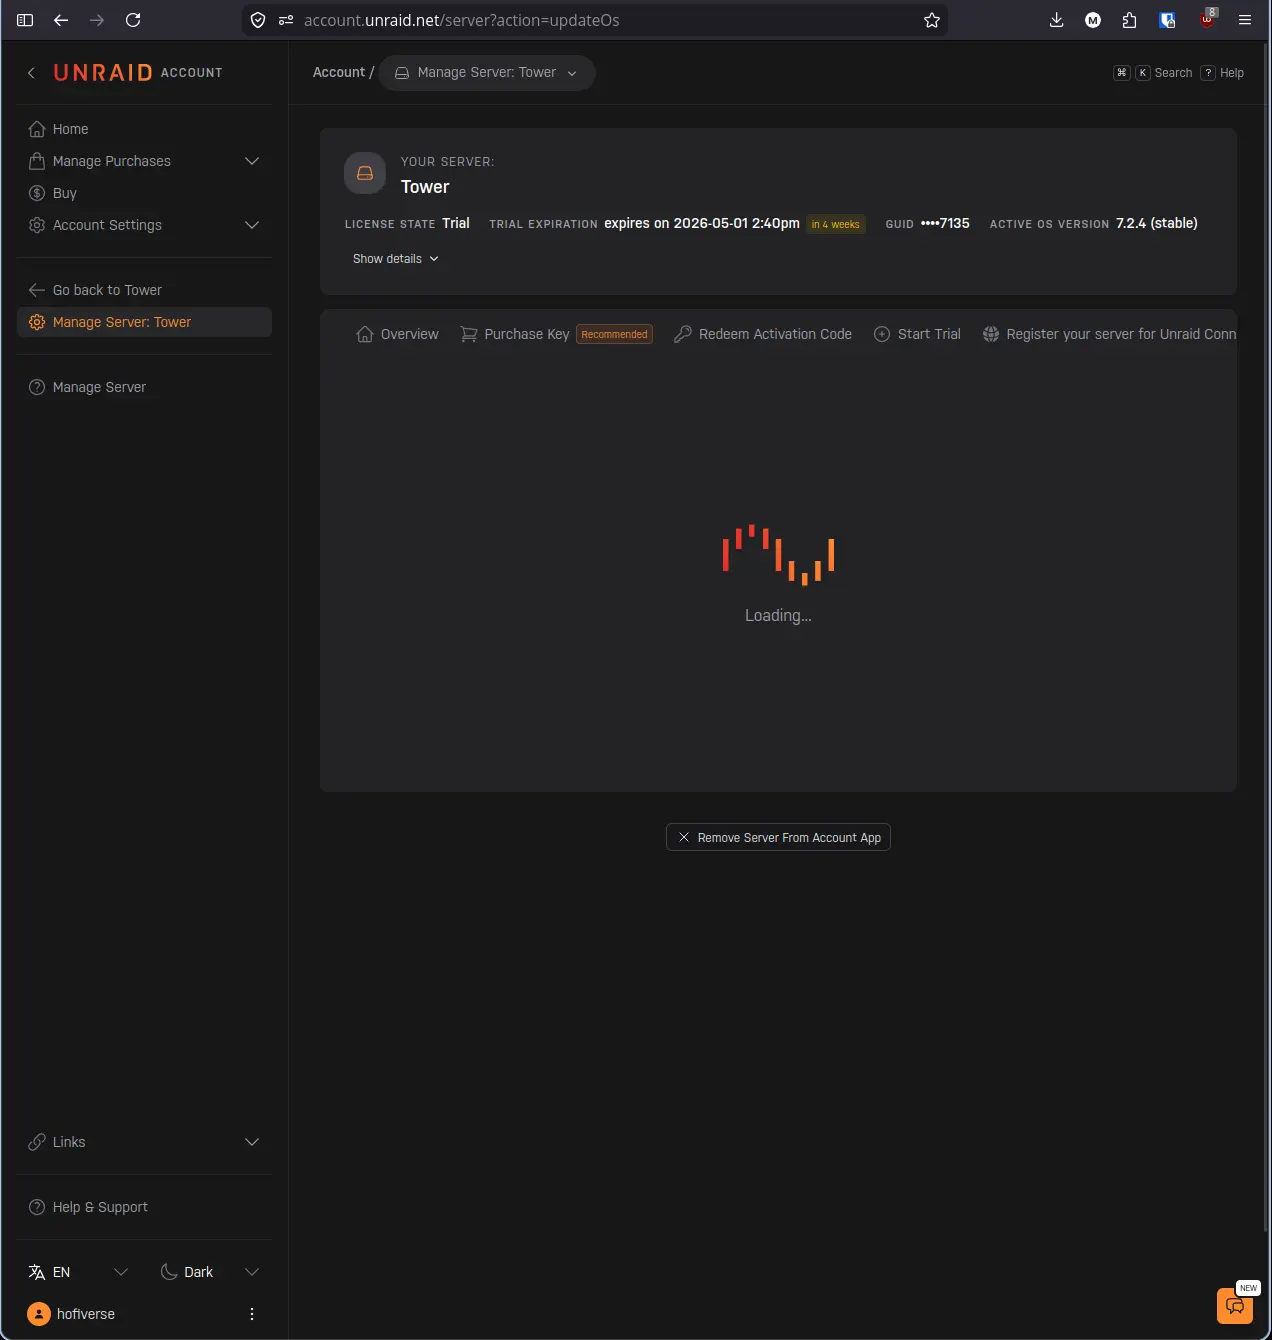
Once the checks complete, the Update OS section will load inside your Unraid account dashboard.
Step 5: Confirm You Are on the Stable Branch#
The Update OS page has two tabs: Stable and Next. Always stay on the Stable tab for a home lab server.
- Click the Stable tab if it is not already selected.
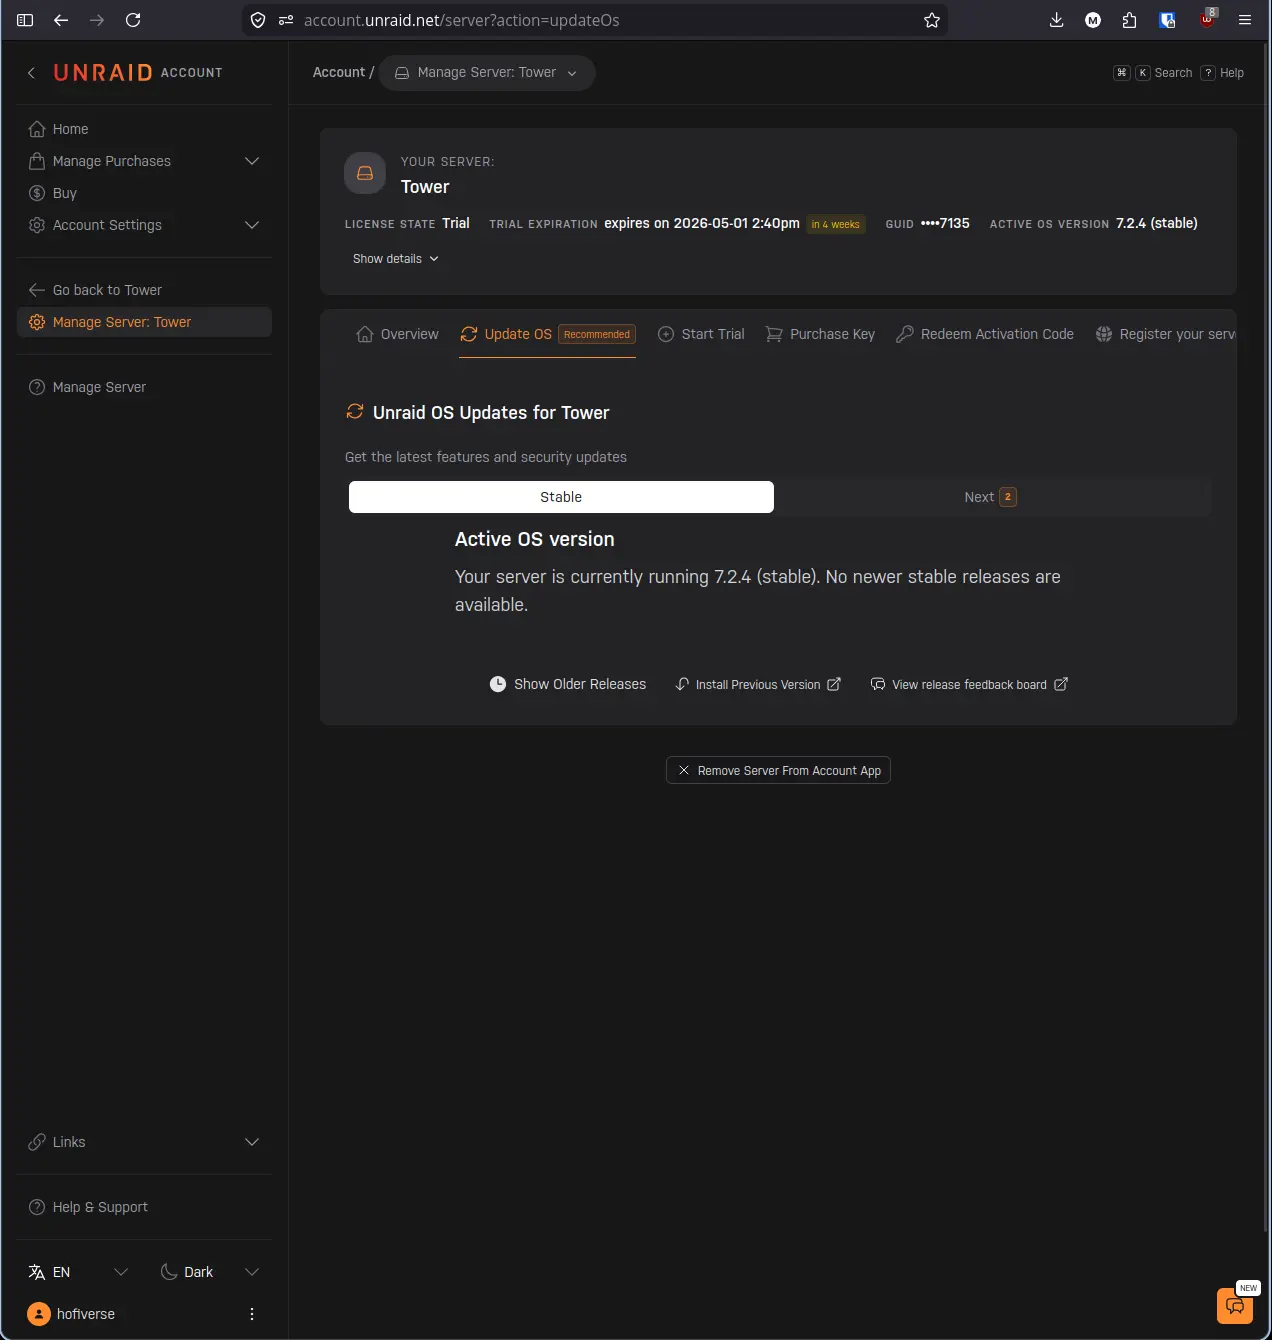
Note: The Next tab shows pre-release builds intended for testing. These may contain bugs or incomplete features and should not be used on a server you rely on. If you see a badge on the Next tab showing a newer version number, ignore it.
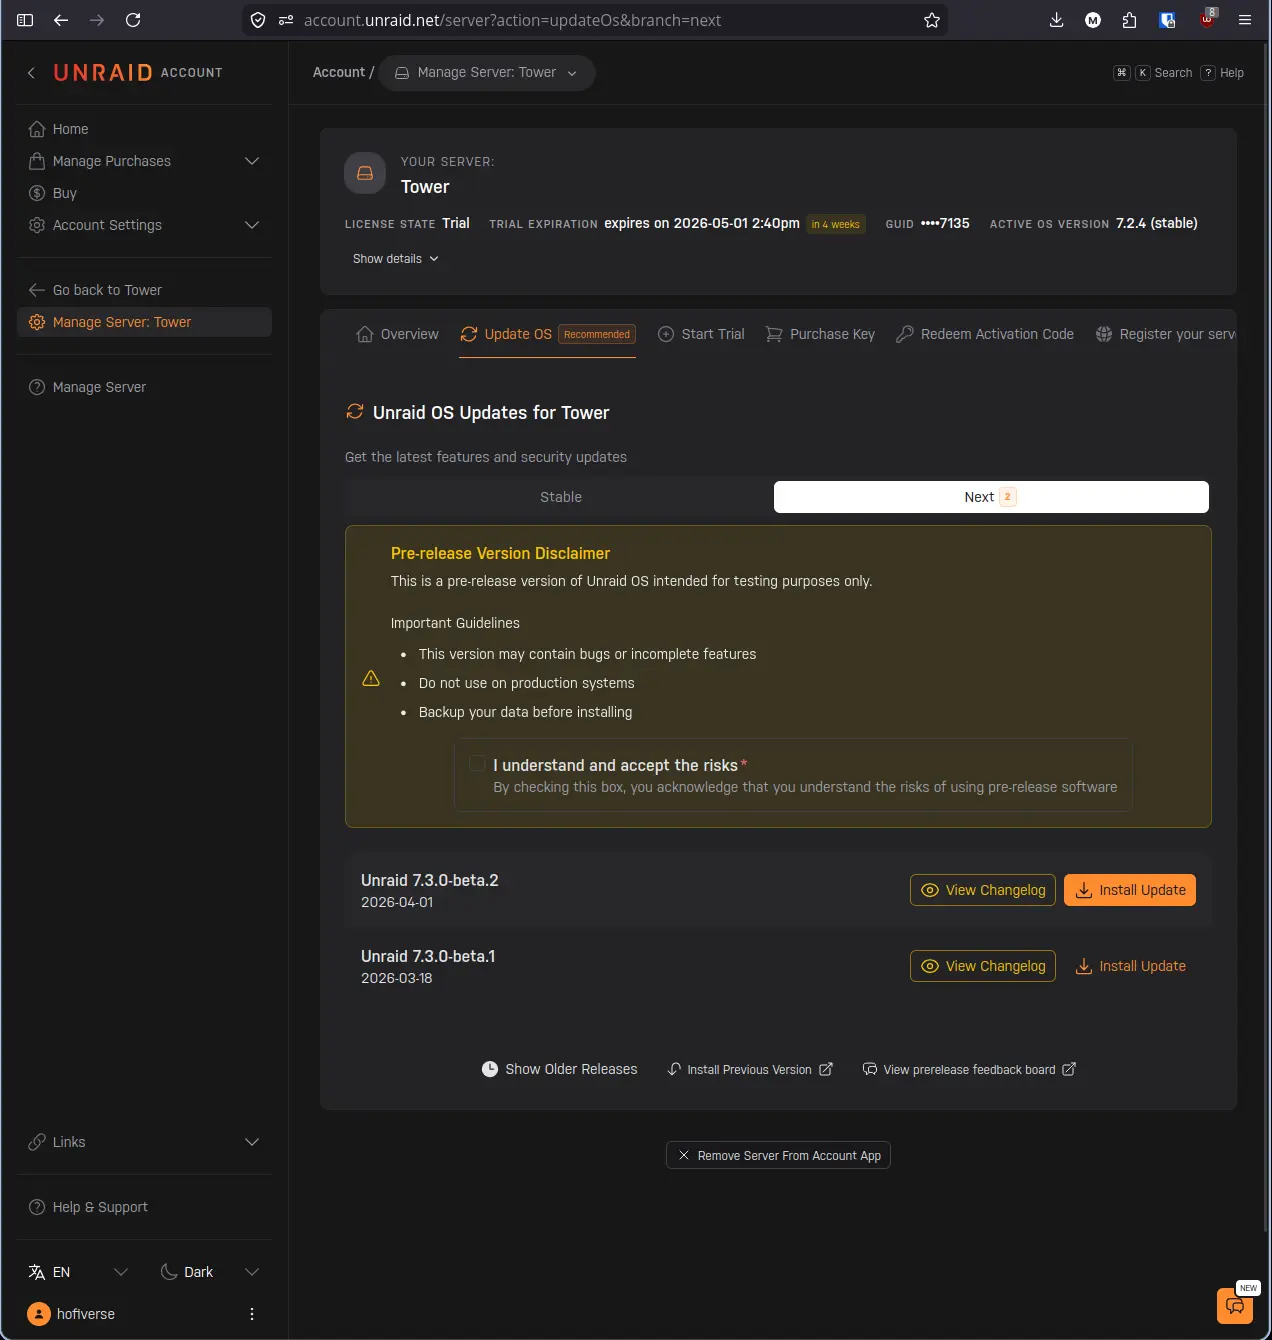
If the Stable tab shows a newer version available, click Install Update and allow the server to reboot. Come back to this guide after the update completes.
Note: While you are in the account app, the server header at the top shows your license state, GUID, and active OS version. This is also where you manage your license key if you are upgrading from a trial to a paid license.
Step 6: Provision an SSL Certificate#
By default, Unraid uses unencrypted HTTP. Provisioning a free Let’s Encrypt certificate through Management Access gives your server a trusted HTTPS connection using a unique myunraid.net subdomain tied to your server’s GUID.
- Click Settings in the top navigation bar.
- Click Management Access.
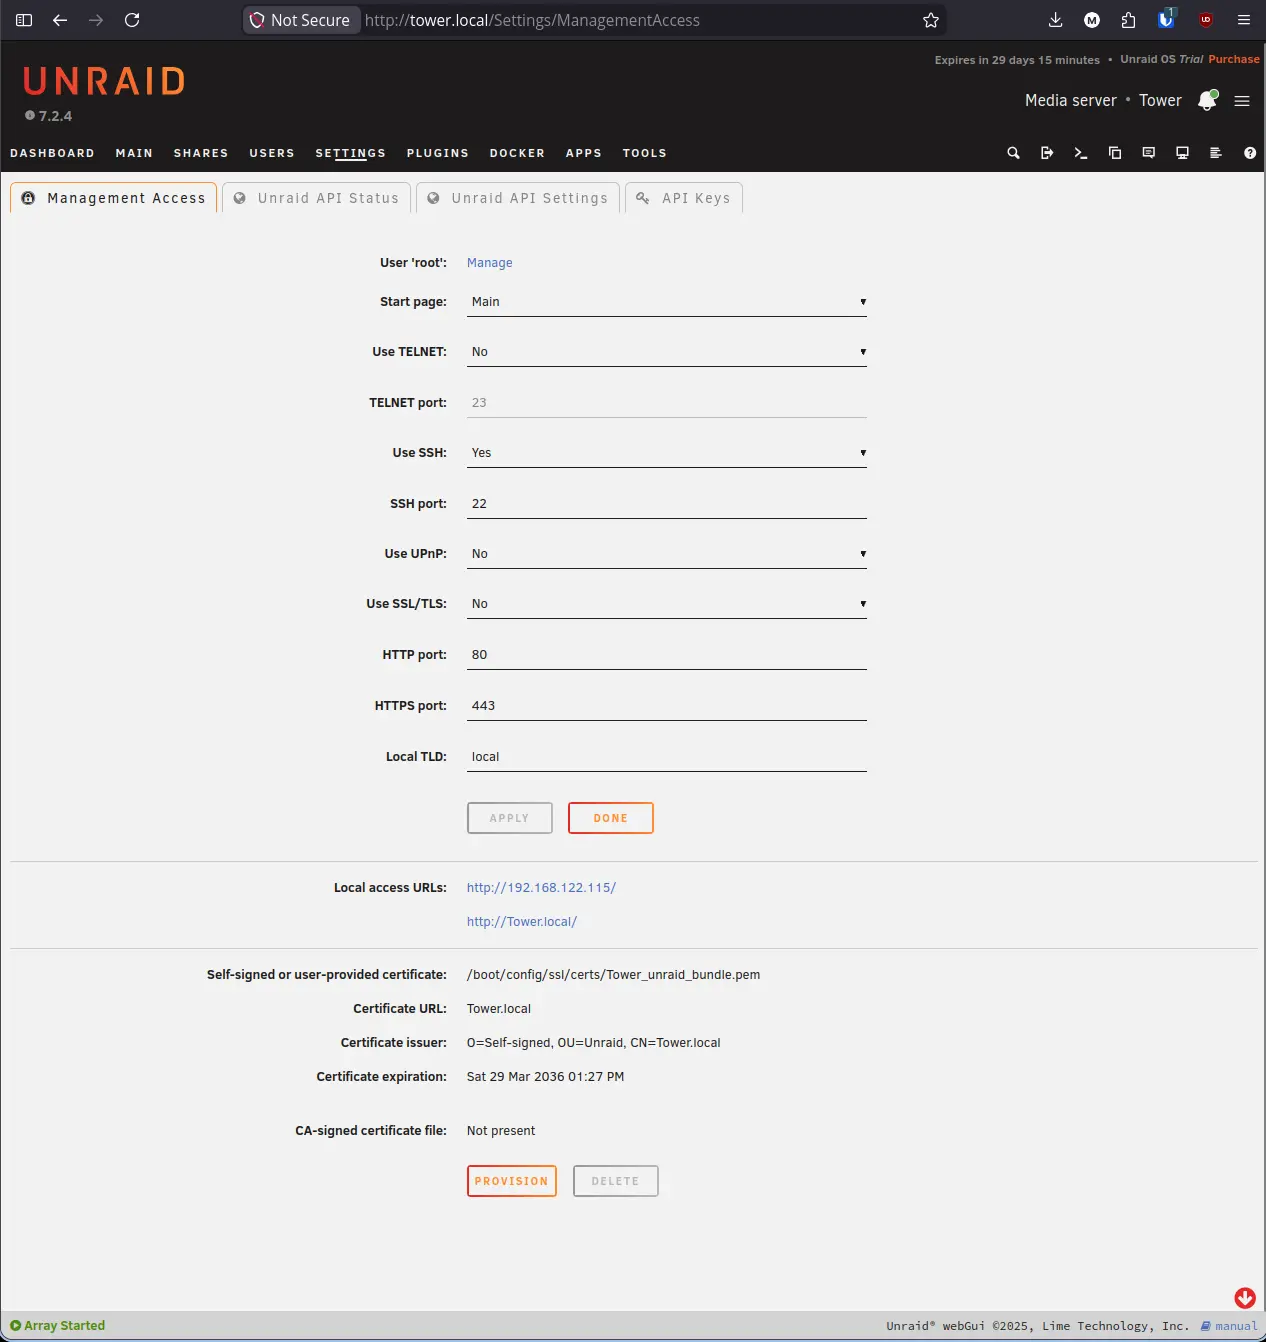
- Scroll to the bottom of the page and click Provision.
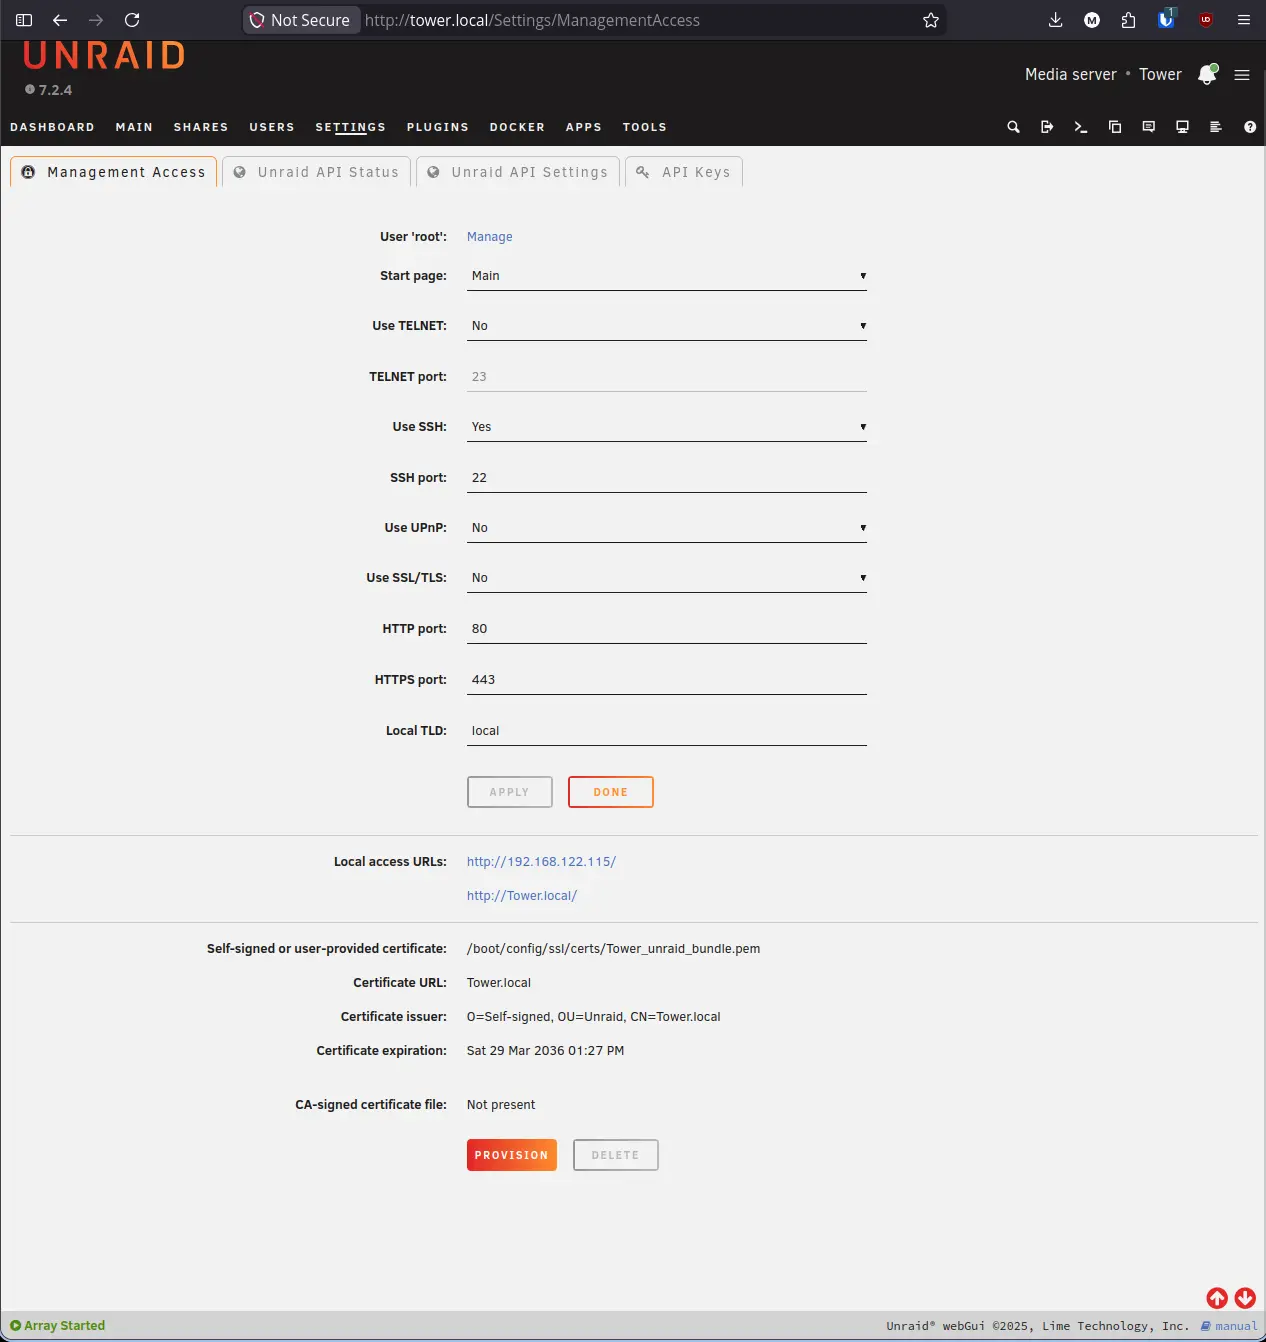
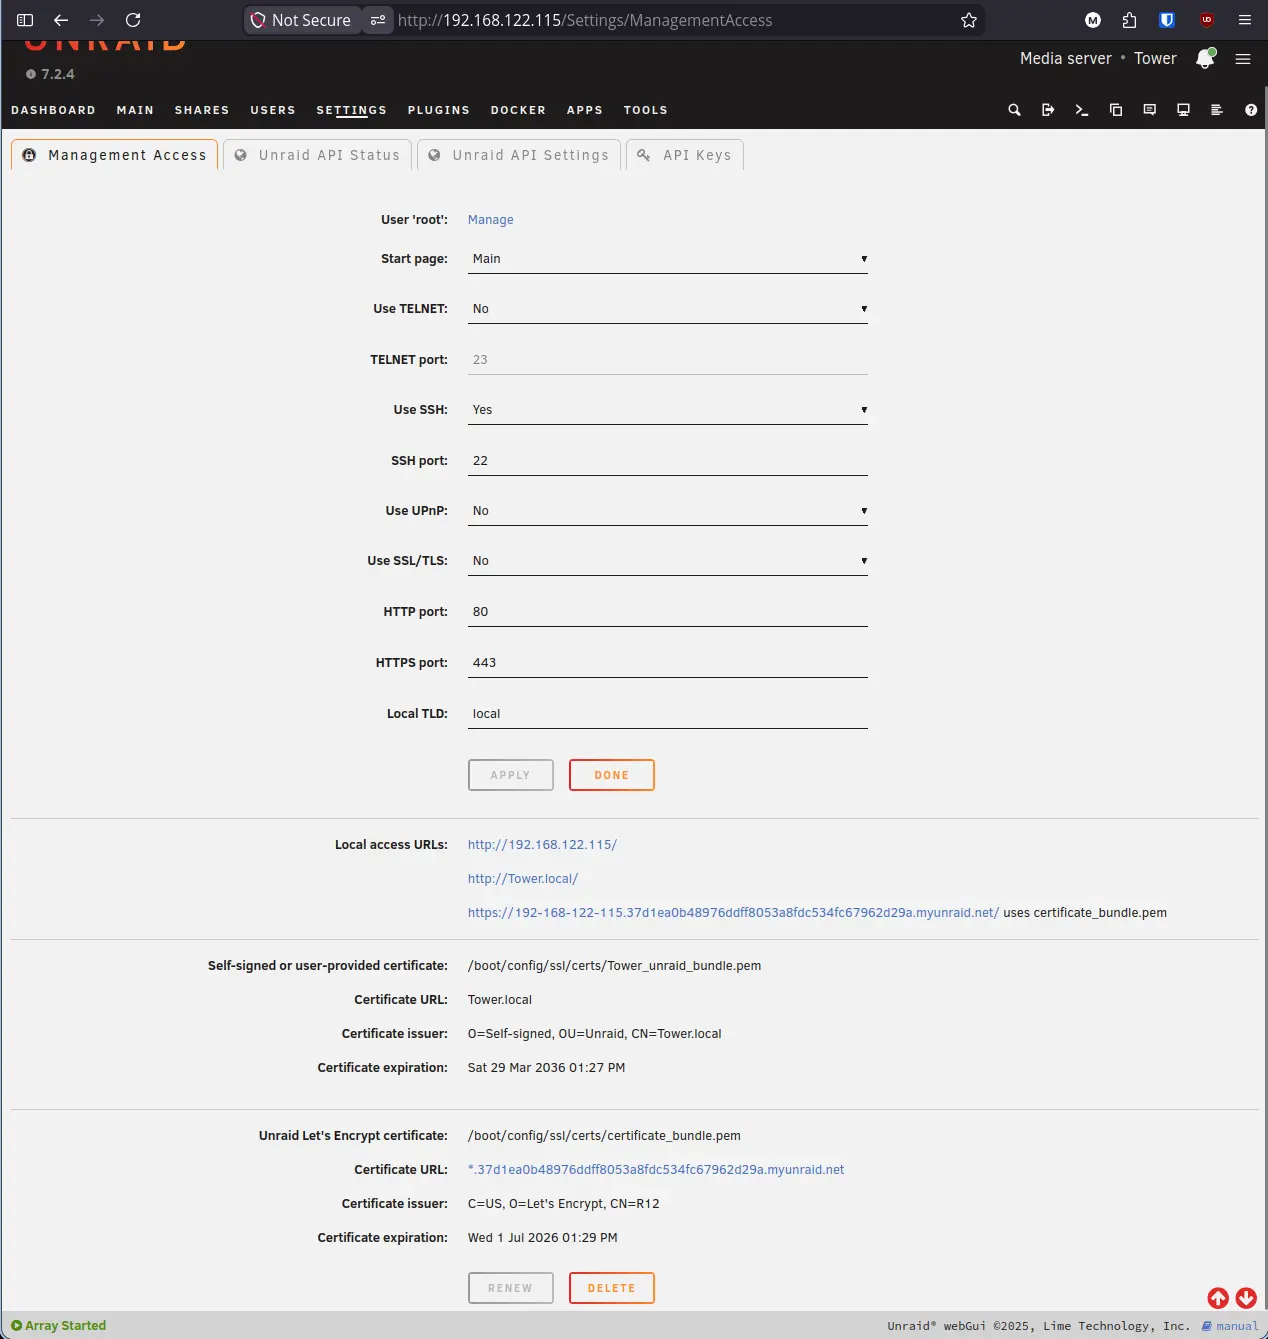
Unraid will contact Let’s Encrypt and generate a certificate tied to your server’s GUID. This takes about 30 seconds. When it finishes, the page will update to show the new certificate details and your myunraid.net URL will appear in the Local Access URLs section.
Step 7: Enable HTTPS#
With the certificate provisioned, scroll back up and enable SSL/TLS.
- Click the Use SSL/TLS dropdown.
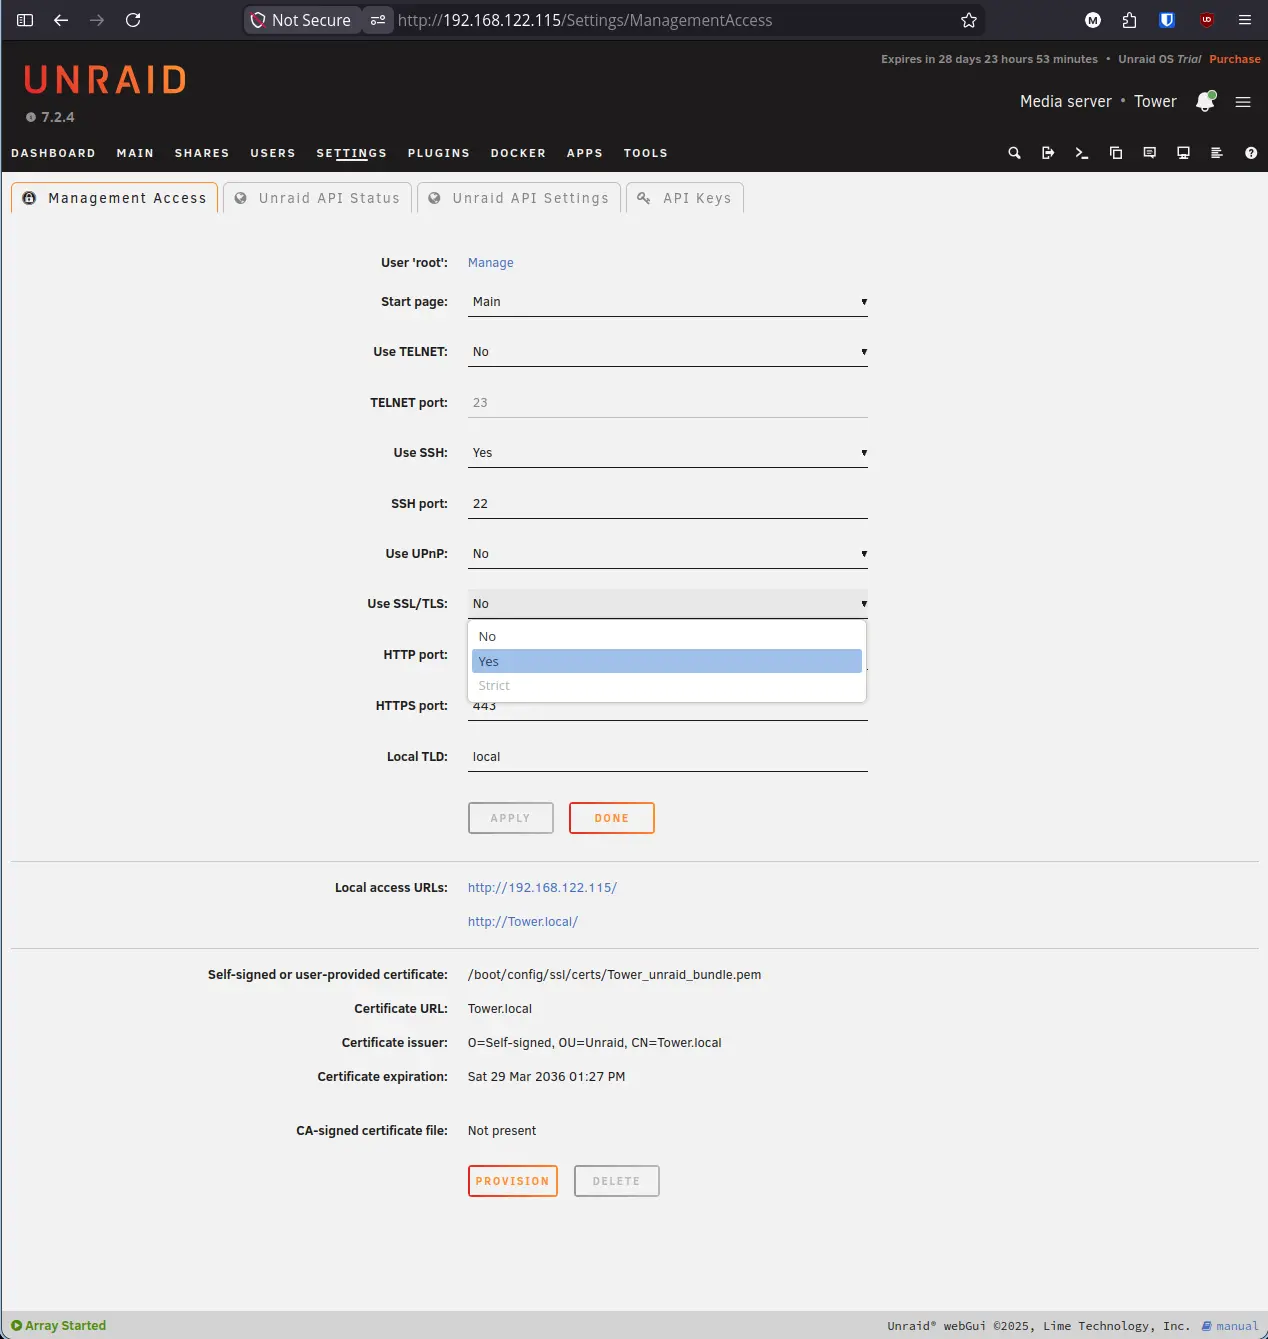
- Select Yes.
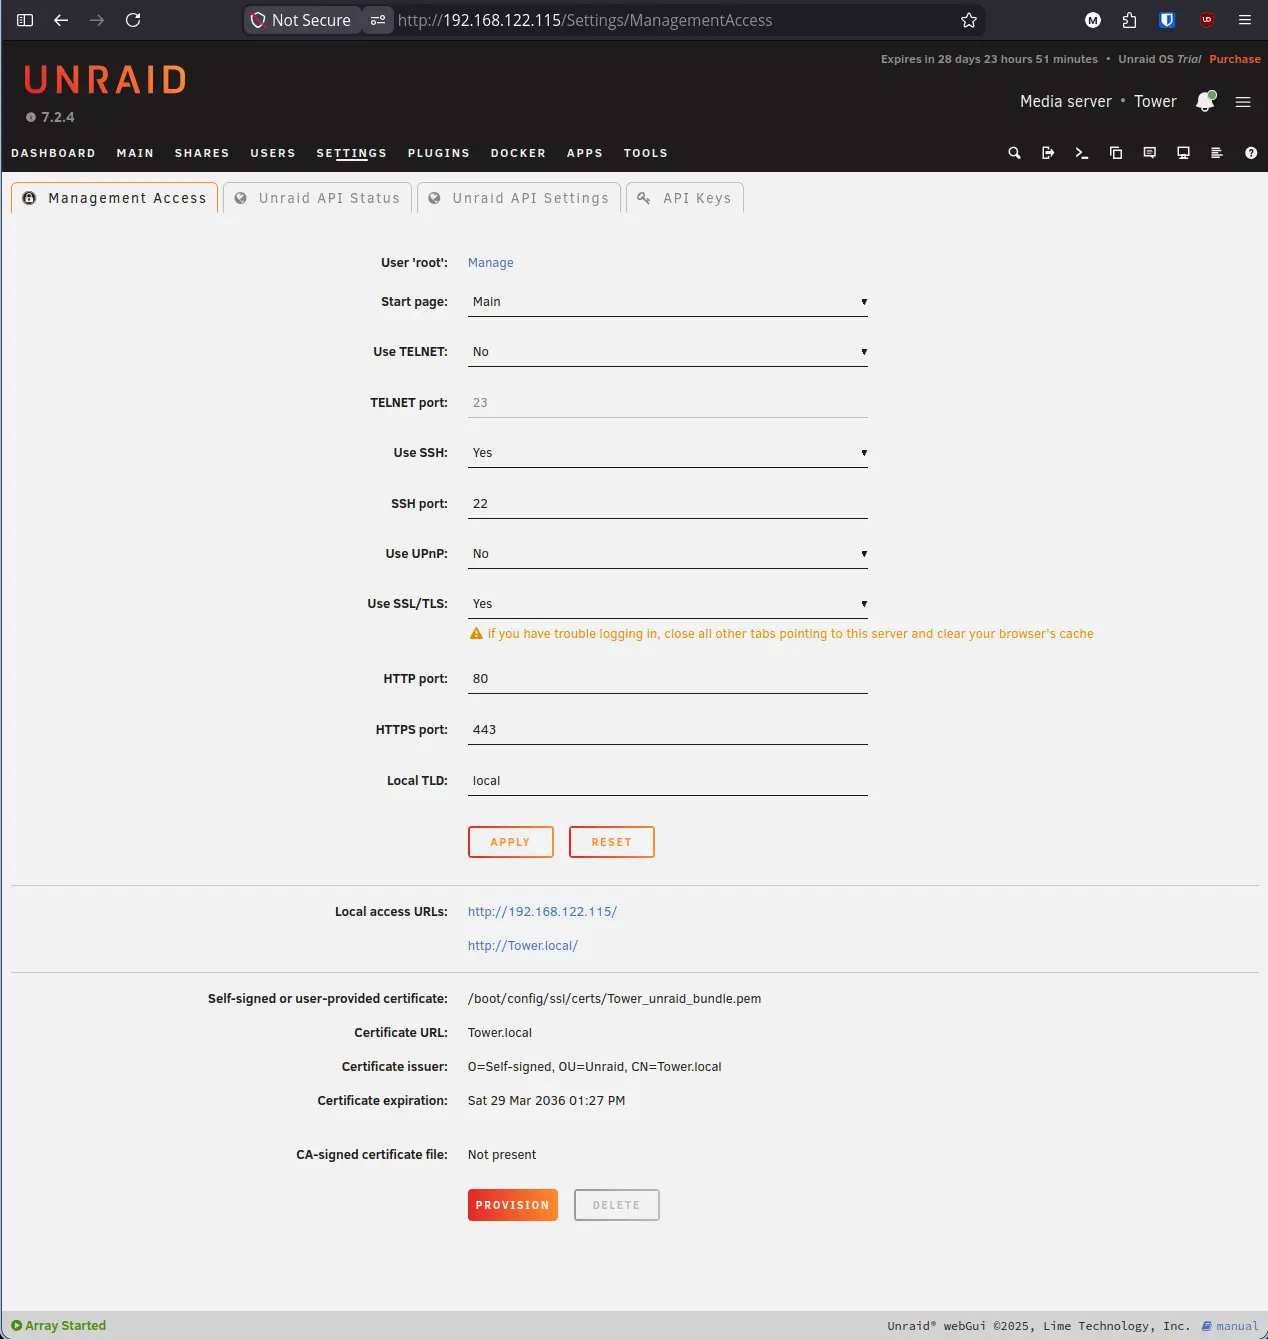
- Click Apply.
The page will reload. Your server is now accessible over HTTPS. The Local Access URLs section will show three access options: the IP address over HTTPS, the hostname over HTTPS, and the full myunraid.net URL which uses the trusted Let’s Encrypt certificate.
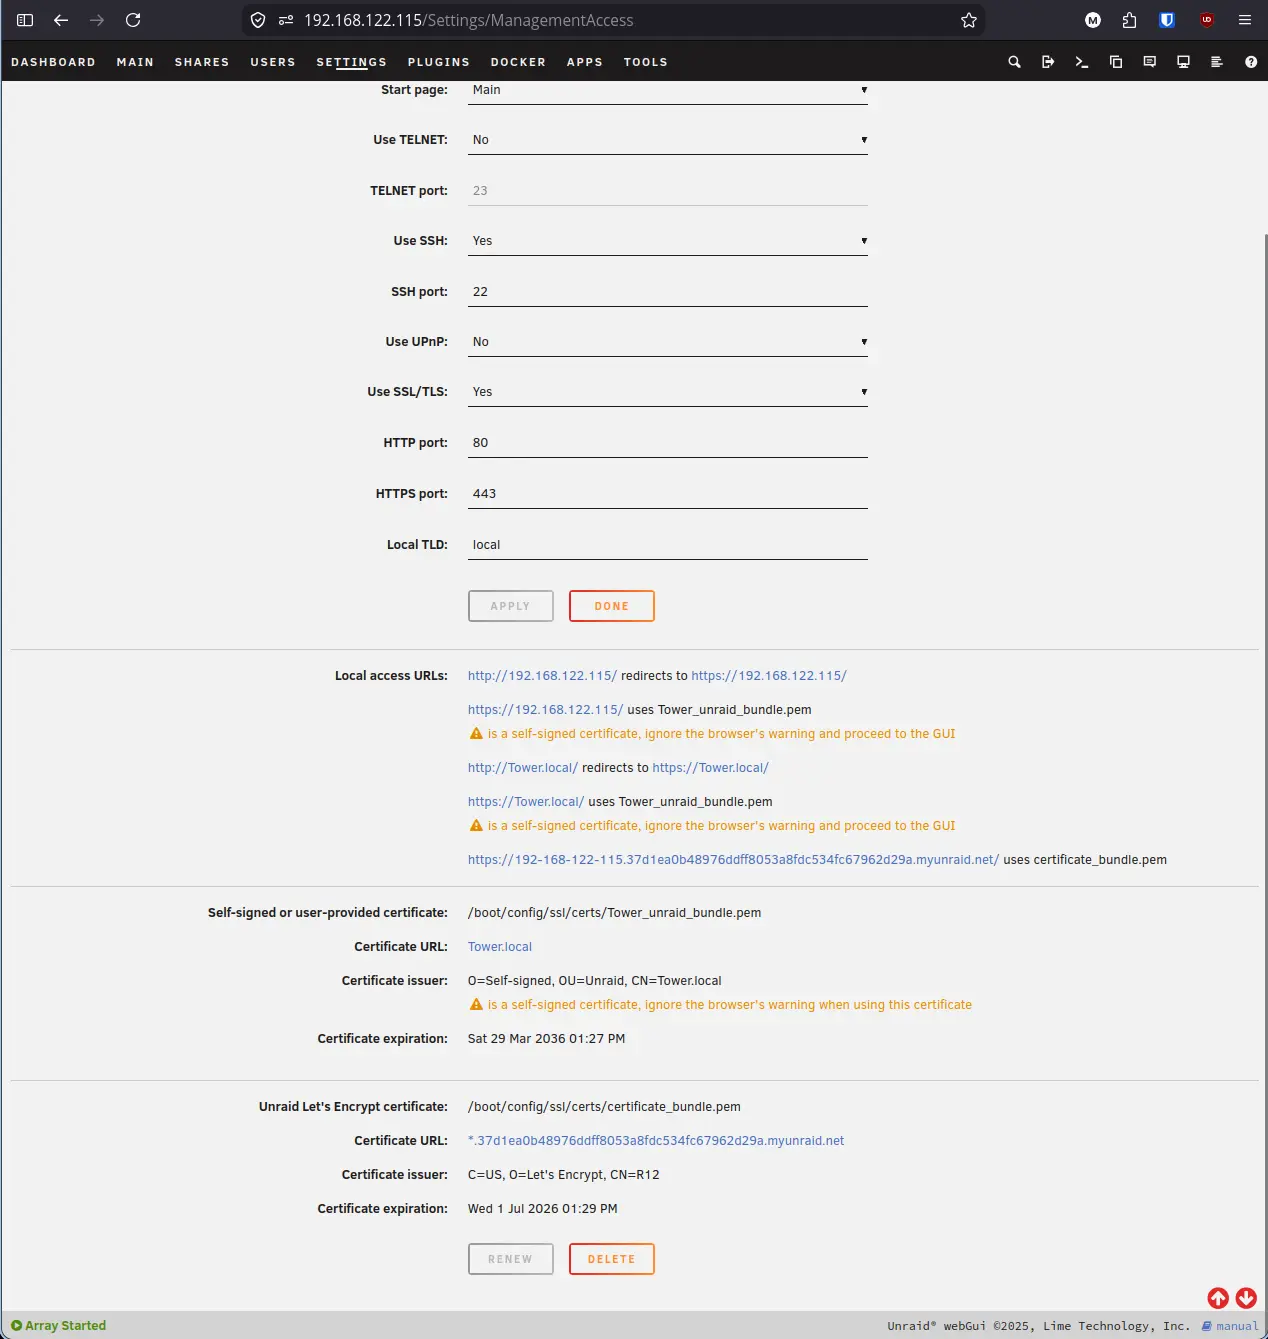
Note: Bookmark the myunraid.net URL from the Local Access URLs section. Accessing the server by IP or hostname over HTTPS will show a browser security warning because those addresses use the self-signed certificate. The myunraid.net URL is the one backed by the trusted Let’s Encrypt certificate.
Step 8: Confirm SSH Is Enabled#
While on the Management Access page, confirm SSH is enabled. SSH (Secure Shell) is the standard way to access your server’s terminal remotely. You will need it for later tutorials.
On the same Management Access page, scroll up and verify Use SSH is set to Yes and SSH port is set to 22.
Note: If you have not set up key-based SSH authentication yet, see Managing Users and Permissions in Unraid for the full walkthrough.
Lab Notes & Troubleshooting#
The Update OS page spins indefinitely after clicking View Available Updates. Your server needs to be linked to an Unraid account for the connection to complete. Make sure you are signed in at account.unraid.net. If the spinner continues after 30 seconds, refresh the page and try again.
Provision button does nothing or returns an error. This usually means the server is not linked to an Unraid account. Navigate to Settings > Unraid Connect and confirm the account link status. If it shows as not connected, sign in from there first.
After enabling SSL/TLS, the browser shows a security warning. This is expected if you are accessing the server by IP address or hostname. Those addresses use the built-in self-signed certificate. Switch to the myunraid.net URL shown in Local Access URLs to get the trusted Let’s Encrypt certificate with no browser warning.
The myunraid.net URL is not accessible from outside my network. The myunraid.net URL is designed for local network access only. It resolves to your server’s local IP address and uses the Let’s Encrypt certificate for trust. It does not expose your server to the internet. For remote access see Setting Up a Cloudflare Tunnel.
Use SSL/TLS dropdown shows Strict as an option. Should I use it? Strict mode enforces HTTPS only and drops all HTTP connections with no fallback. It is more secure but means you cannot access the web UI at all over plain HTTP, even on the local network. Yes is the recommended starting point. You can switch to Strict later once you are confident everything is working correctly over HTTPS.
Summary#
Your Unraid server is now connected to the update system, confirmed to be running the latest stable OS, and accessible over a trusted HTTPS connection using a free Let’s Encrypt certificate. SSH is enabled for terminal access. The next guide covers setting up Docker networks so containers can communicate with each other.
Next Step: Configuring Docker Networks in Unraid