A fresh Unraid install has no app store and no way to run Docker containers. Before you can deploy anything useful, you need to add the plugin layer that makes it possible. This guide walks through installing Community Applications, enabling Docker, and adding the three plugins that belong on every Unraid server.
Executive Summary#
We will install the Community Applications plugin manually via the Plugins tab, enable Docker in Settings, and then use the Apps tab to install Unassigned Devices, User Scripts, and Fix Common Problems. By the end, your server will have a working app store, a running Docker engine, and three tools that handle storage flexibility, script scheduling, and configuration health checks.
Prerequisites#
| Component | Requirement |
|---|---|
| Unraid Server | A running server with array started and web UI accessible |
| Network | Server connected to the internet |
| Browser | Any modern browser pointed at your Unraid web UI |
Assumptions: This guide follows on from Creating and Managing Shares on Unraid. No command line access is required. Everything is done through the Unraid web UI.
Implementation#
Step 1: Confirm the Starting State#
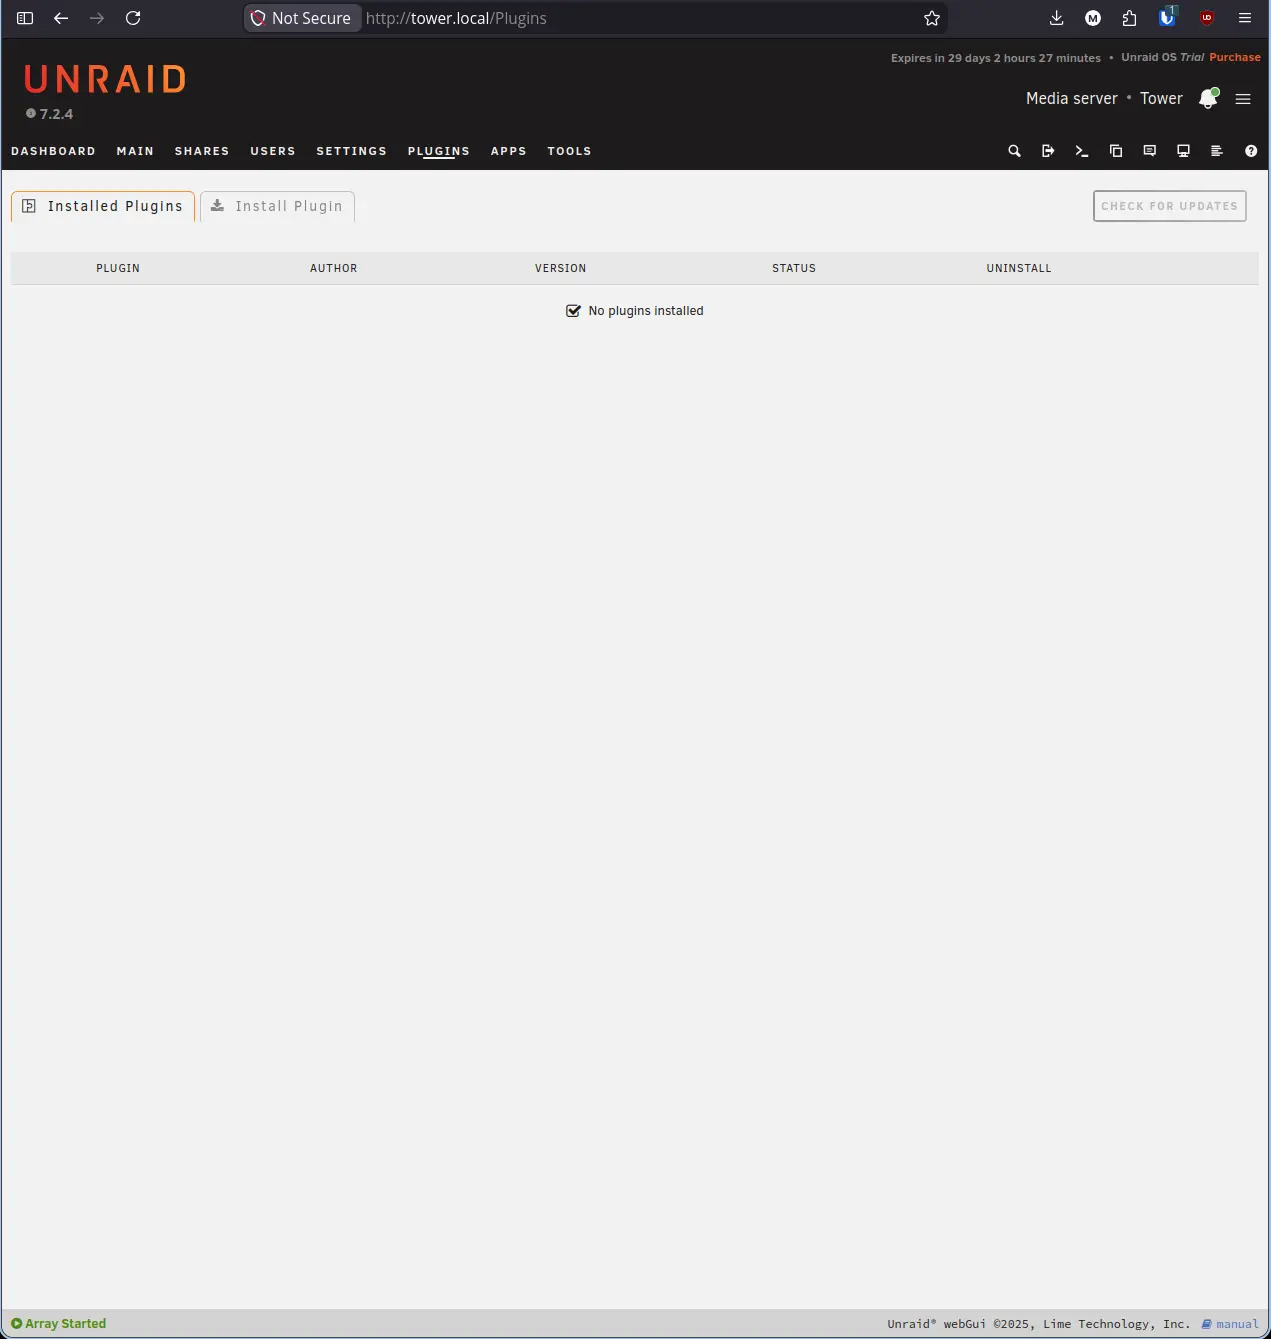
Before installing anything, take a quick look at the Plugins tab to confirm you are starting from a clean slate.
- Click Plugins in the top navigation bar.
You should see “No plugins installed.” This confirms Community Applications has not been added yet and you are working from a fresh install.
Step 2: Install Community Applications#
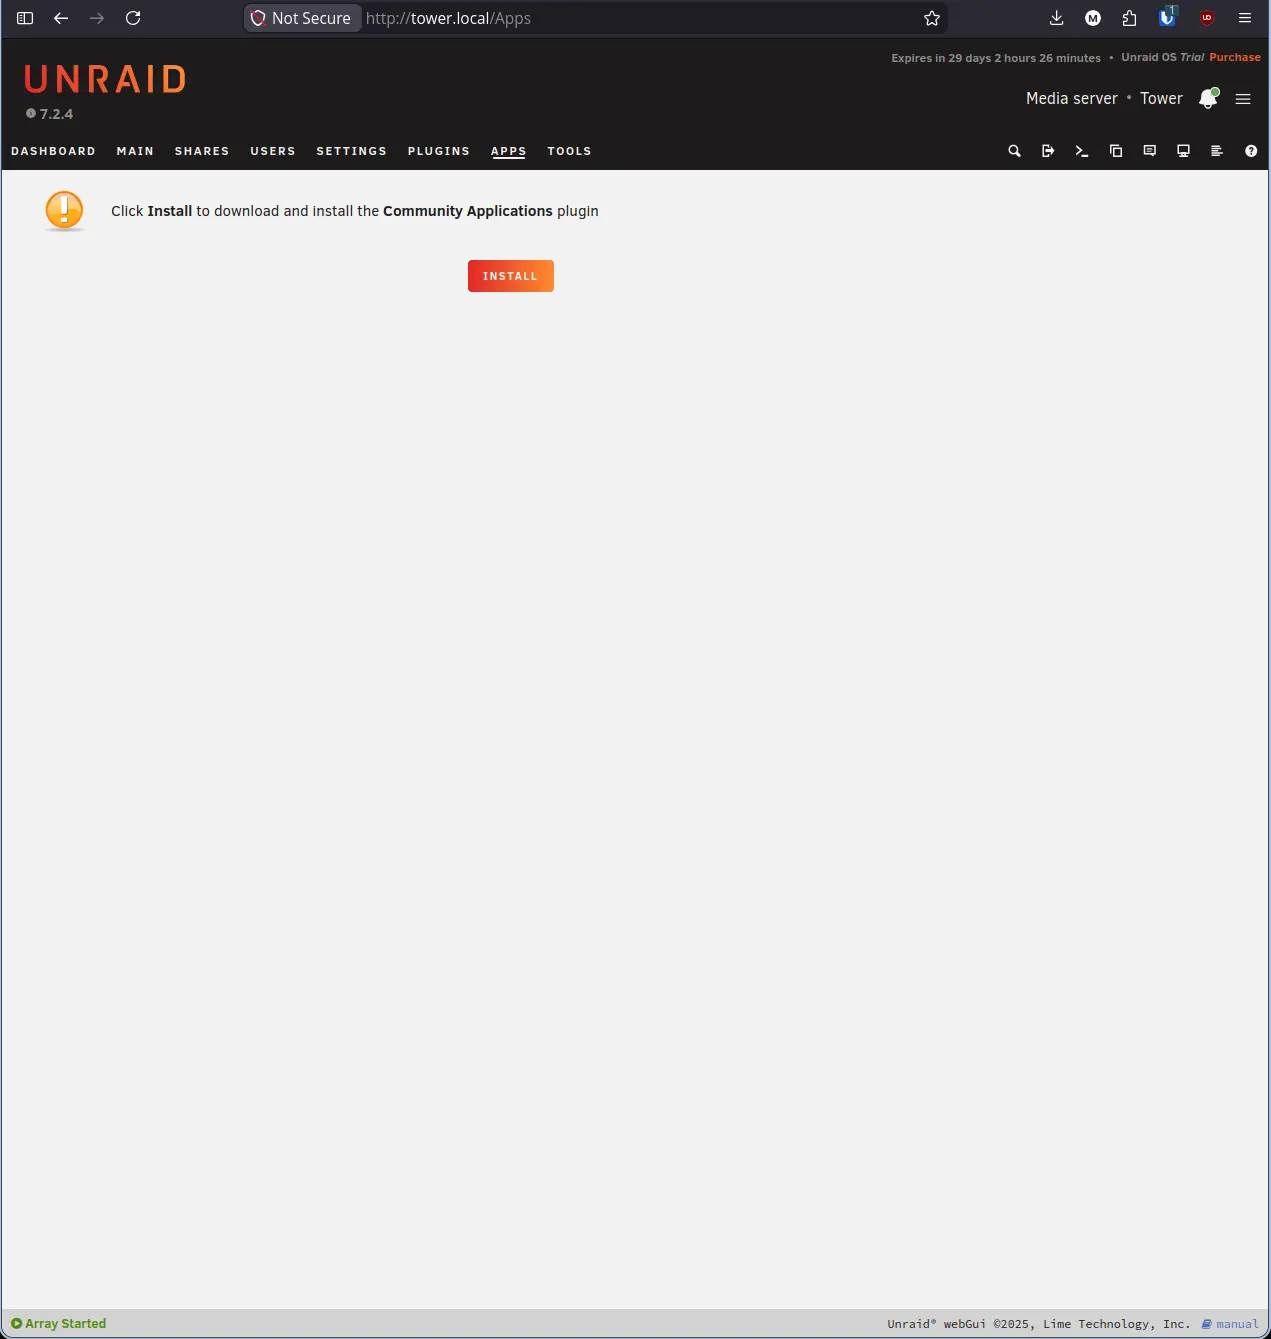
Community Applications (CA) is the plugin that adds the Apps tab to Unraid. It connects to a community-maintained catalog of Docker containers and plugins. In current versions of Unraid, the installer is integrated directly into the interface, removing the need for manual URL entry.
- Click Apps in the top navigation bar.
- Click the orange INSTALL button in the center of the page.
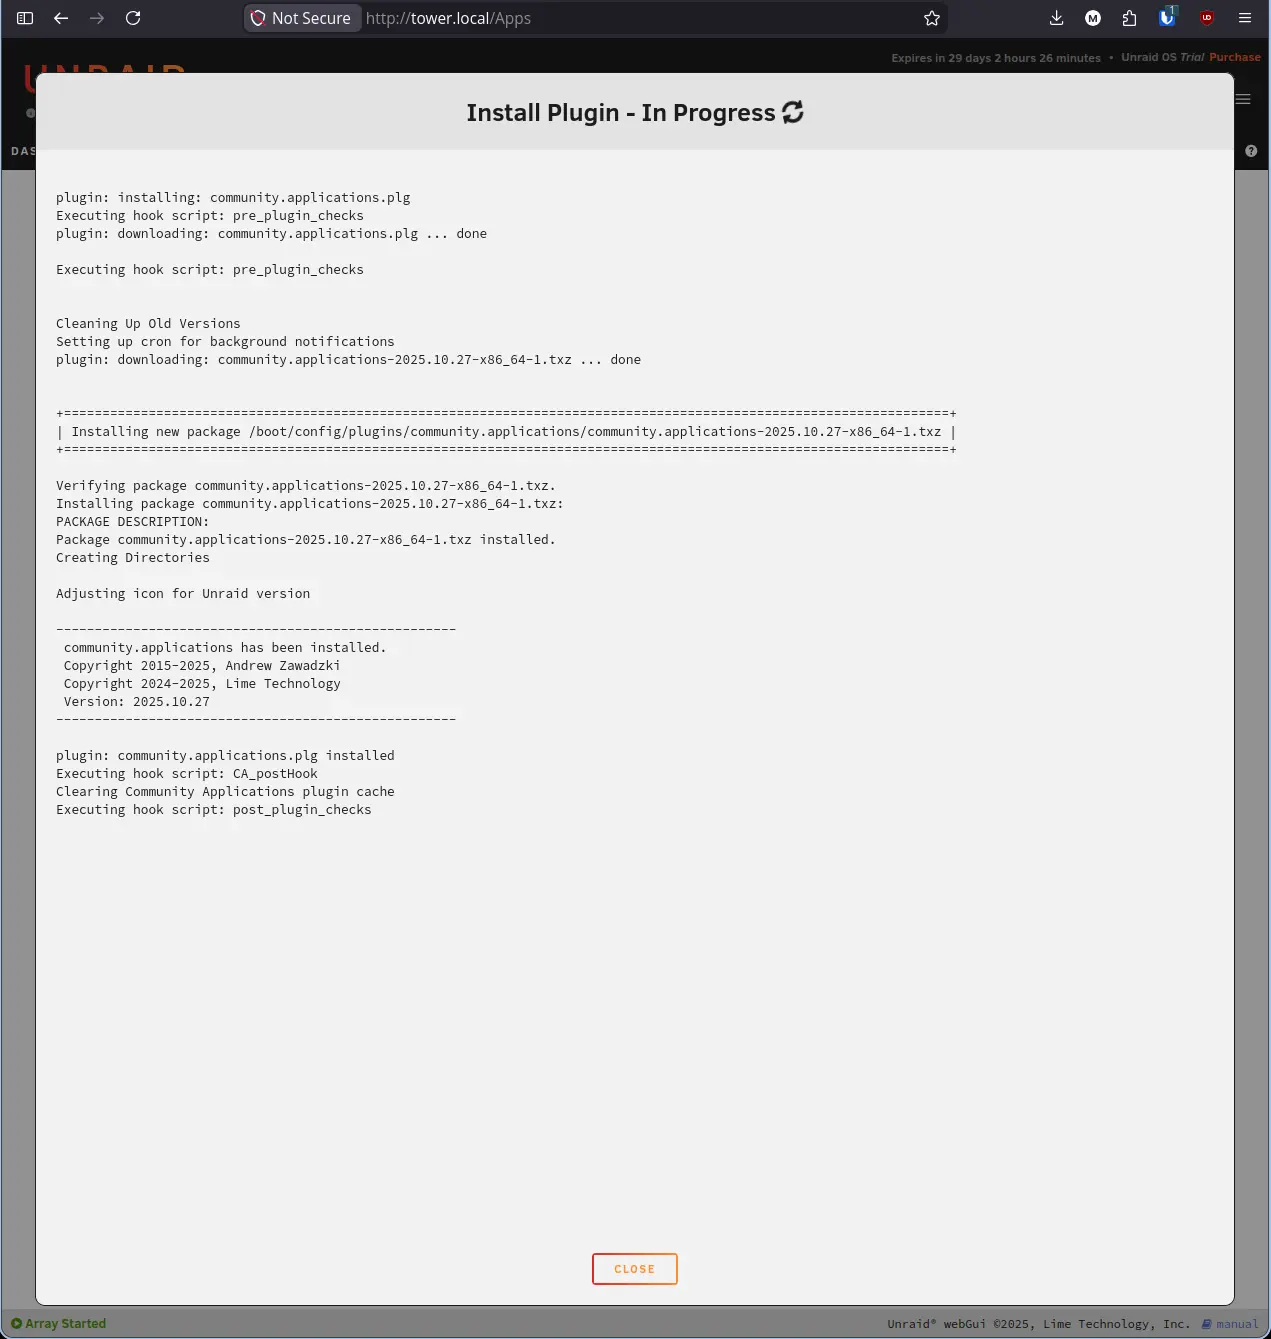
Unraid will open a modal to download and install the plugin. The process usually takes under 30 seconds.
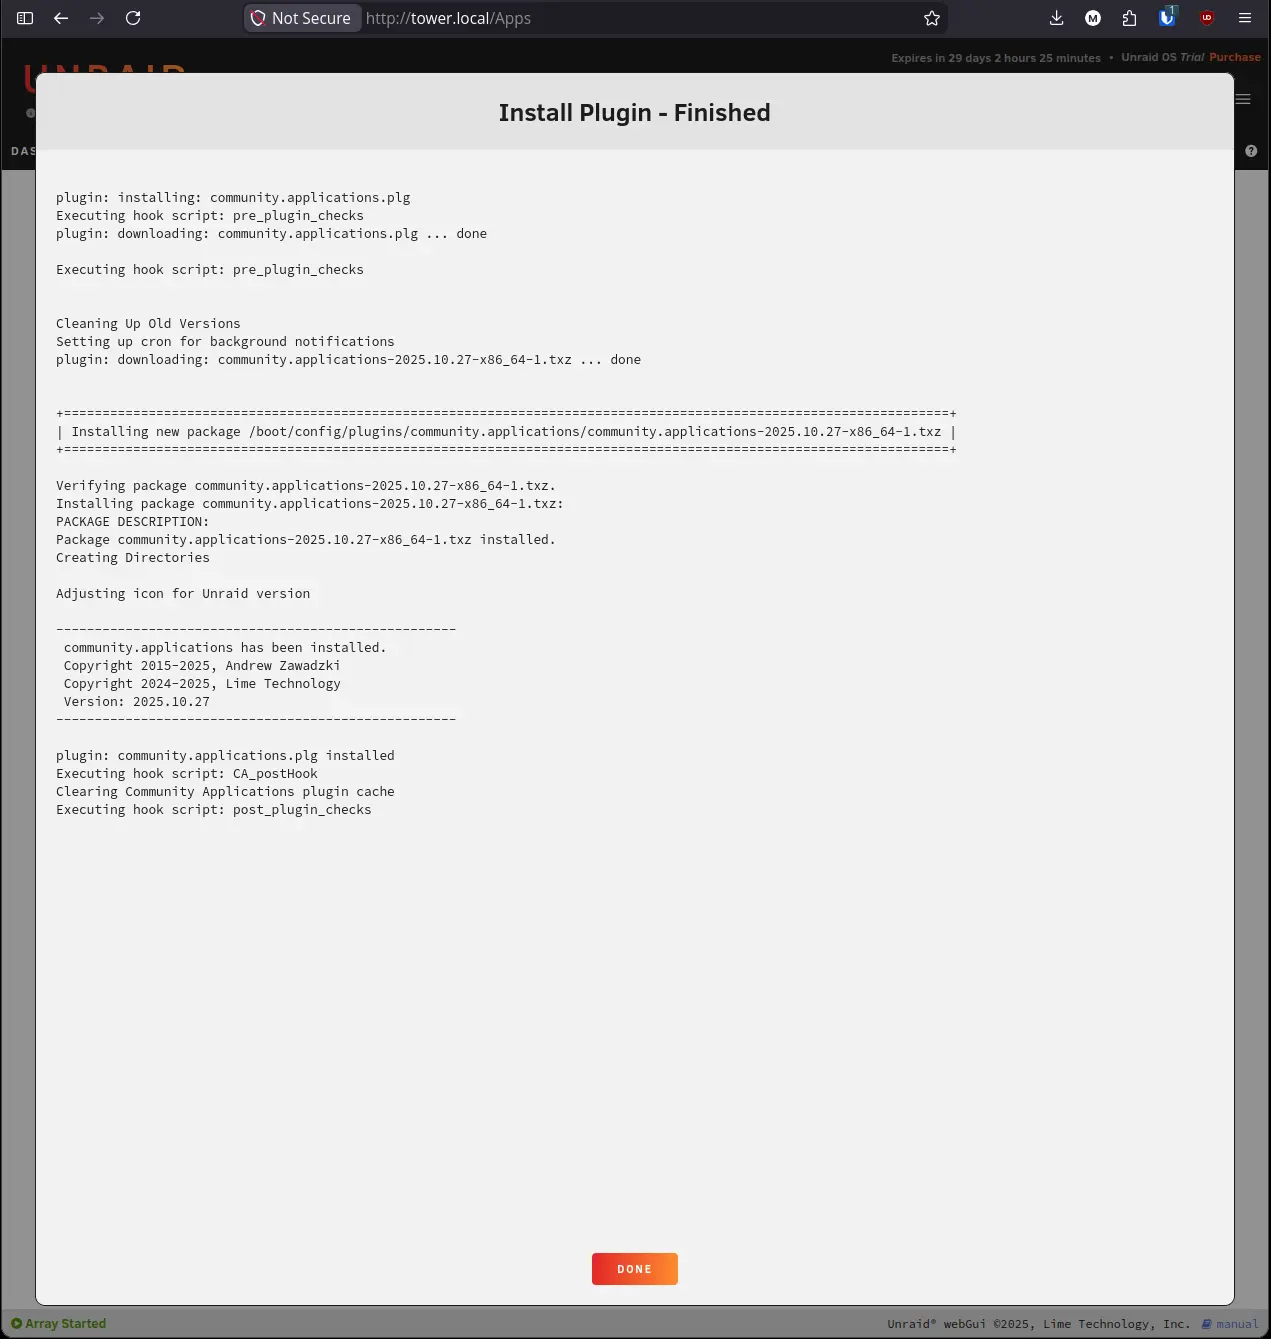
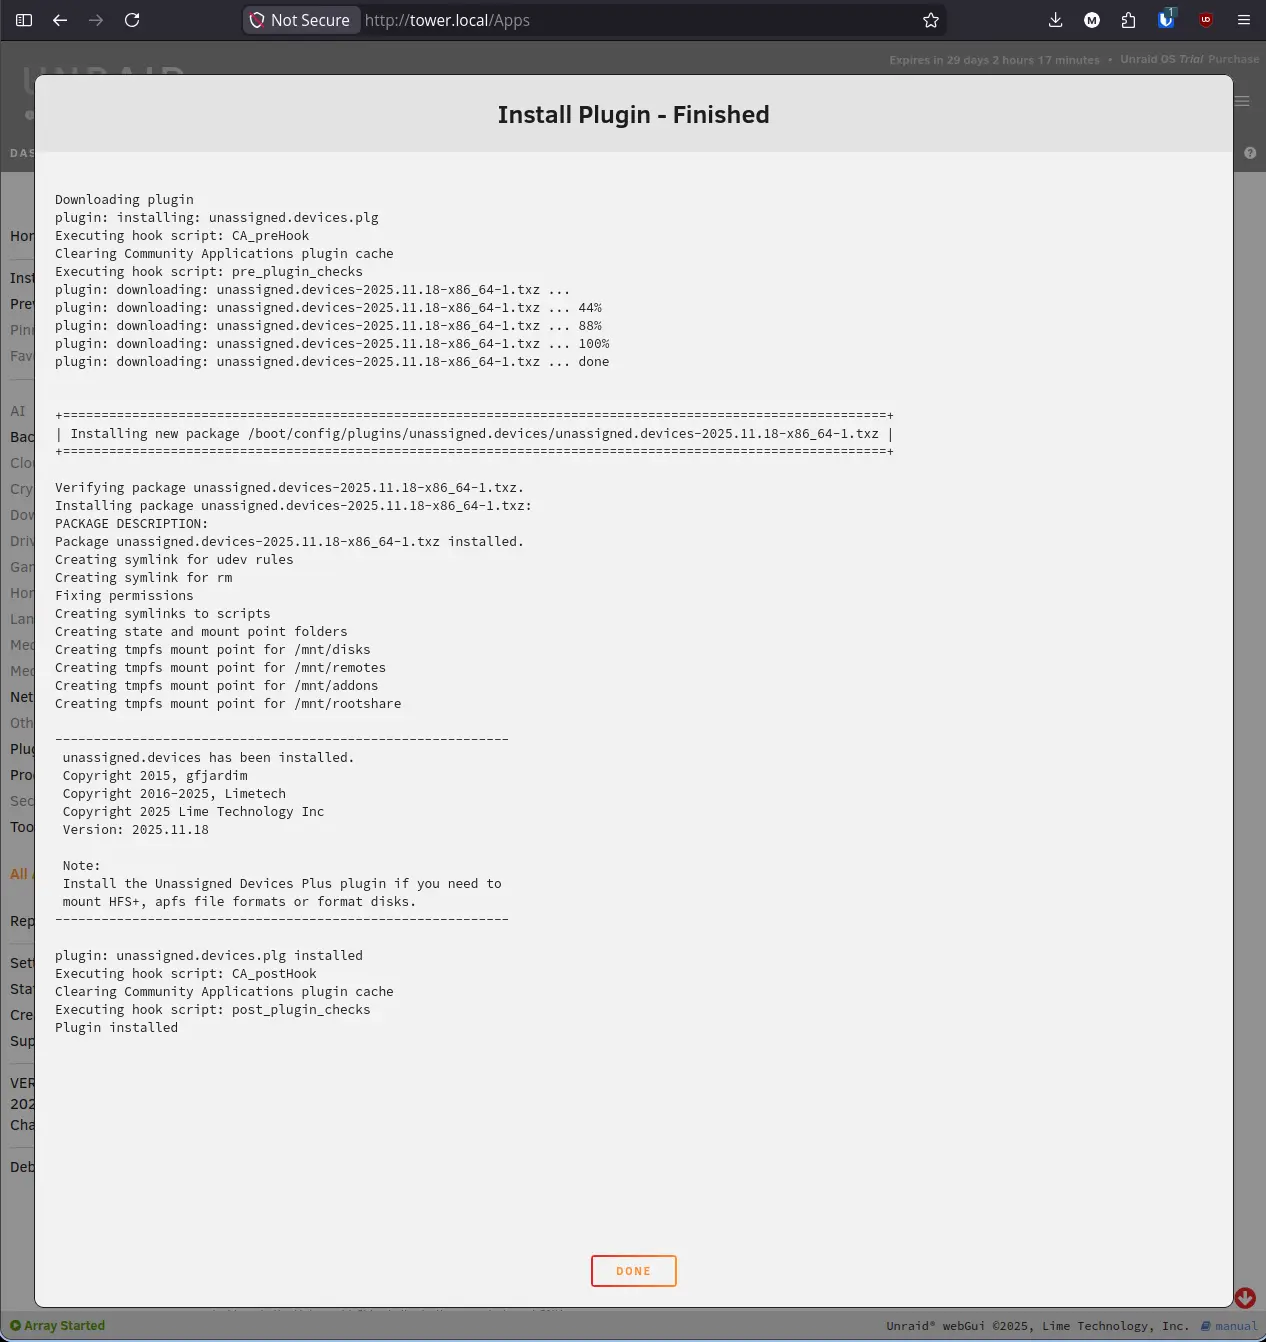
When the install finishes, the screen will update to show “Install Plugin - Finished” with a summary of what was installed.
Step 3: Open the Apps Tab and Accept the Disclaimers#
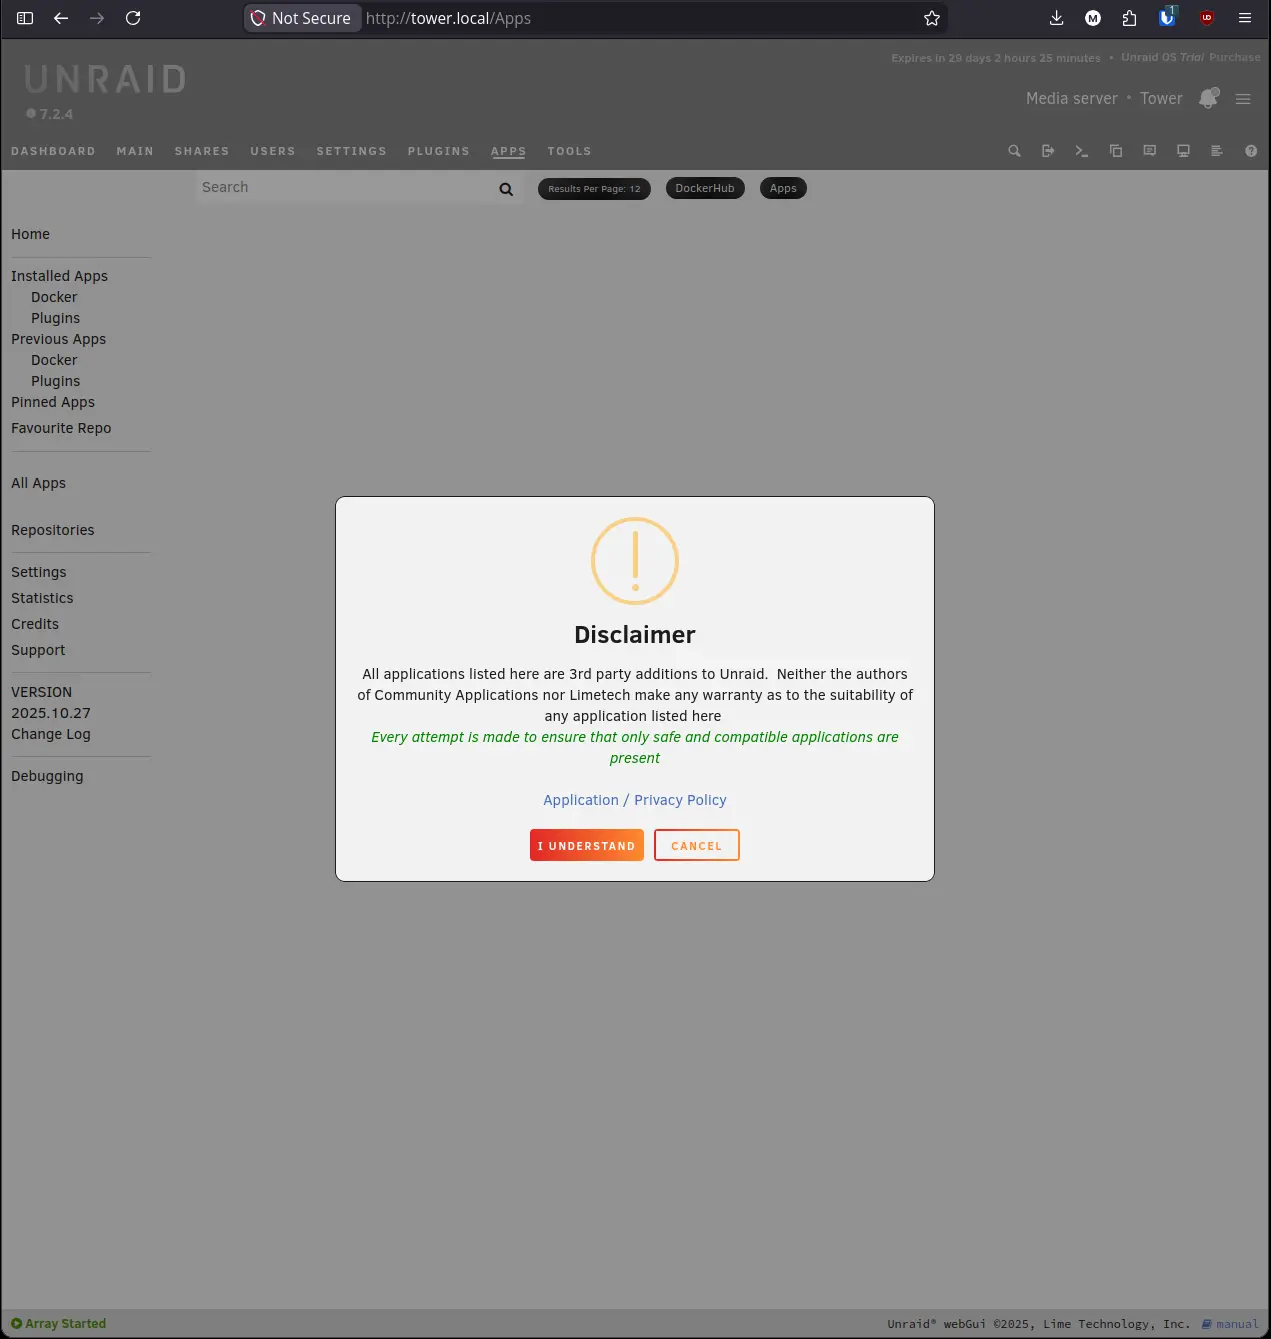
Click Apps in the top navigation bar. Because this is the first time CA has been opened, it will show two disclaimers before loading the catalog.
The first disclaimer is a general notice that all listed applications are third-party additions. Neither the CA authors nor Limetech make any warranty about the suitability of listed apps.
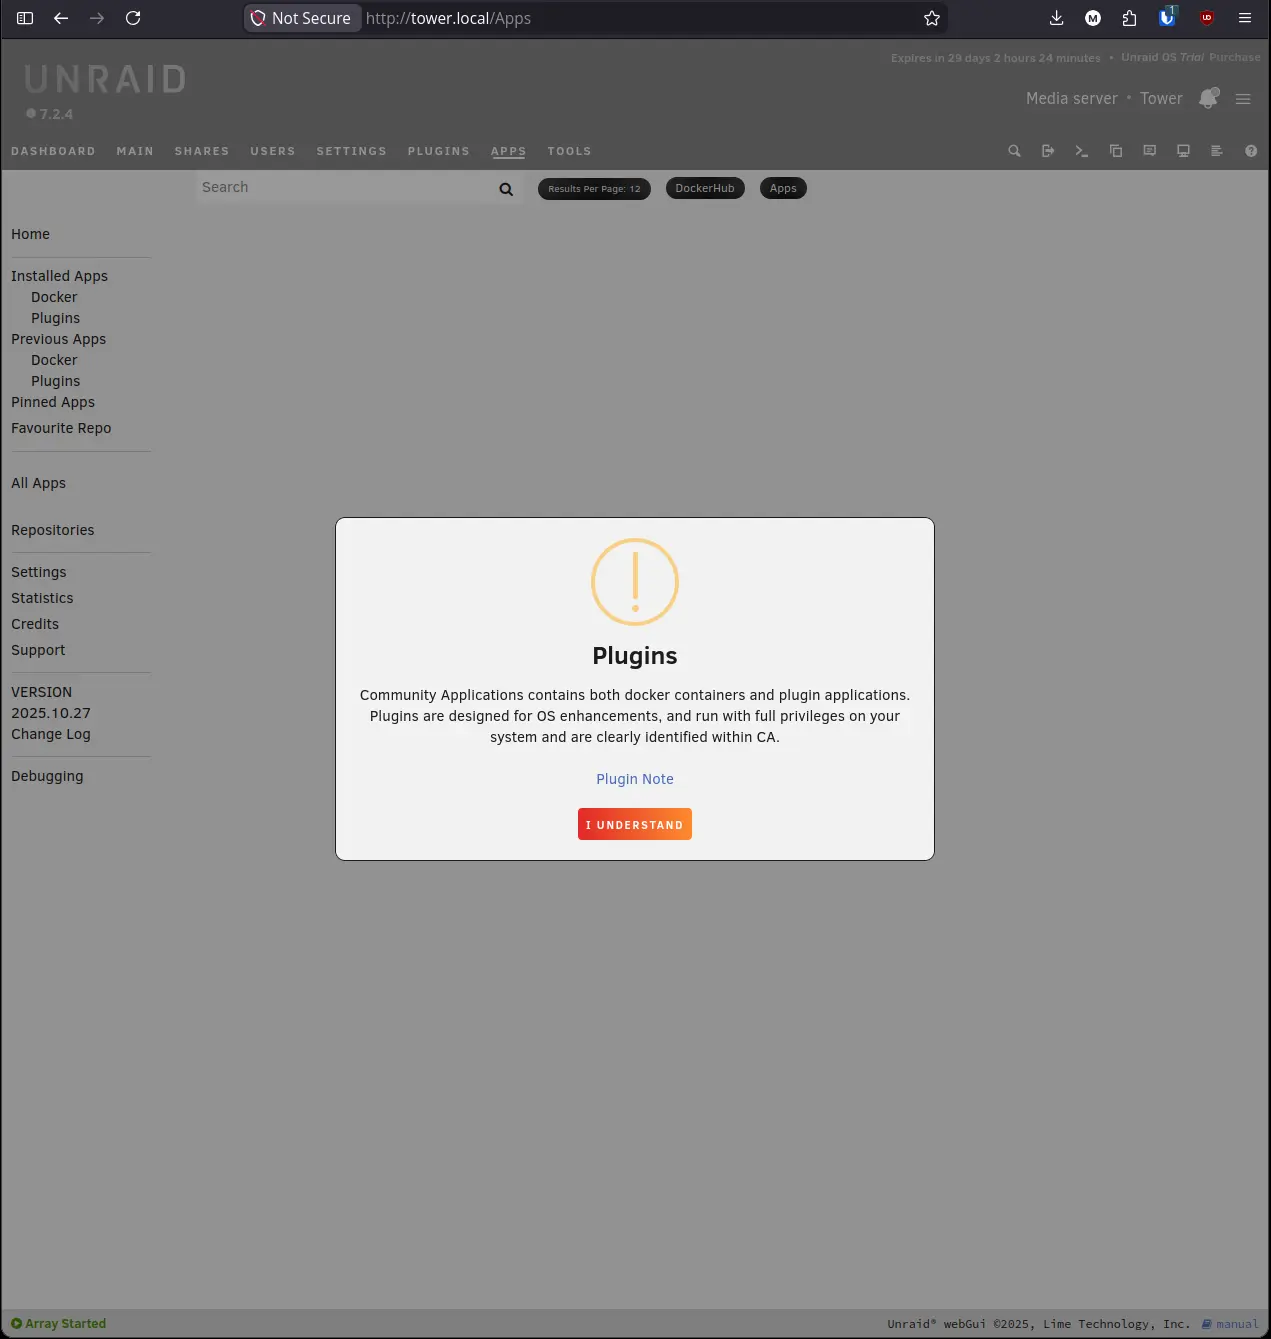
After dismissing the first disclaimer, CA will show a second notice specifically about plugins. Unlike Docker containers, plugins run with full system privileges. Install only what you need from sources you trust.
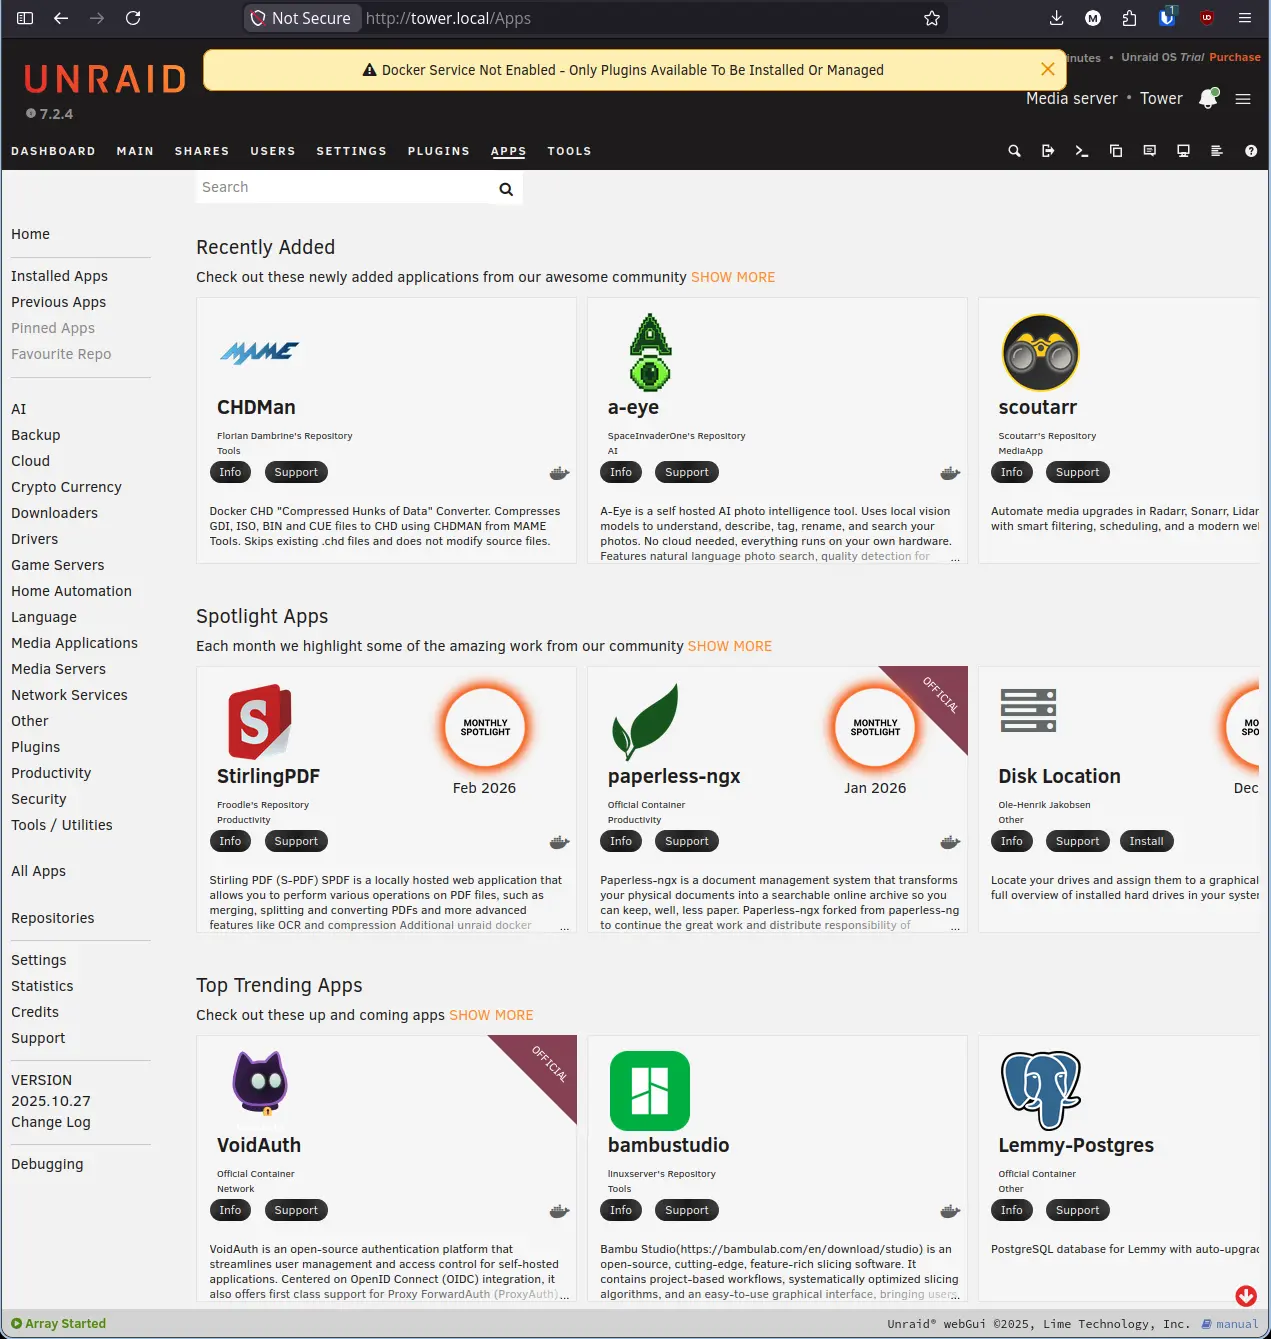
The Apps tab will finish loading and display the full CA catalog.
Step 4: Enable Docker#
The banner across the top of the Apps tab says “Docker Service Not Enabled.” Plugins can be installed without Docker, but you will need it running before you can deploy any containers. Enable it now.
- Click Settings in the top navigation bar.
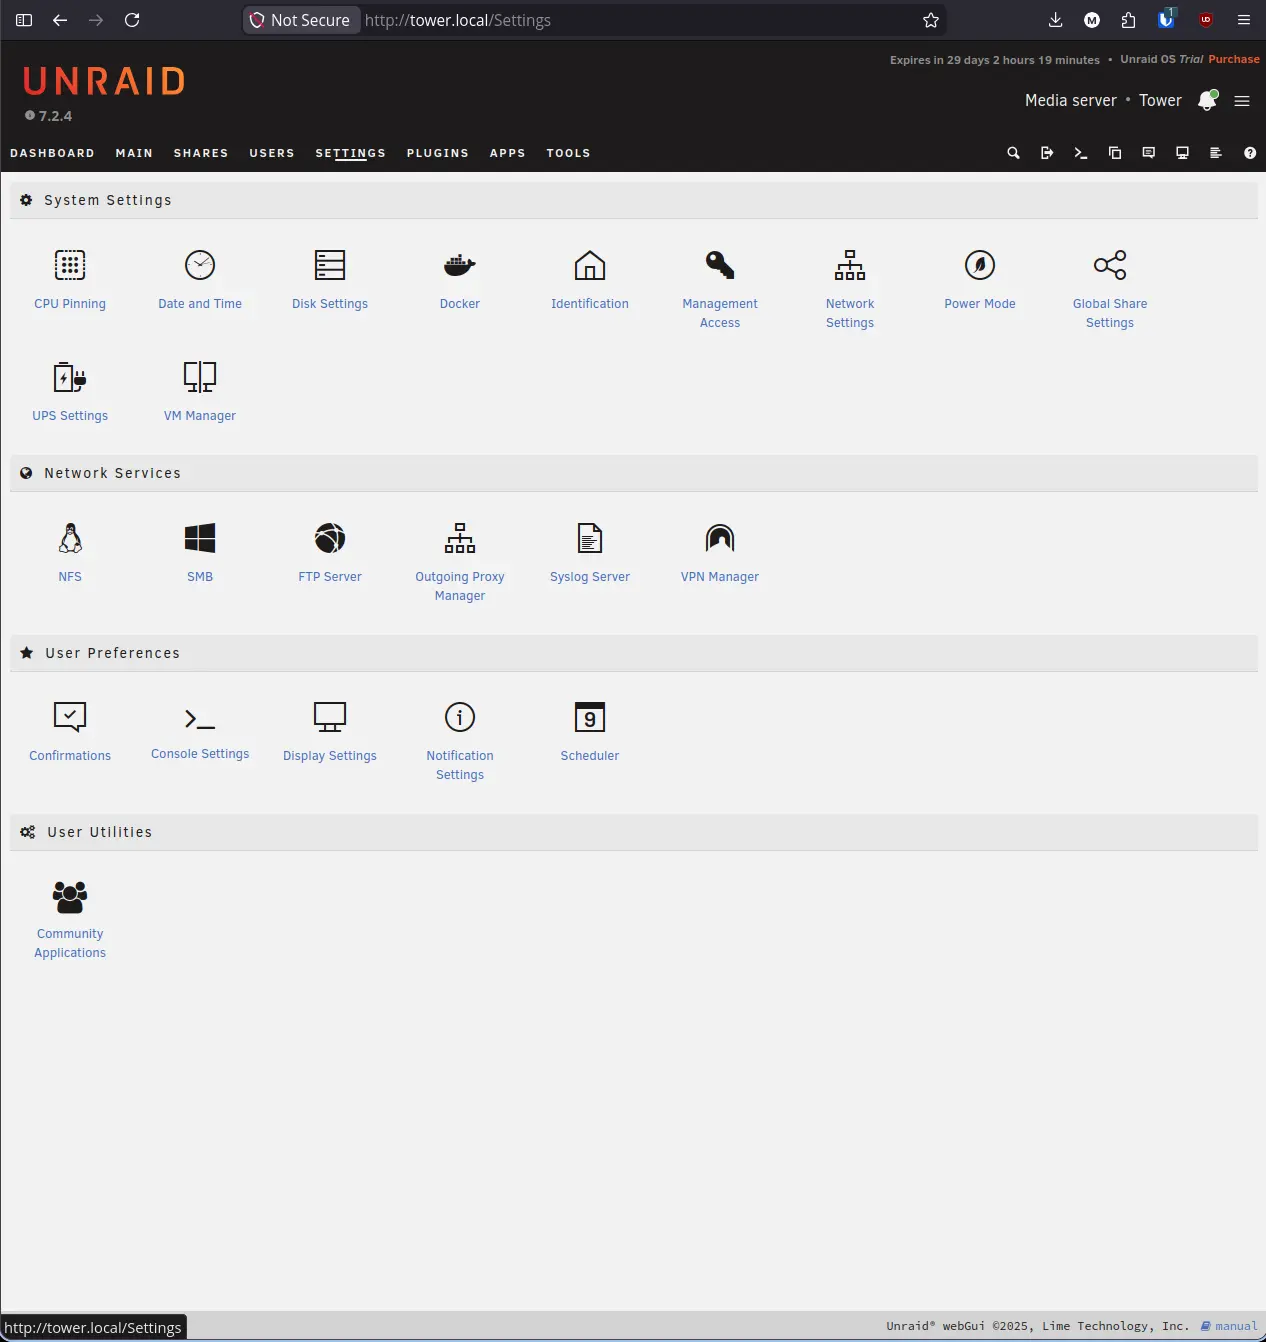
- Click Docker under System Settings.
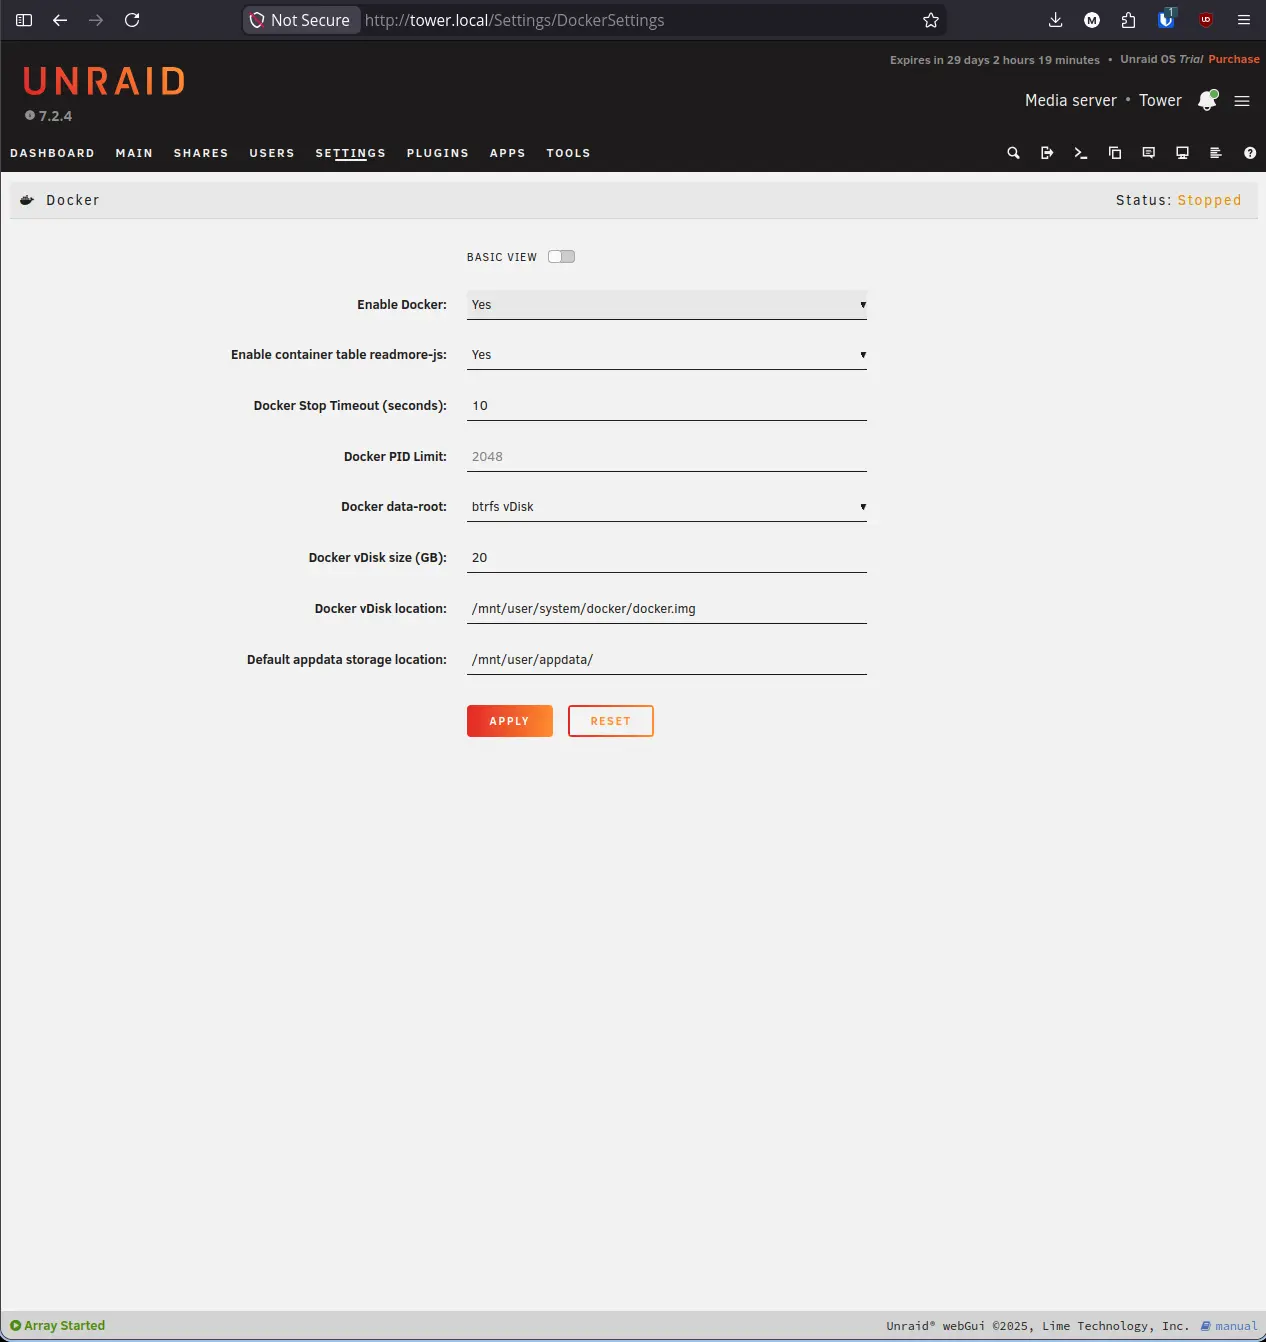
- Click the Enable Docker dropdown and select Yes.
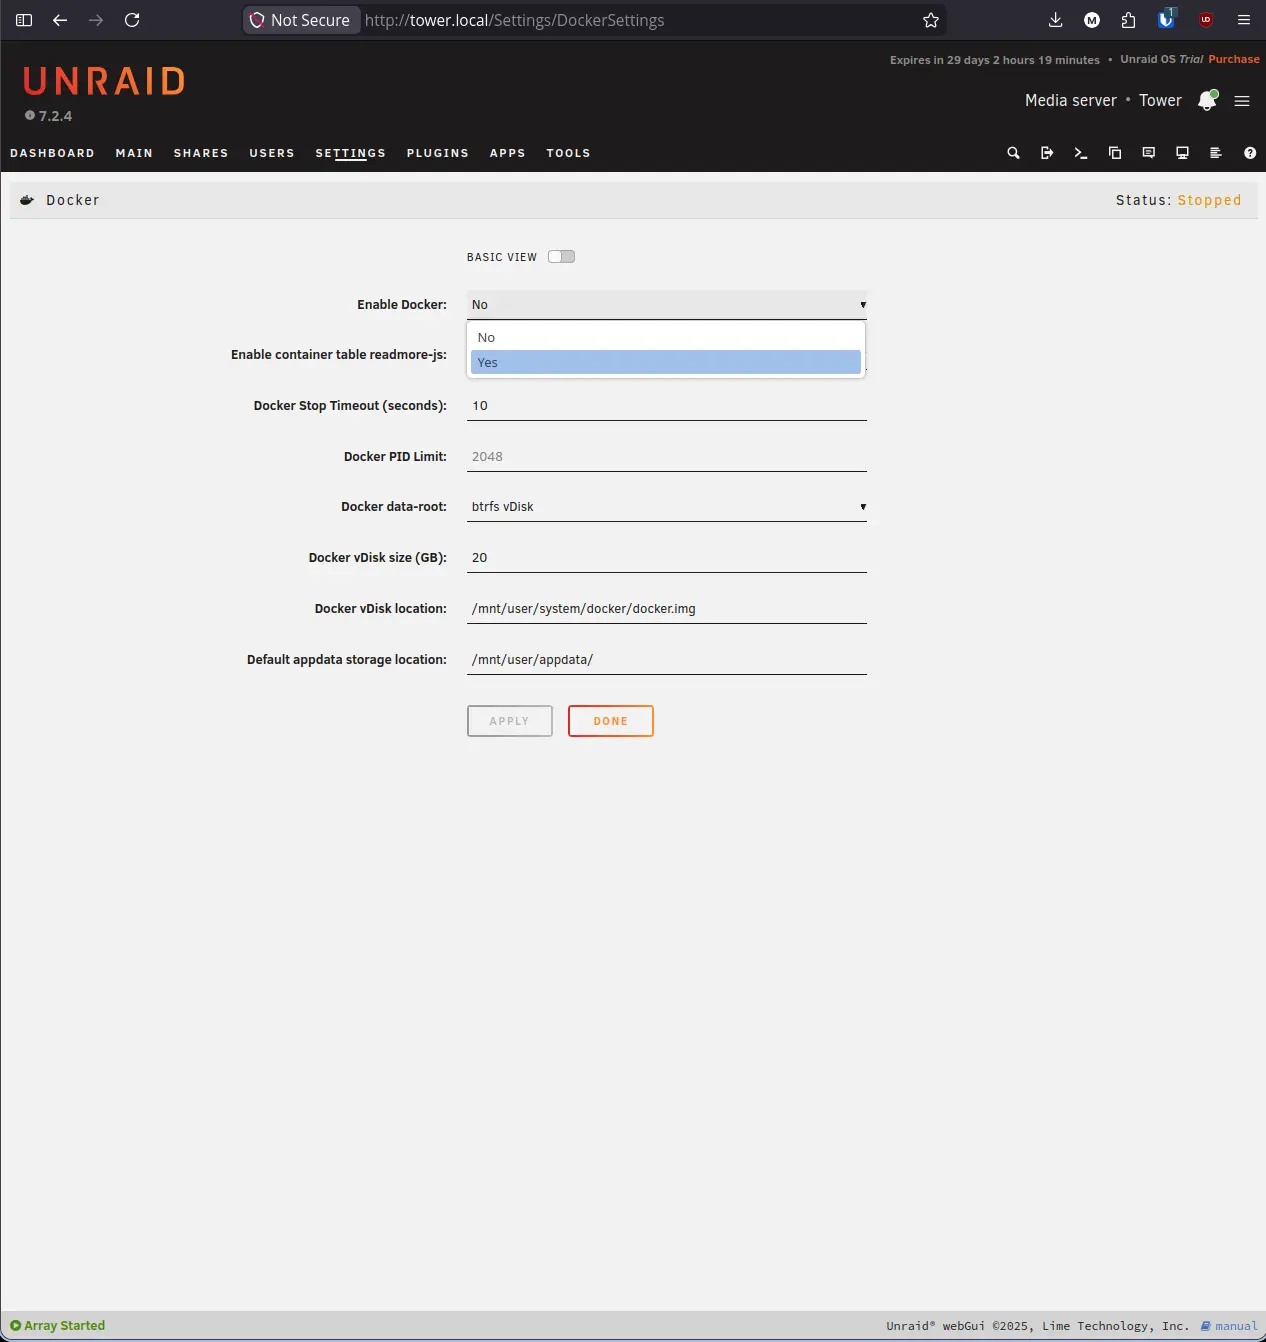
- Click Apply.
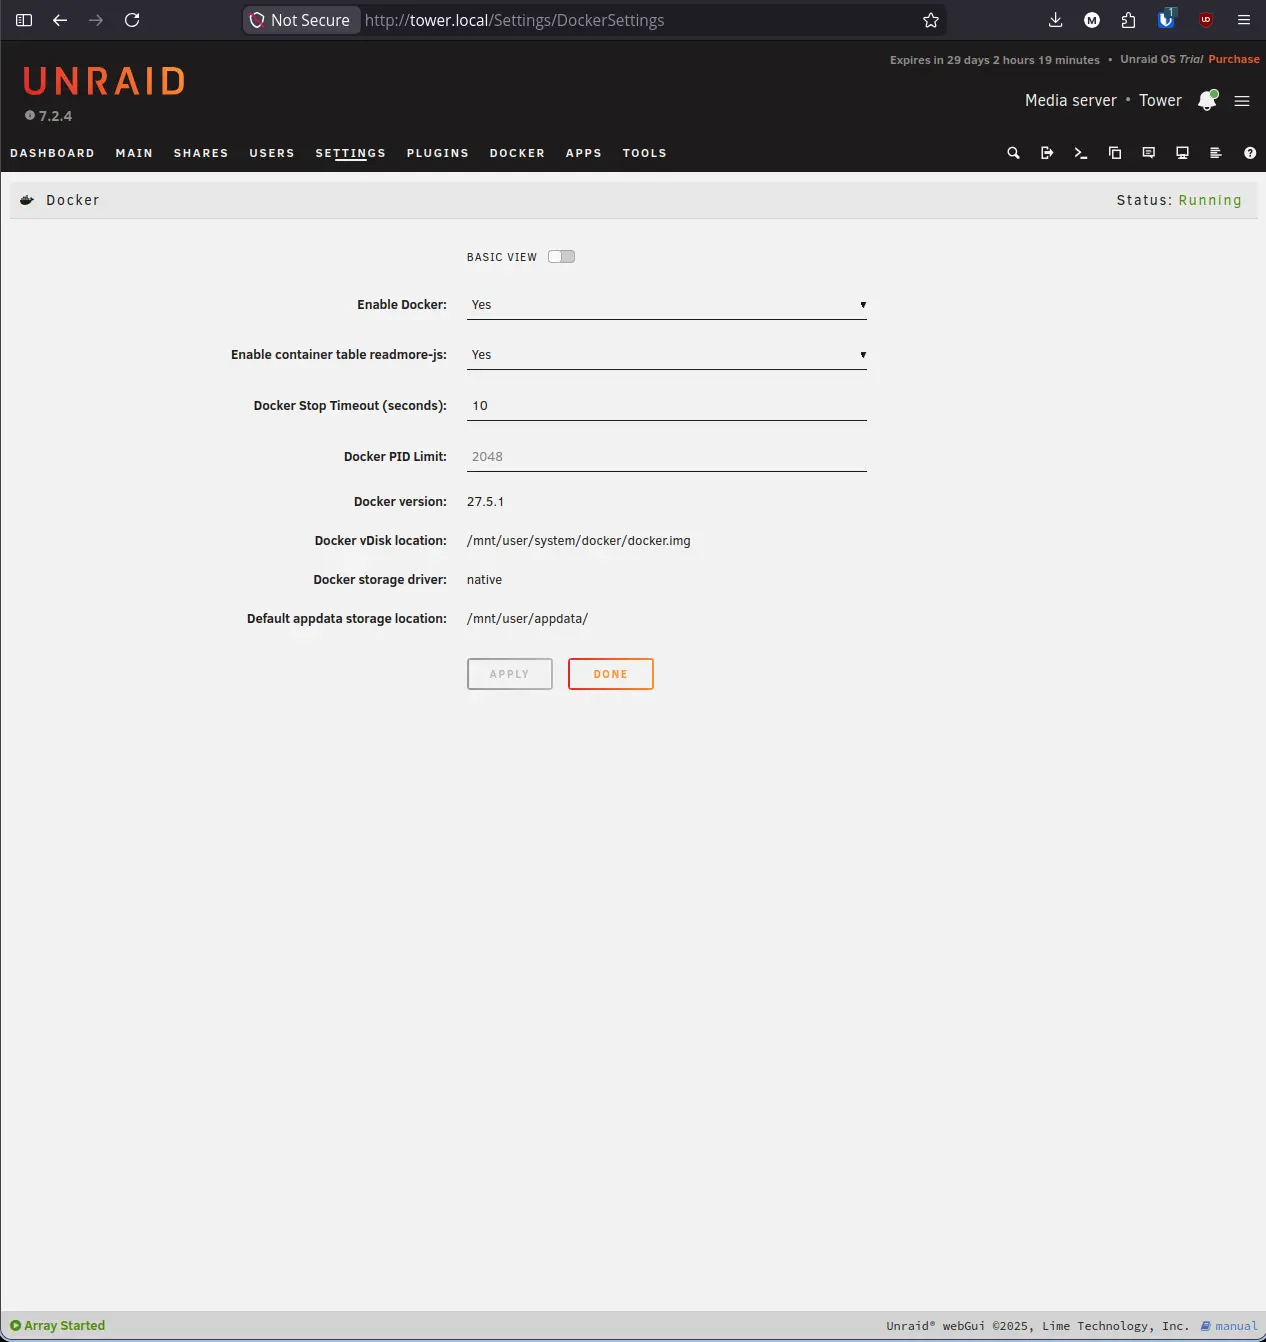
Docker will start and the status in the top right of the page will change from Stopped to Running. A new Docker tab will also appear in the top navigation bar.
Step 5: Install Unassigned Devices#
Unassigned Devices (UD) lets Unraid mount and manage disks that are not part of the main array. This includes USB drives, external hard drives, remote SMB and NFS shares, and ISO files. It is the plugin that makes non-array storage visible and usable on your server.
- Click Apps in the top navigation bar.
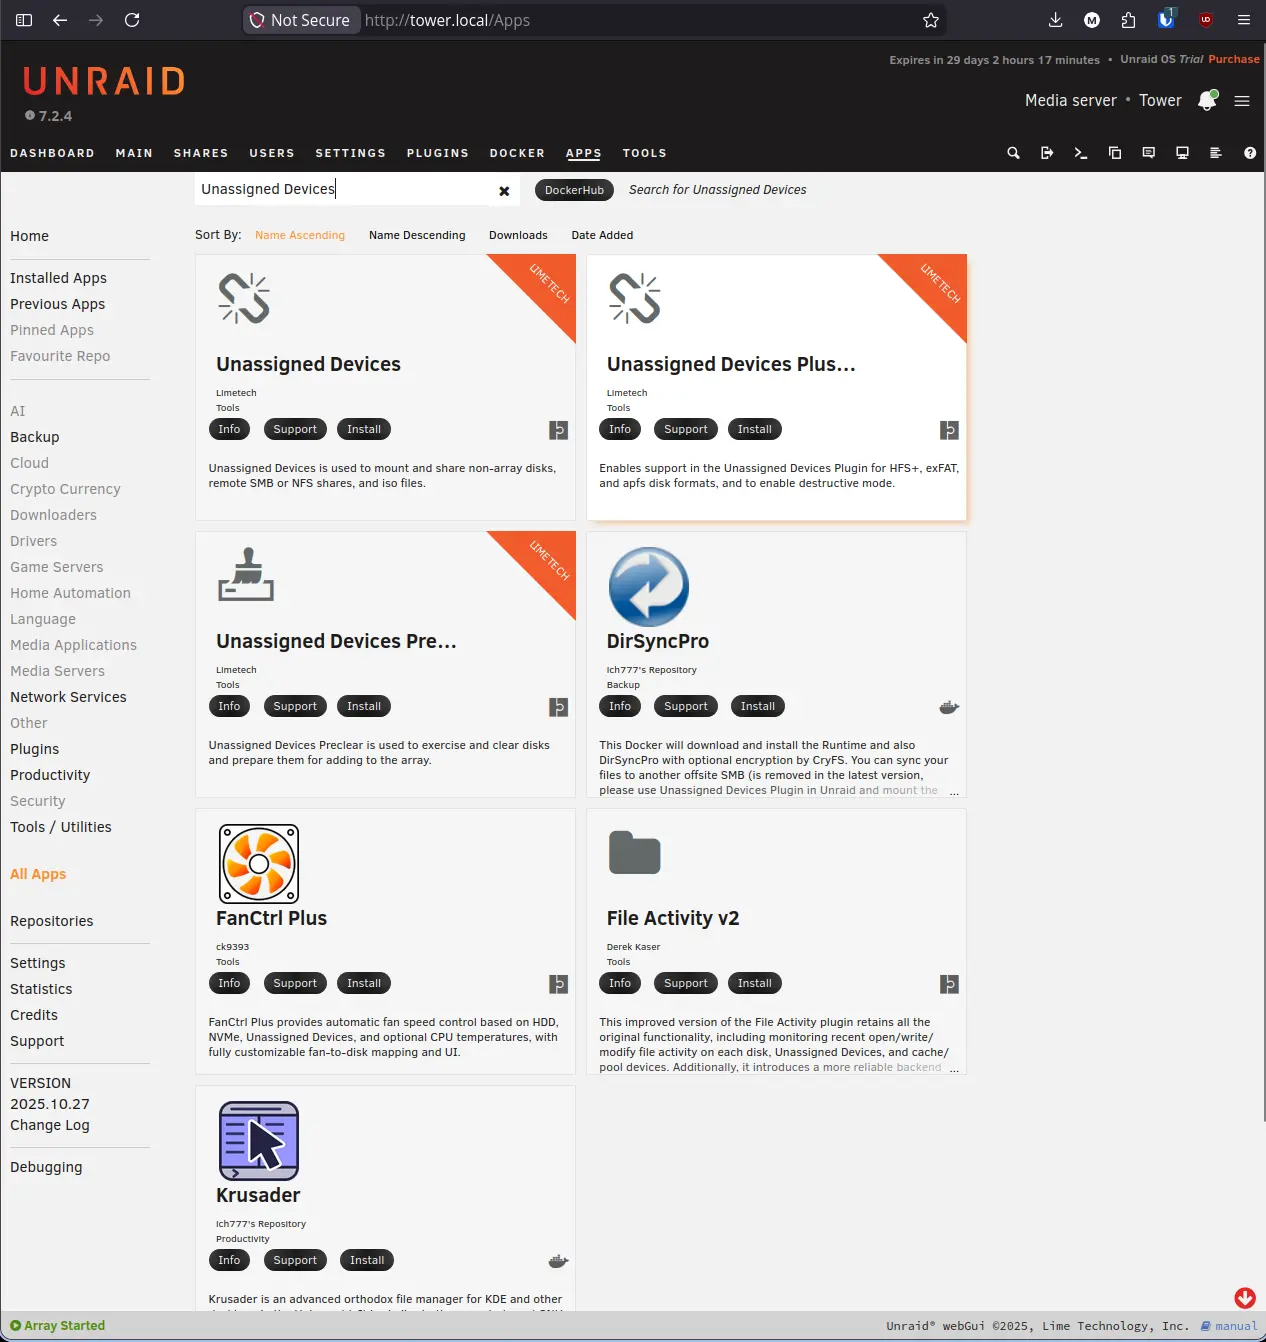
- Type Unassigned Devices in the search bar and press Enter.
- Find the result from Limetech labeled Unassigned Devices and click Install.
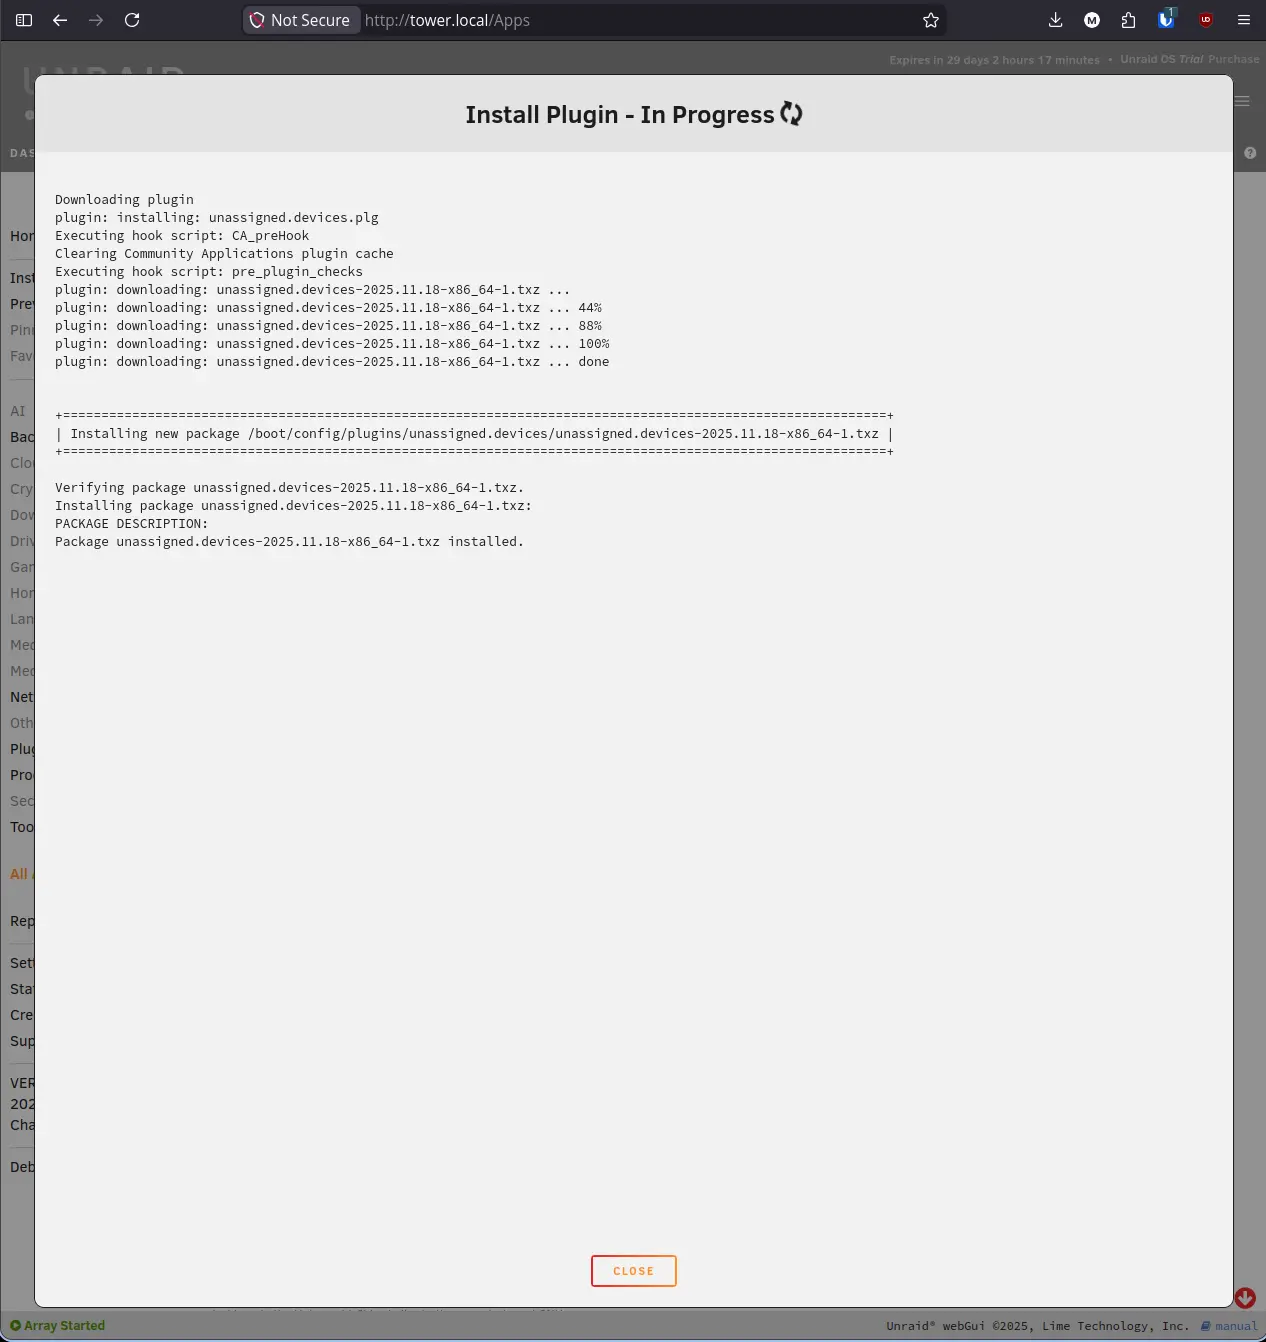
Unraid will download and install the plugin. The output will show it creating mount points and configuring udev rules.
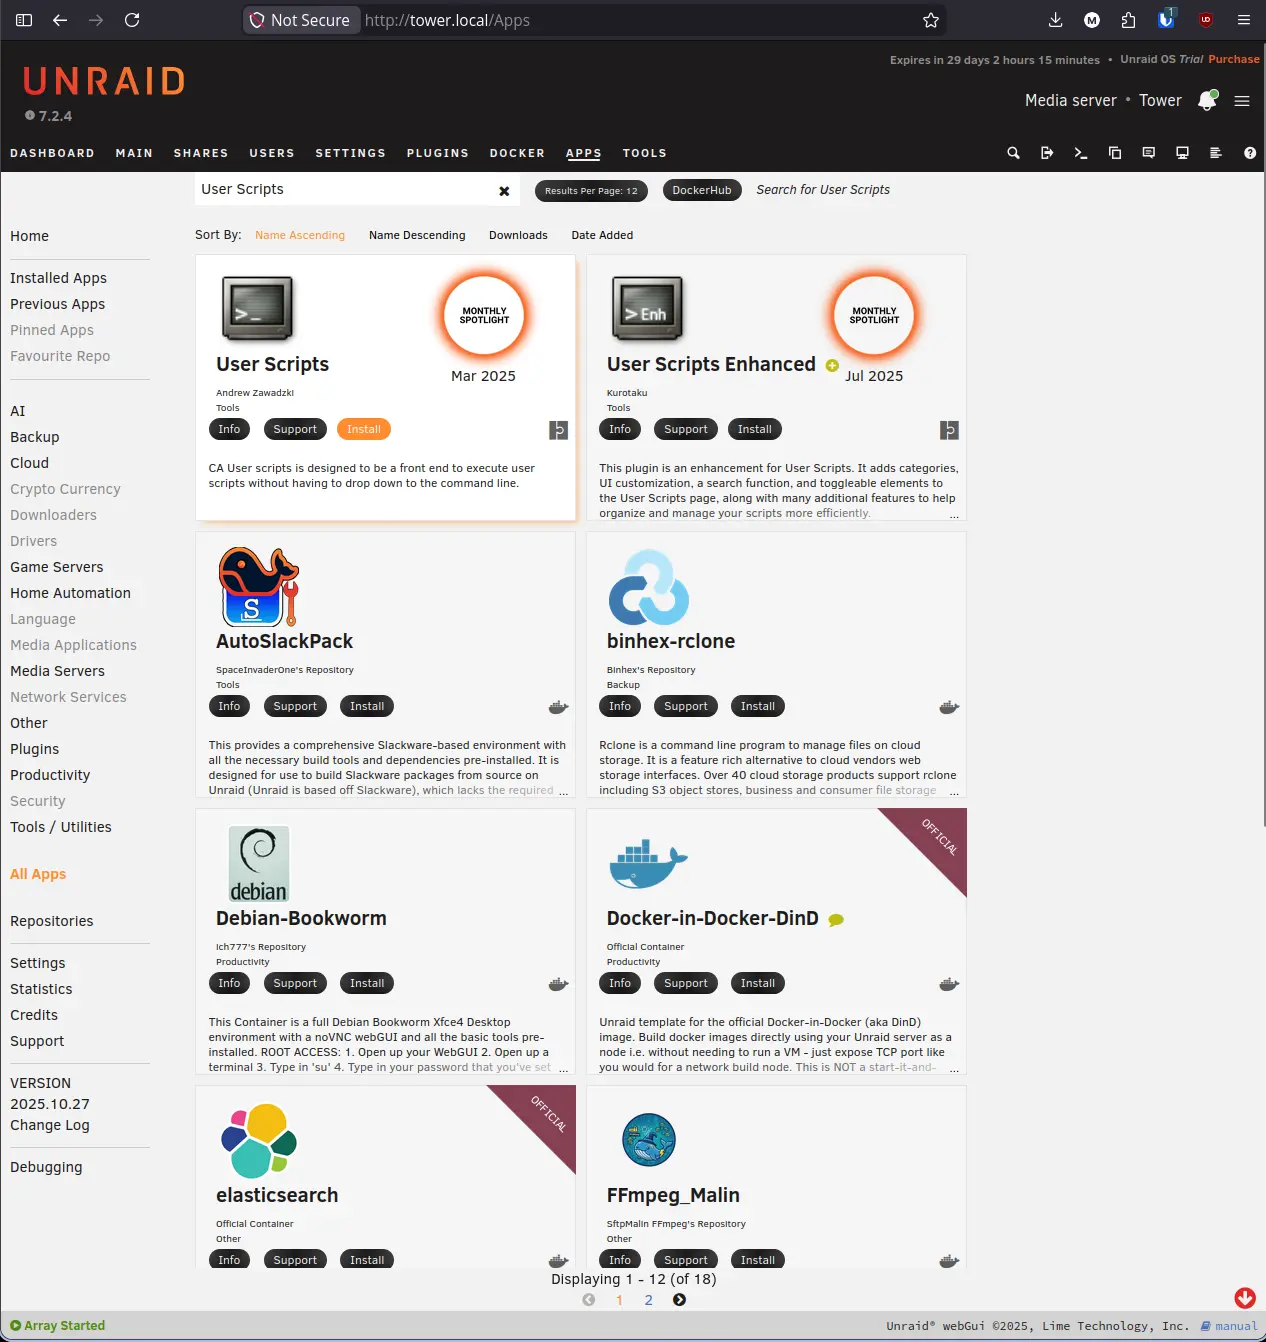
Step 6: Install User Scripts#
User Scripts gives you a web-based interface for creating and scheduling bash scripts on your Unraid server. You can write scripts directly in the browser, run them manually with a button click, or set them on a cron schedule to run automatically. It is the primary way to automate recurring tasks on Unraid without dropping to the command line every time.
- In the CA search bar, type User Scripts and press Enter.
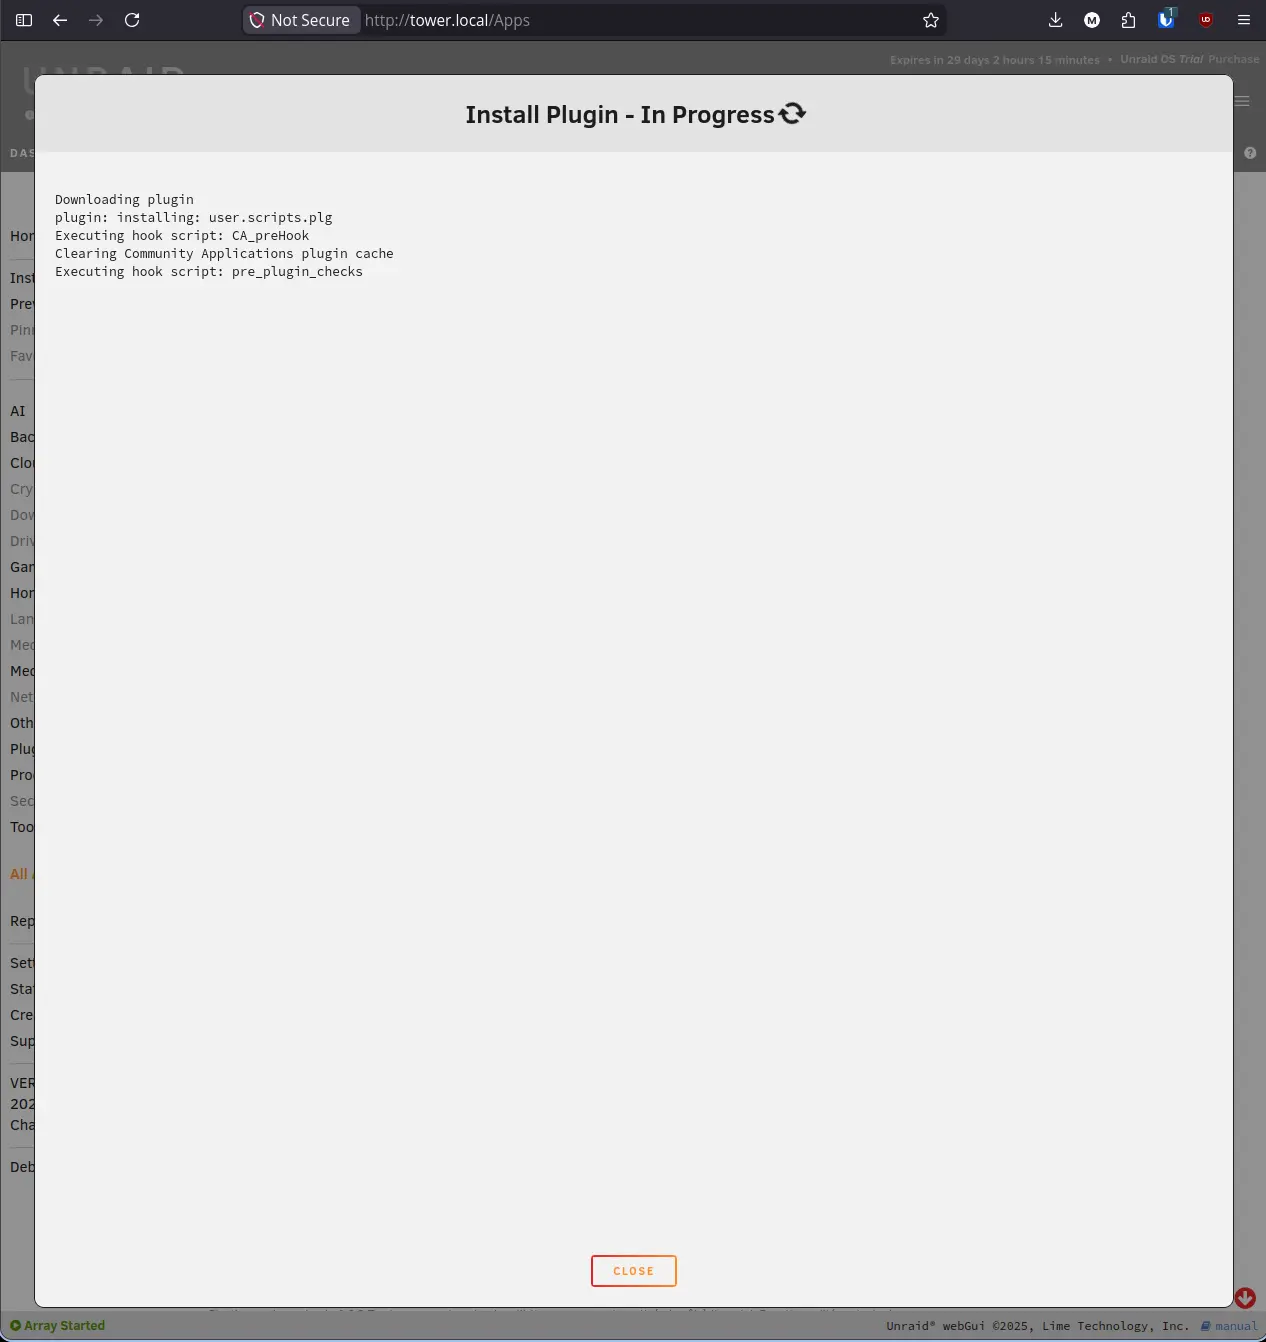
- Find the result from Andrew Zawadzki and click Install.
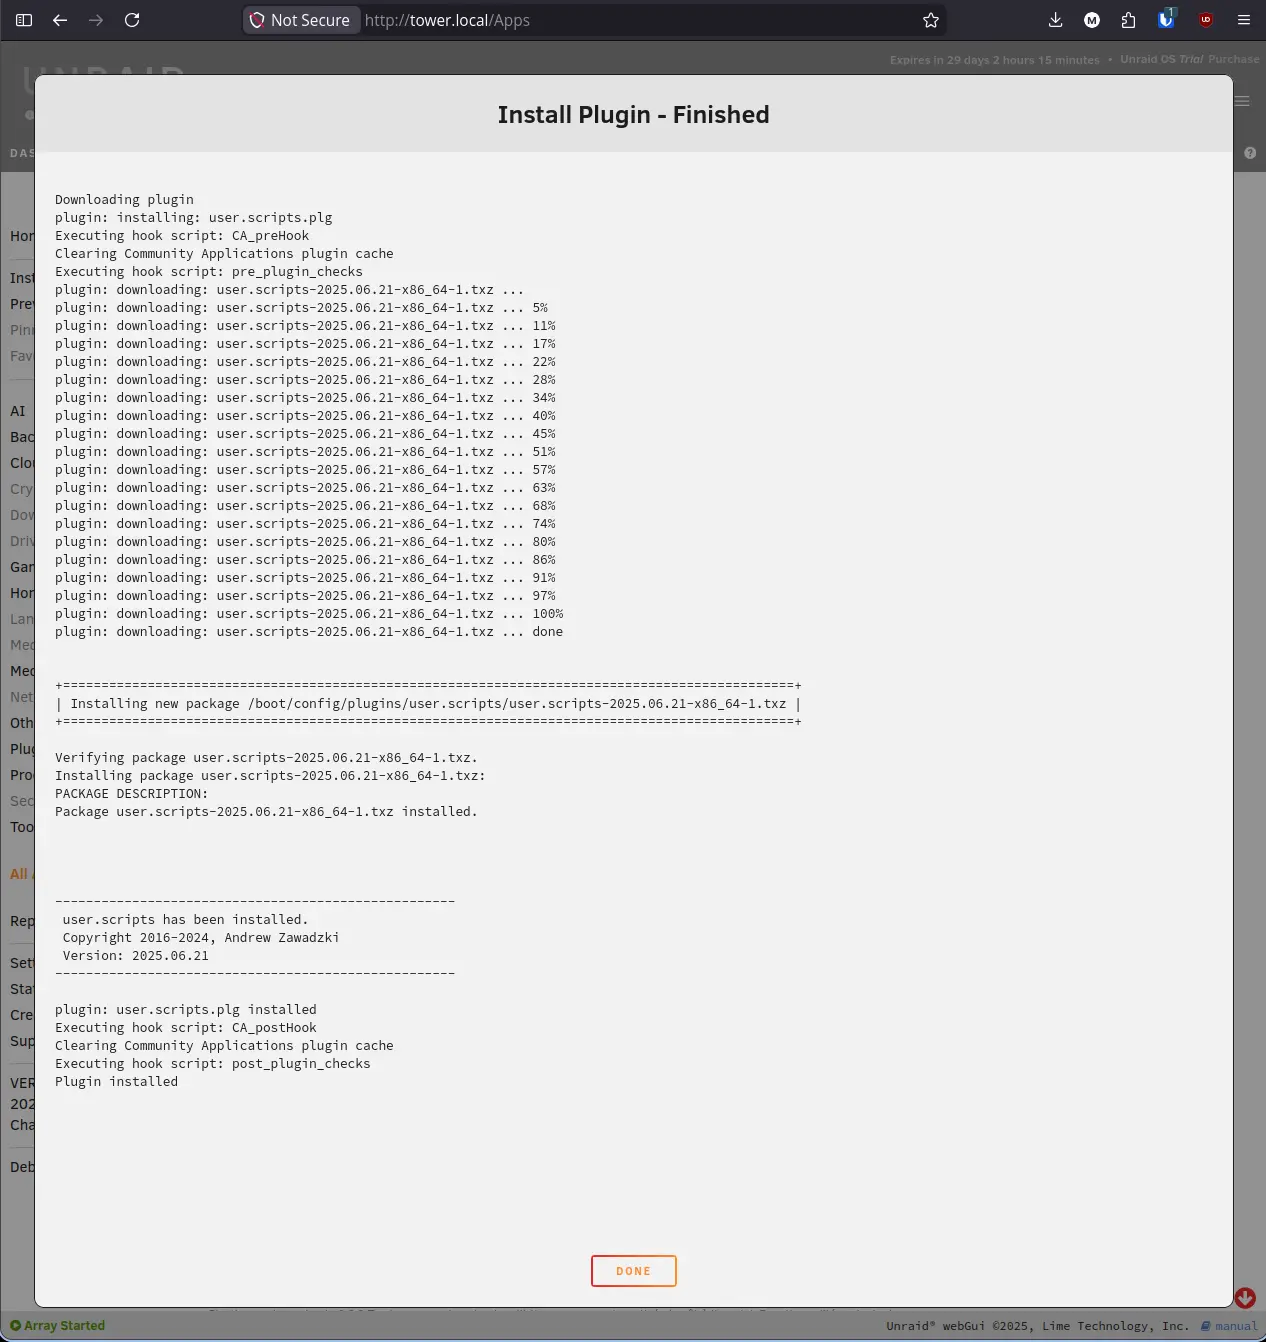
Step 7: Install Fix Common Problems#
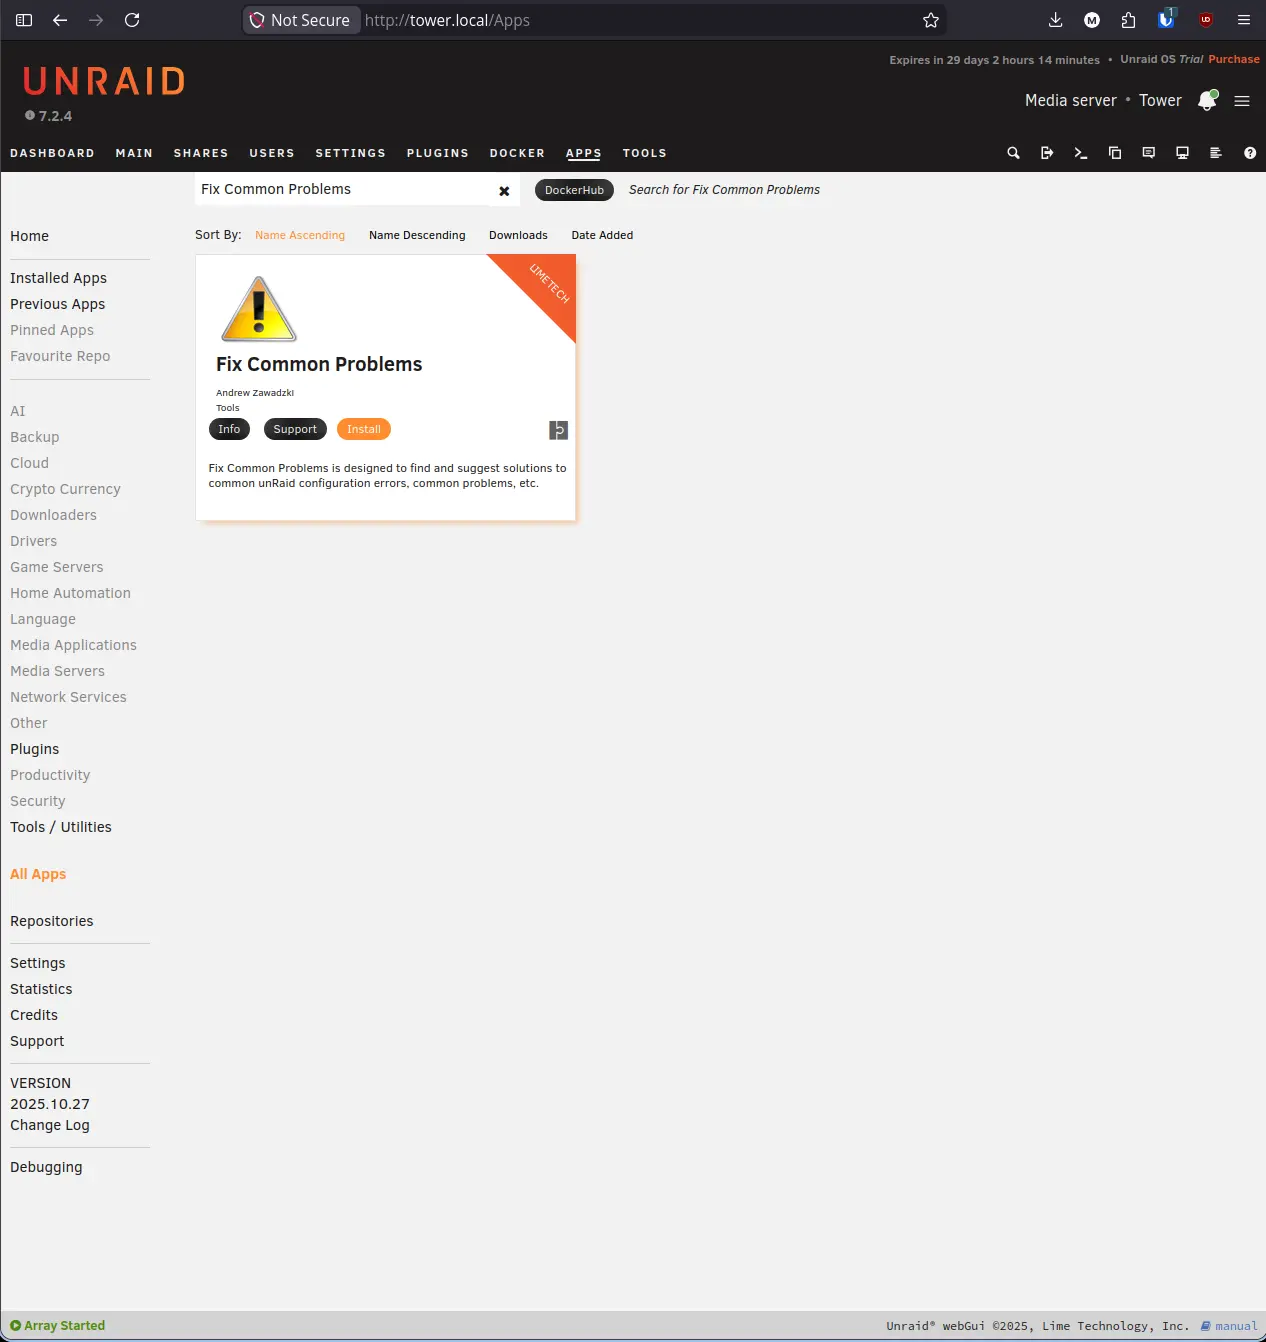
Fix Common Problems (FCP) scans your Unraid configuration and checks for known issues, misconfigurations, and potential problems. It does not fix anything automatically. It surfaces issues and tells you exactly what to do about them. Running it after significant changes like adding plugins, modifying share settings, or updating Unraid is a good habit.
- In the CA search bar, type Fix Common Problems and press Enter.
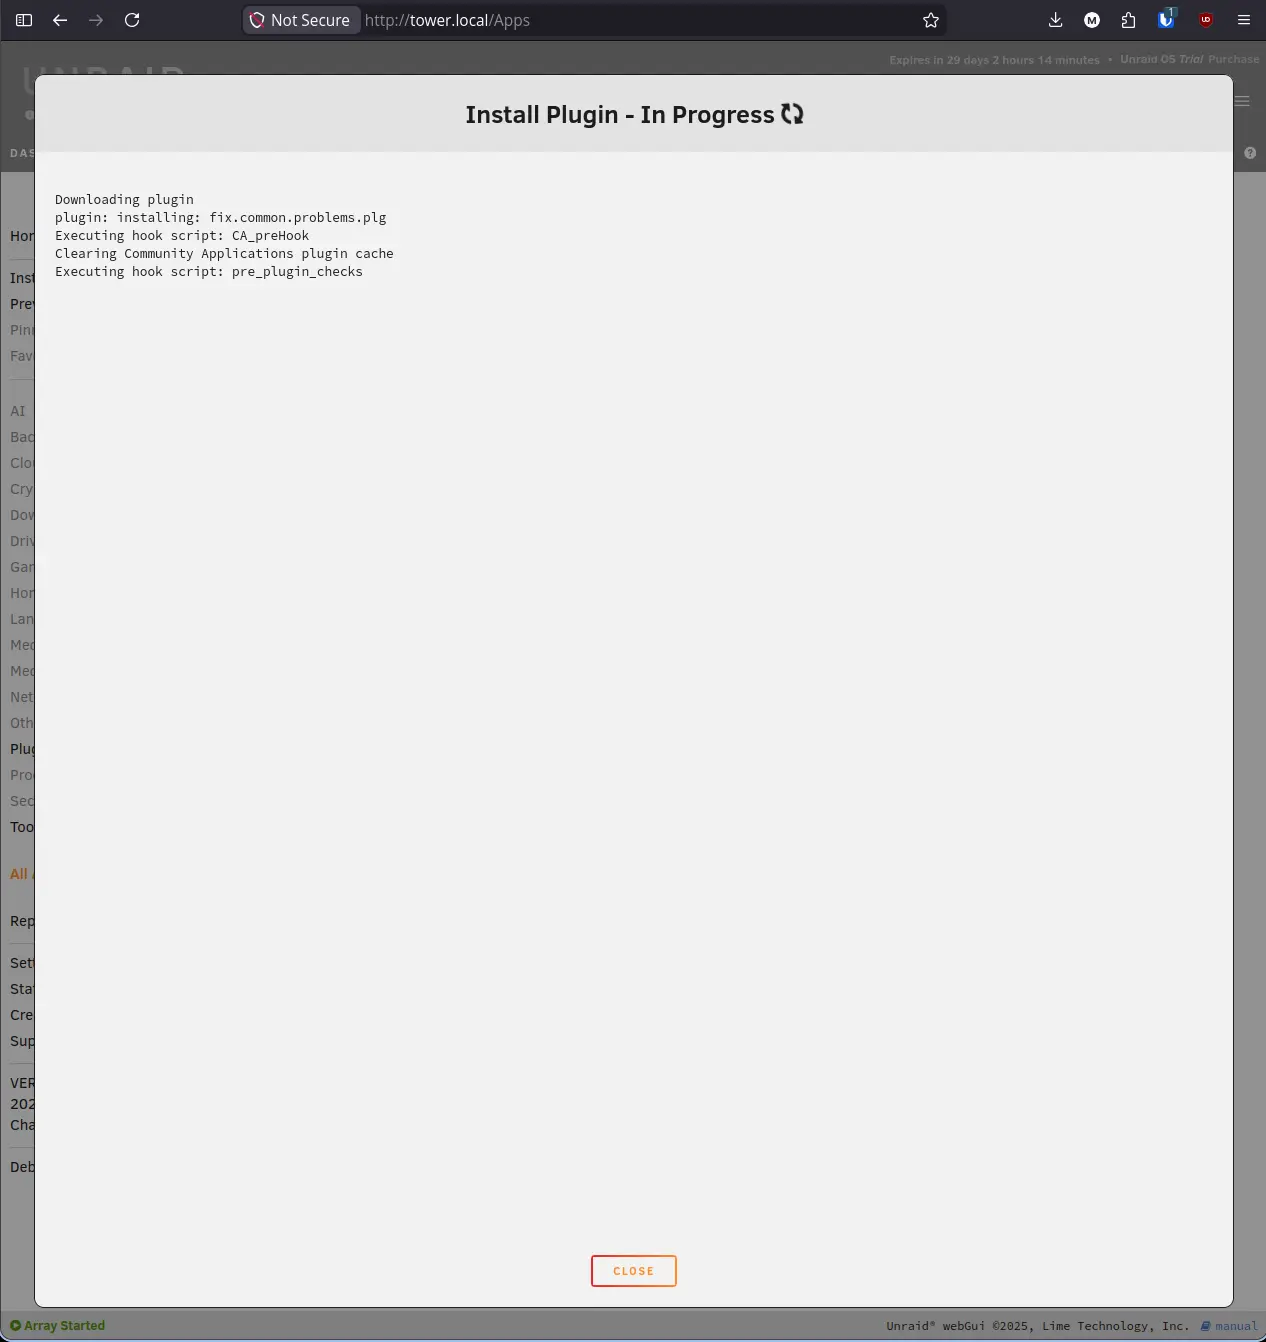
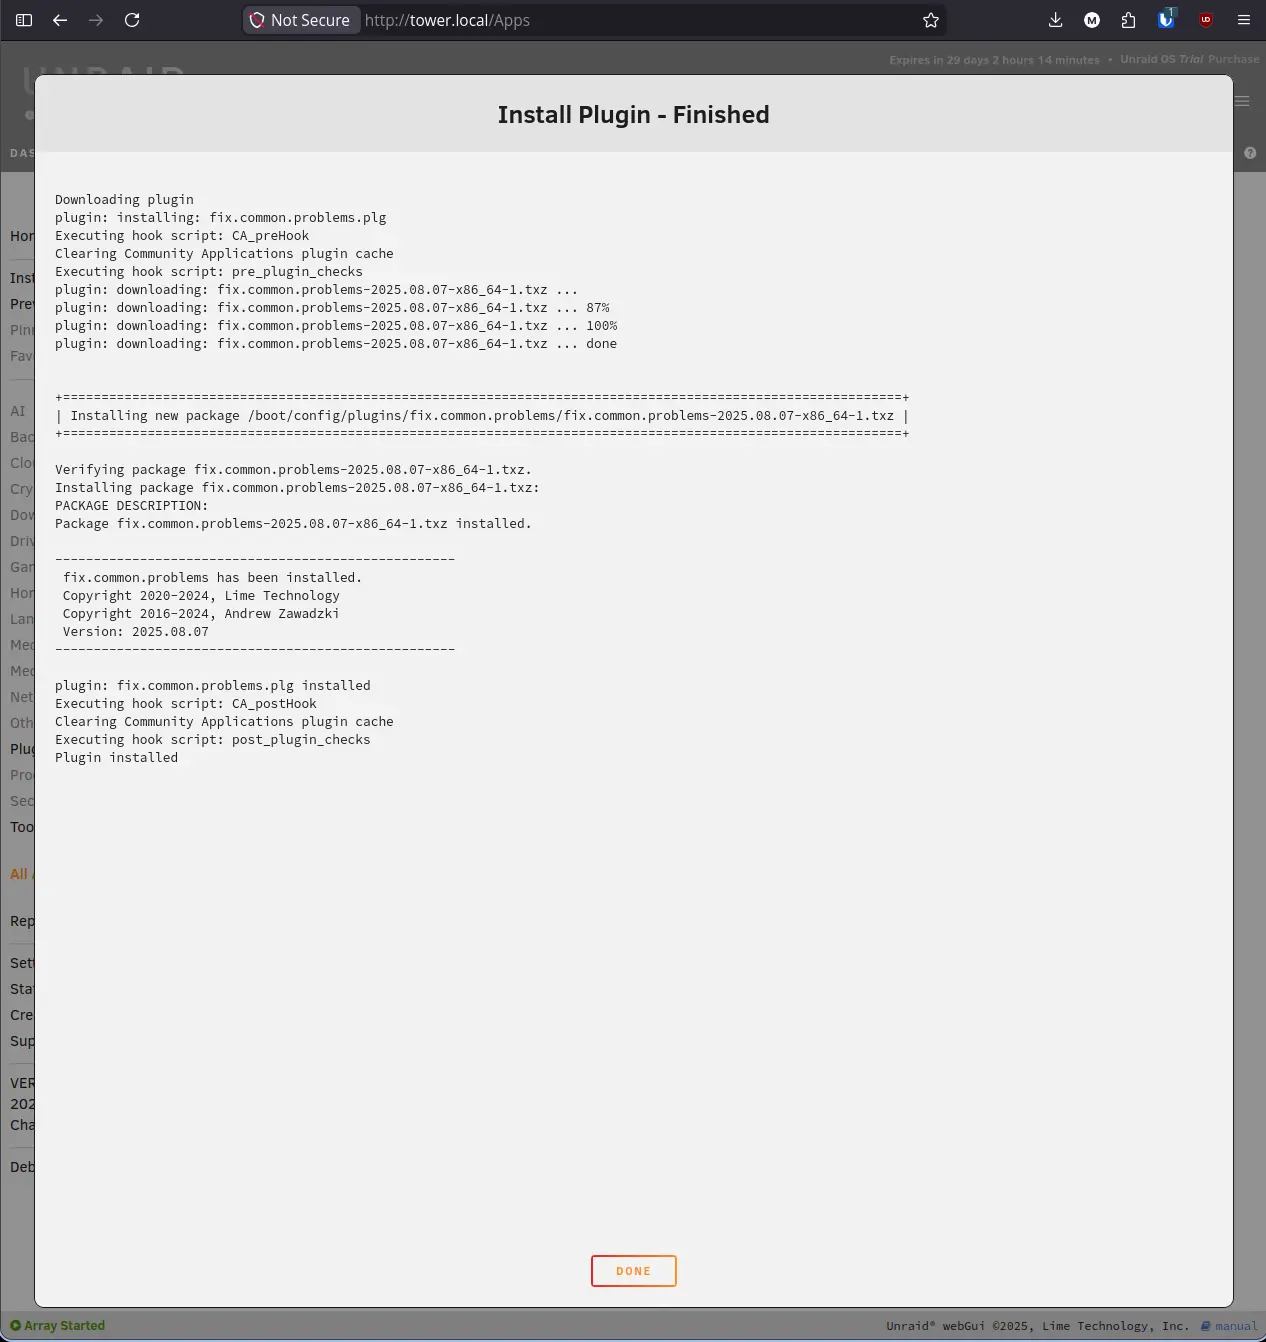
- Find the result from Lime Technology and click Install.
Step 8: Verify All Plugins Are Installed#
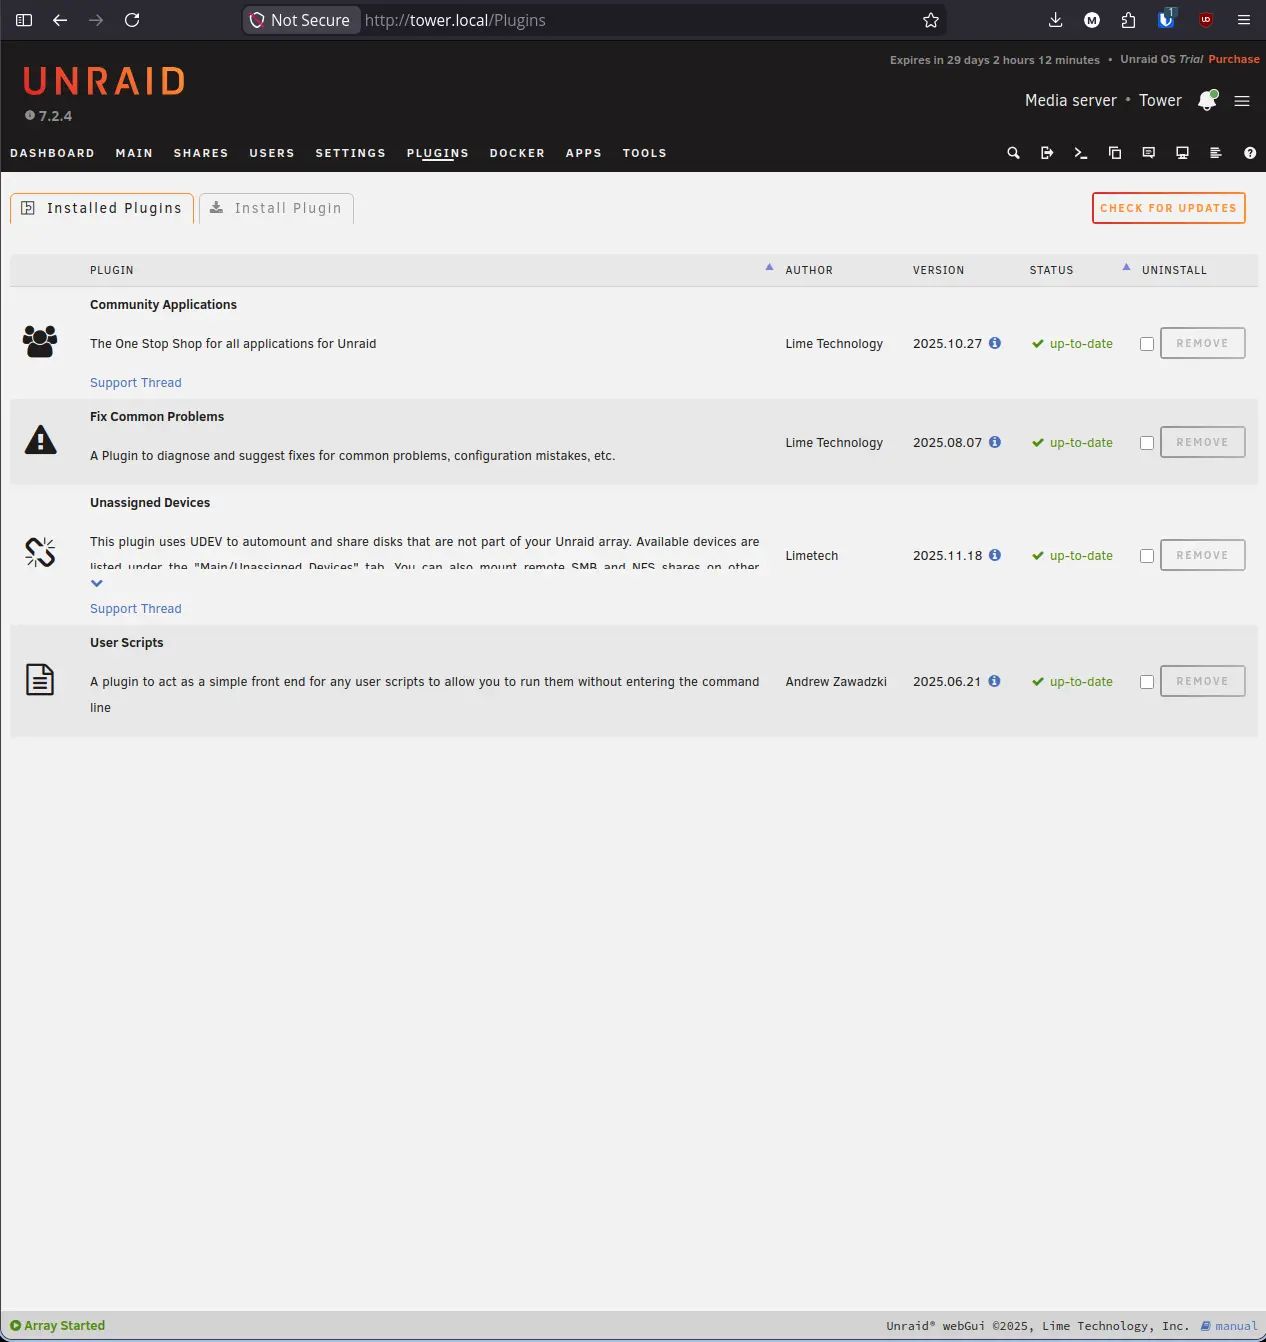
Navigate to Plugins in the top navigation bar. You should now see all four plugins listed with their versions.

Click Check for Updates in the top right corner to run an update check against all installed plugins.
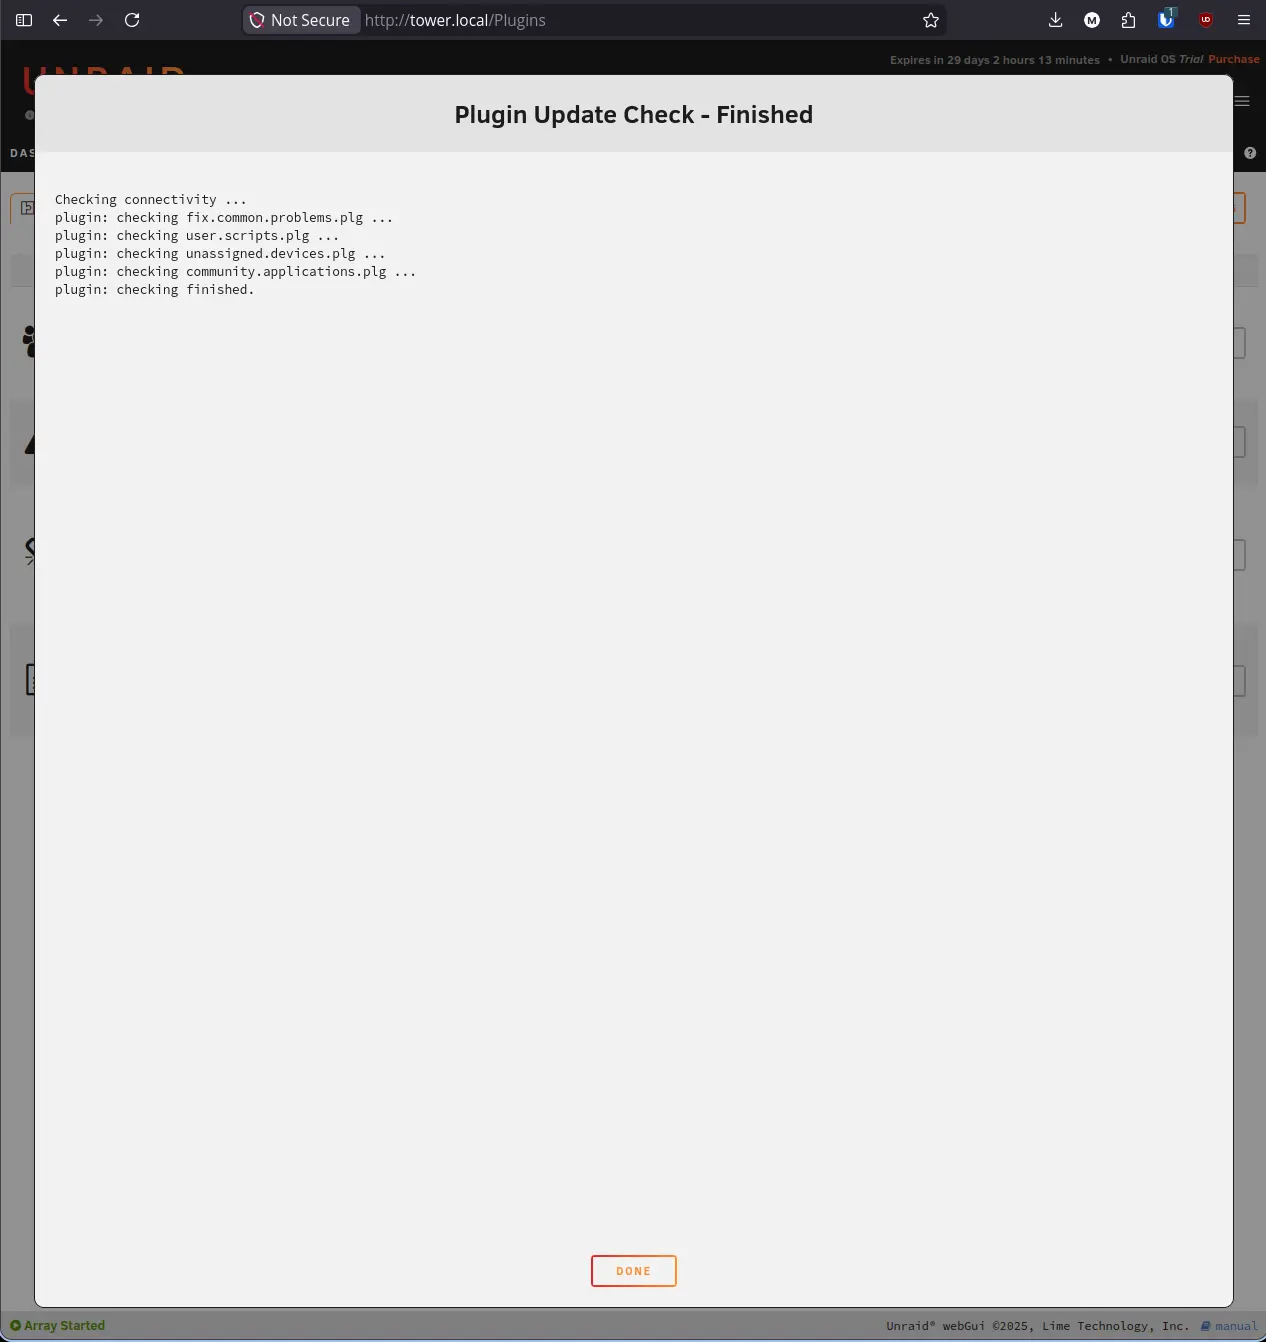
After the check completes, all four plugins should show a green up-to-date status.
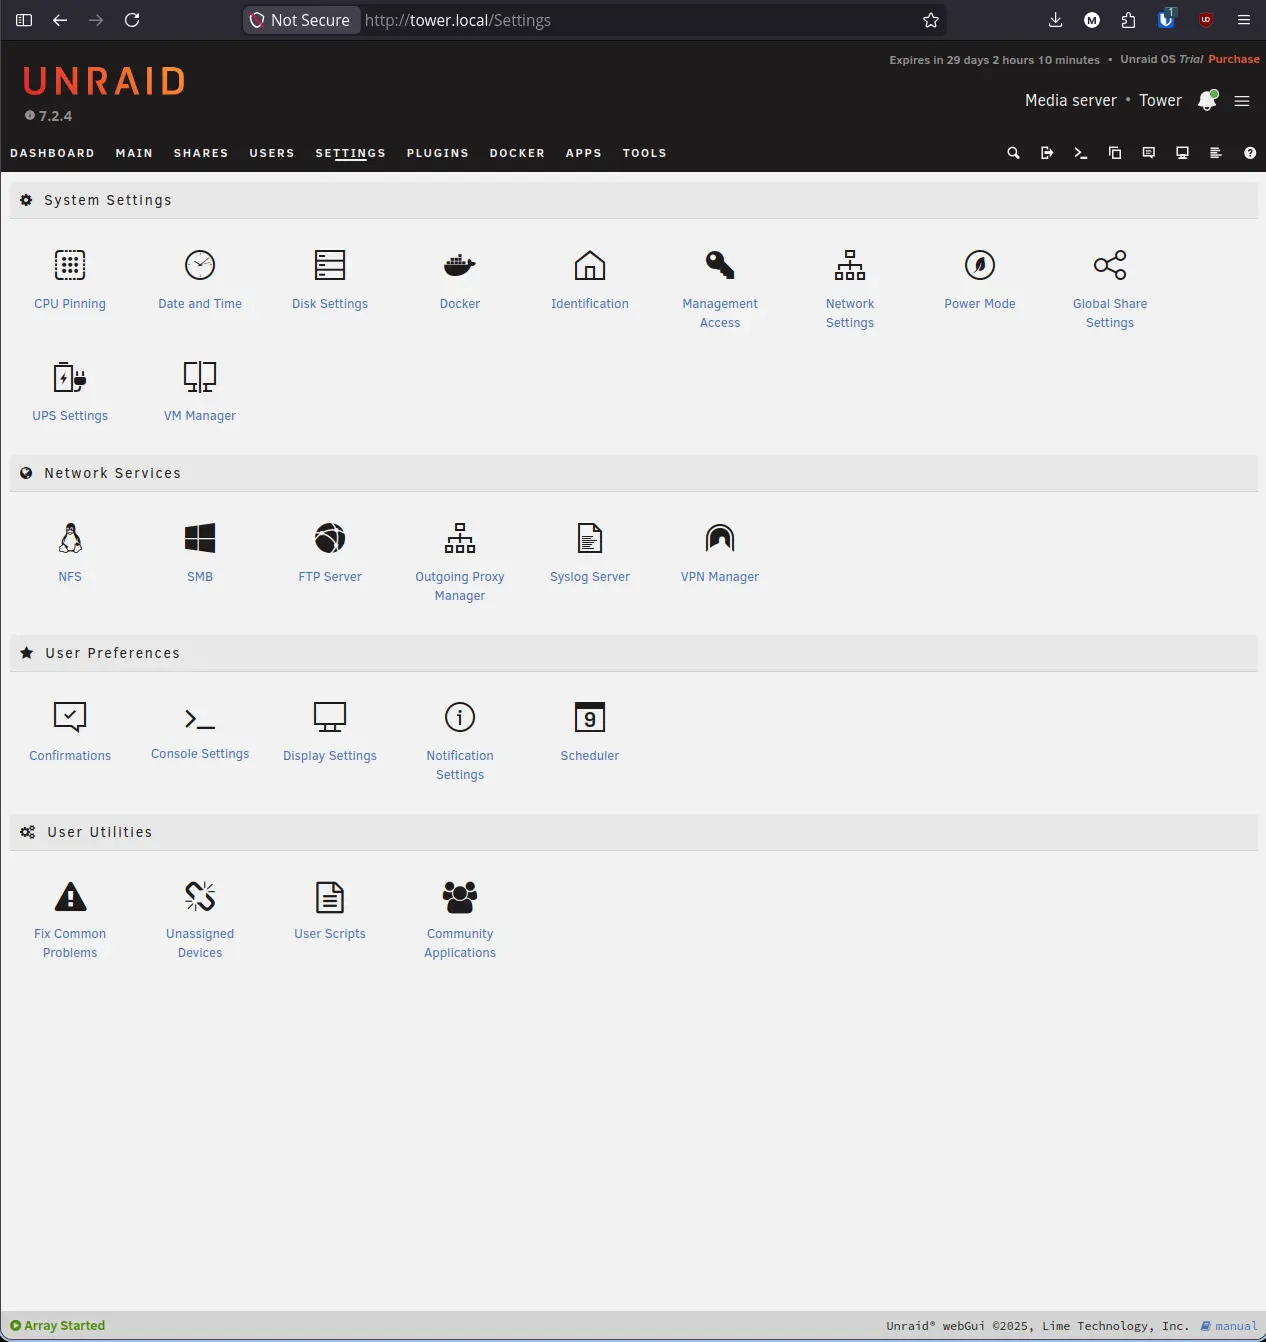
Step 9: Confirm Plugin Access in Settings#
Navigate to Settings. Scroll down to the User Utilities section. You should now see Fix Common Problems, Unassigned Devices, User Scripts, and Community Applications listed as tiles. This is how you access each plugin’s configuration going forward.
Lab Notes & Troubleshooting#
The Apps tab shows “Docker Service Not Enabled” after CA installs. This is expected on a fresh install. CA loads the full catalog regardless. The banner is informational. Follow Step 4 to enable Docker before installing any containers.
Fix Common Problems shows warnings right after install. On a fresh server, FCP commonly flags that Plugin Update Check and Docker Update Check are not configured. This is normal.
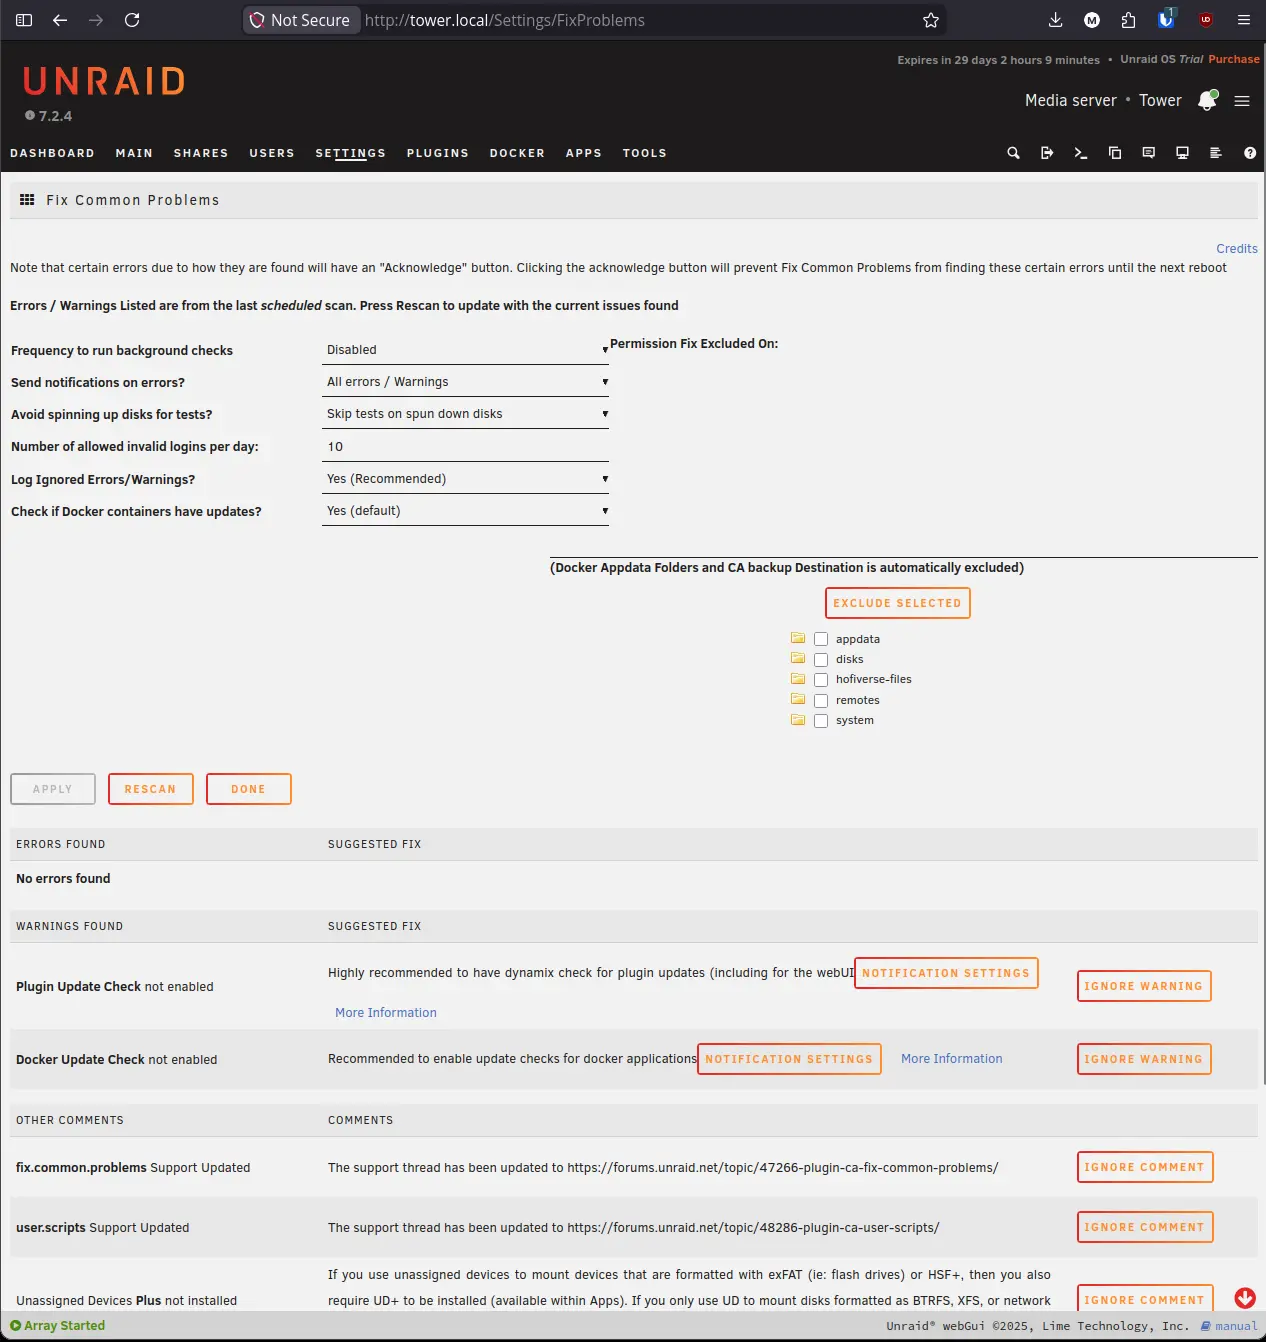
Click Notification Settings on each warning to configure automated update notifications, or click Ignore Warning to dismiss them if you prefer to manage updates manually. FCP may also flag that Unassigned Devices Plus is not installed. This is an informational comment, not a warning. Install it from CA later if you need to mount exFAT or HFS+ formatted drives.
Install Plugin URL fails or times out. Check that your Unraid server has internet access. Open the terminal in the Unraid web UI (the terminal icon in the top right navigation) and run ping 8.8.8.8 to confirm connectivity. If the server cannot reach the internet, check your network settings under Settings > Network Settings.
Plugin shows “not available” for update status after install. Click Check for Updates on the Plugins tab. The status column only populates after an update check has been run. If it still shows “not available” after checking, the plugin repository may be temporarily unreachable. Try again later.
Searching in CA returns no results. If the search bar returns nothing, CA may still be loading its catalog in the background after a fresh install. Wait 30 seconds and try again. If the problem persists, go to Apps > Settings and click Refresh Repositories.
Summary#
Your Unraid server now has a working app store, Docker running, and three essential plugins installed and verified. Community Applications gives you access to the full catalog of self-hosted apps. Unassigned Devices handles non-array storage. User Scripts handles task automation. Fix Common Problems keeps your configuration healthy. The next guide covers keeping Unraid itself up to date and locking down server security.
Next Step: Keeping Unraid Updated and Secure