The Unraid app store is great for getting a single container running quickly, but it does not scale well. Docker Compose (a tool for defining and running multi-container applications using a single configuration file) gives you a repeatable, readable, and version-controllable way to manage your containers. This tutorial walks you through setting it up on Unraid from scratch.
Executive Summary#
By the end of this tutorial you will have the Compose Manager Plus plugin installed in Unraid, a directory structure for organizing your stacks, and a working example compose file that uses environment variables to keep sensitive values out of your config. You will also know how to start, stop, and update stacks from both the terminal and the Unraid UI.
Prerequisites#
| Component | Requirement |
|---|---|
| Unraid OS | 6.10 or later |
| Docker | Enabled in Unraid Settings |
| Community Applications | Installed (see Installing and Managing Apps in Unraid) |
core_net network | Created (see Configuring Docker Networks in Unraid) |
| SSH access | Recommended (see Setting Up SSH and SSL in Unraid) |
Implementation#
Step 1: Understand what Docker Compose is#
Before installing anything, it helps to understand the problem Docker Compose solves.
When you launch a container from the Unraid UI, Unraid stores the settings internally as a template. This works fine for a single container, but it has drawbacks. Templates are difficult to back up, hard to share, and require clicking through a UI every time you want to make a change. There is also no easy way to define how multiple containers relate to each other.
Docker Compose solves this by letting you describe your containers in a plain text file called docker-compose.yml. A YAML (Yet Another Markup Language, a human-readable text format for structured data) file defines everything about your container in one place: the image to use, environment variables, ports, volumes, and which network it belongs to. You can store this file anywhere, back it up, and recreate your entire stack from scratch with a single command.
Step 2: Install Compose Manager Plus#
Compose Manager Plus is a plugin that adds a Compose section directly to the Unraid Docker tab so you can manage your stacks from the UI without needing the terminal every time.
Why Compose Manager Plus and not Compose Manager? The original Compose Manager plugin by dcflachs has been deprecated and will no longer receive updates or support. Compose Manager Plus by mstrhakr is the official drop-in replacement and continuation of that project. If you search online for Docker Compose on Unraid you will find many older guides referencing the original plugin. Use Compose Manager Plus instead. You can read the deprecation notice on the original plugin’s Unraid forum thread and find the Compose Manager Plus source and documentation on GitHub.
- In the Unraid web UI, click Apps in the top navigation bar.
- In the search bar, type
Compose Manager Plus. - You will see two results: the stable release and a beta release marked with an orange BETA badge. Click Install on the stable release by mstrhakr.
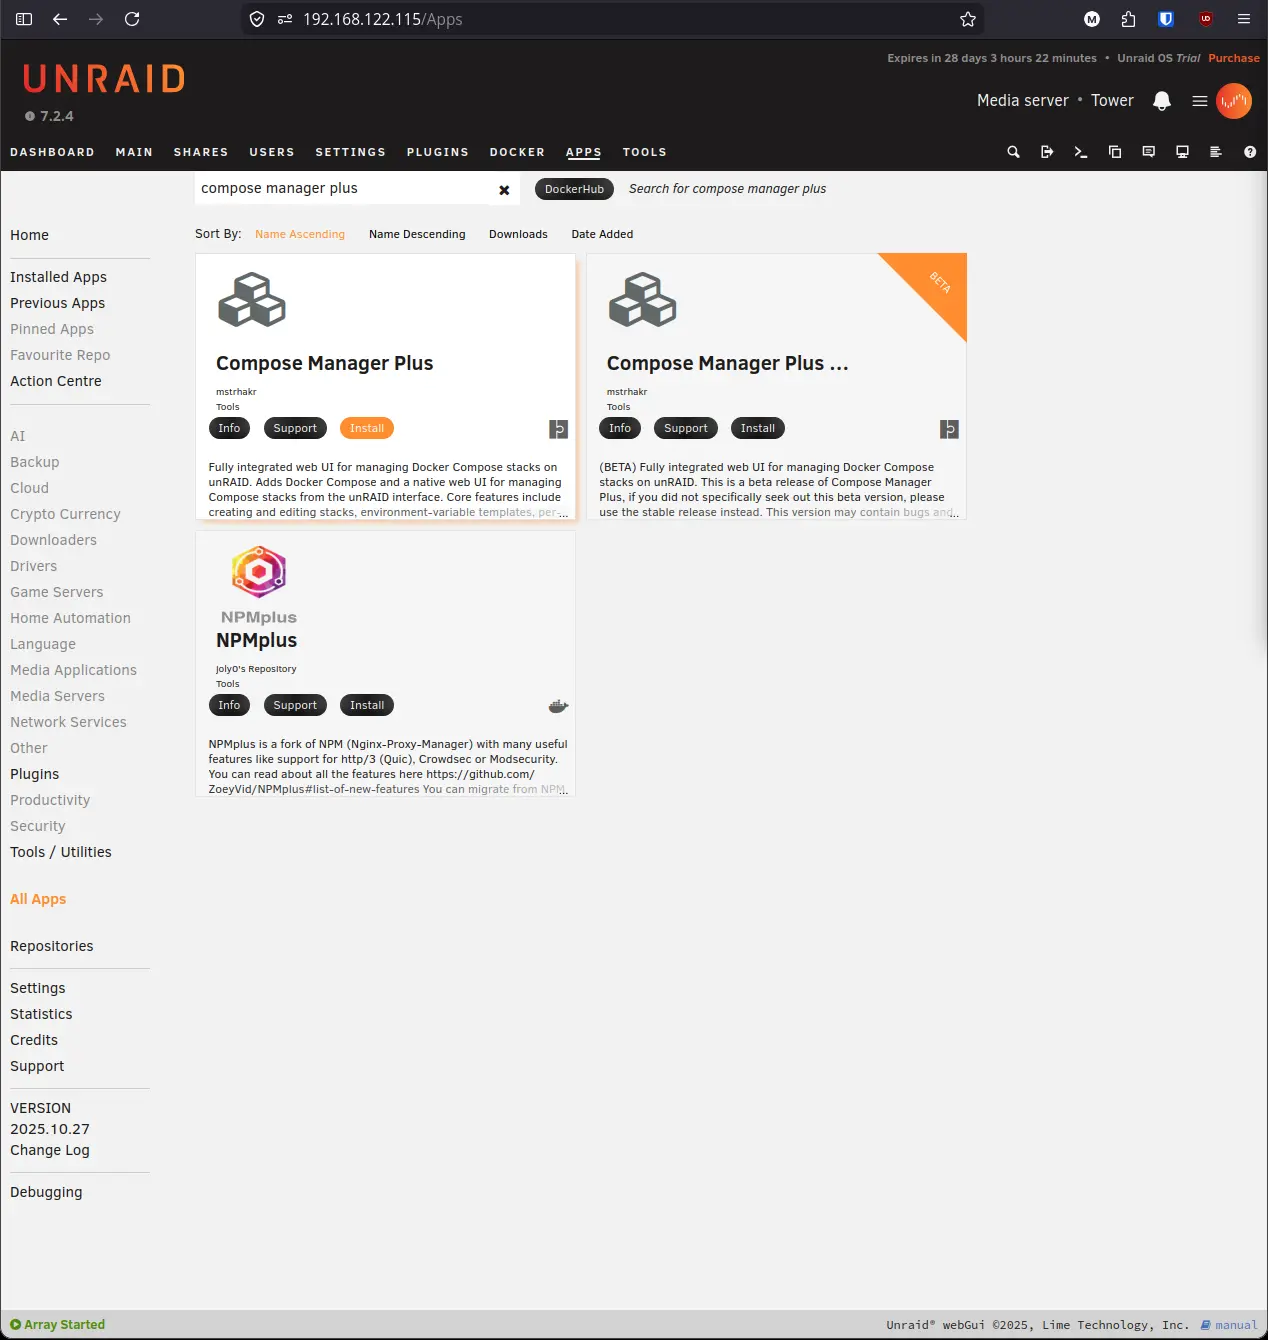
- The install progress screen will appear showing the download and package installation. Wait for it to complete.
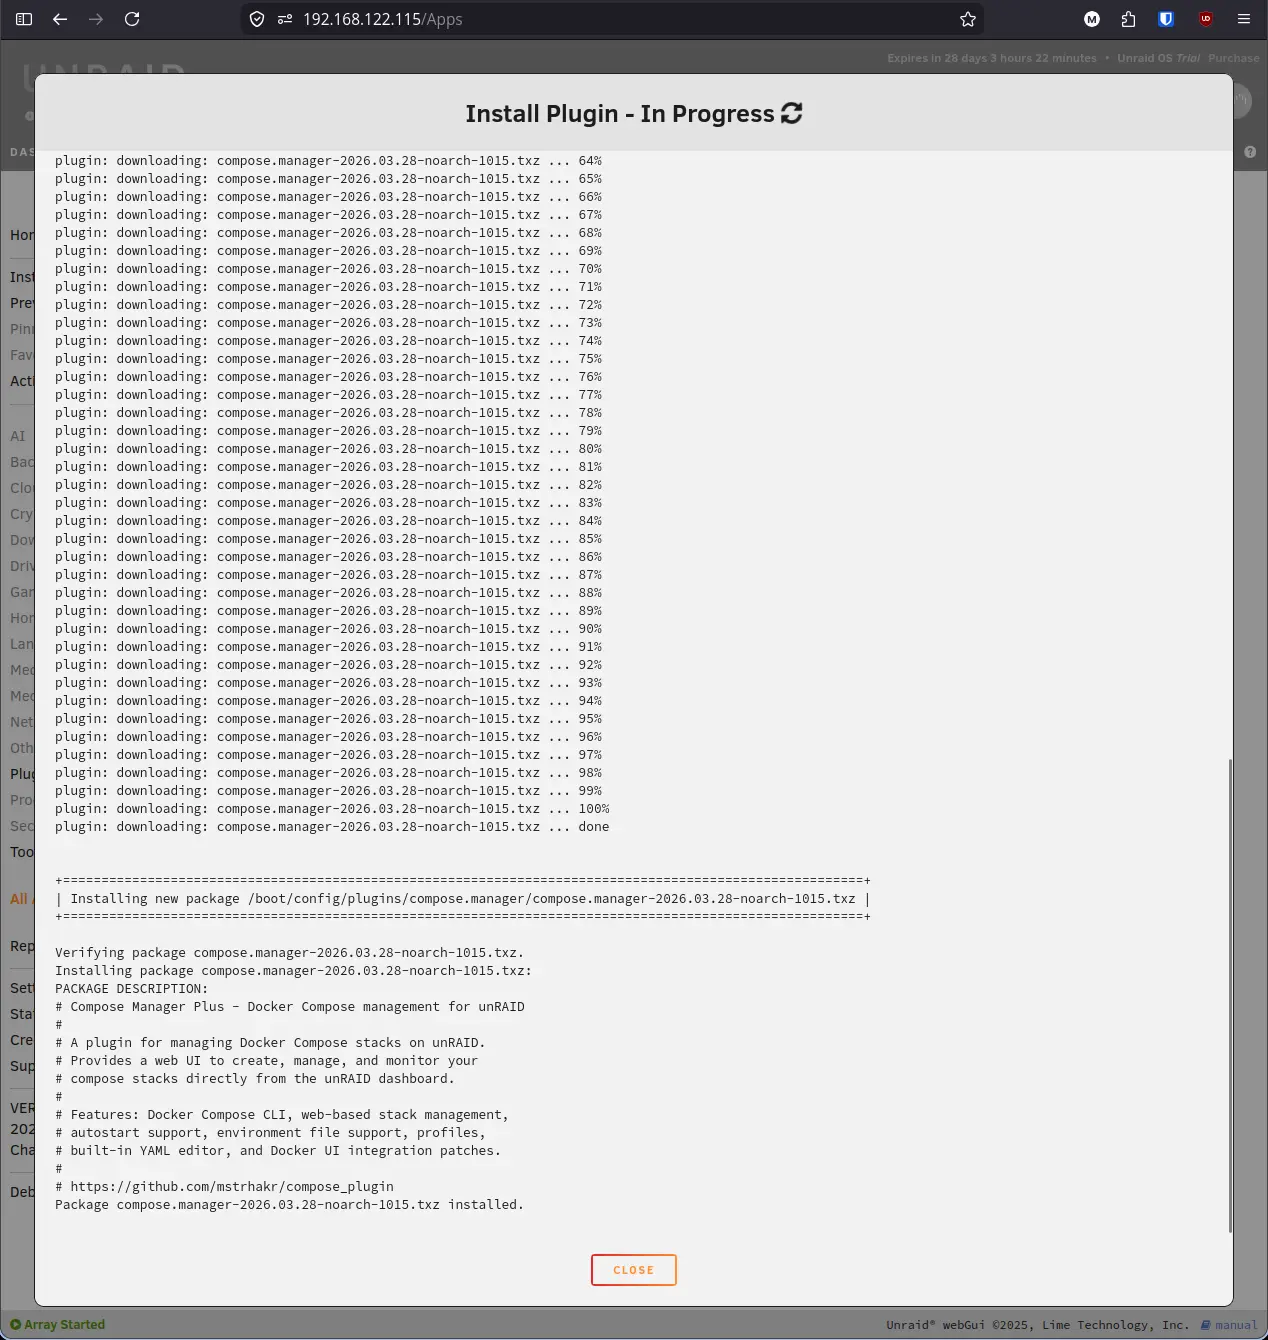
- When the screen shows Install Plugin - Finished and a Done button, click Done.
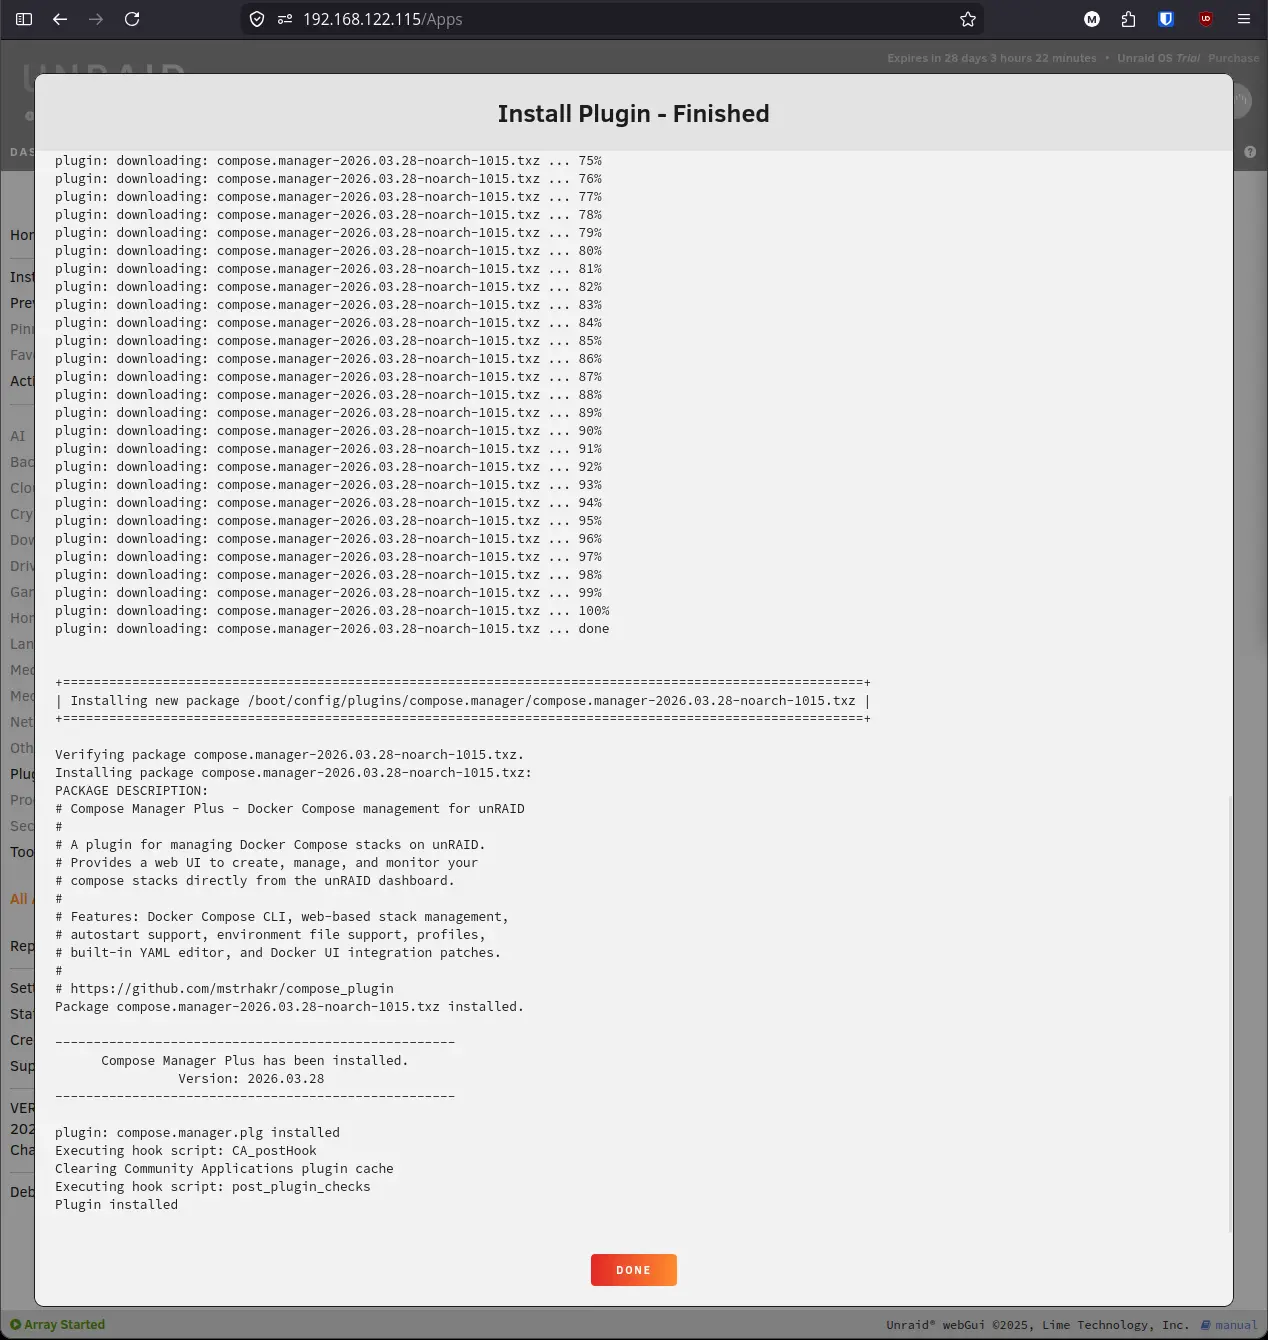
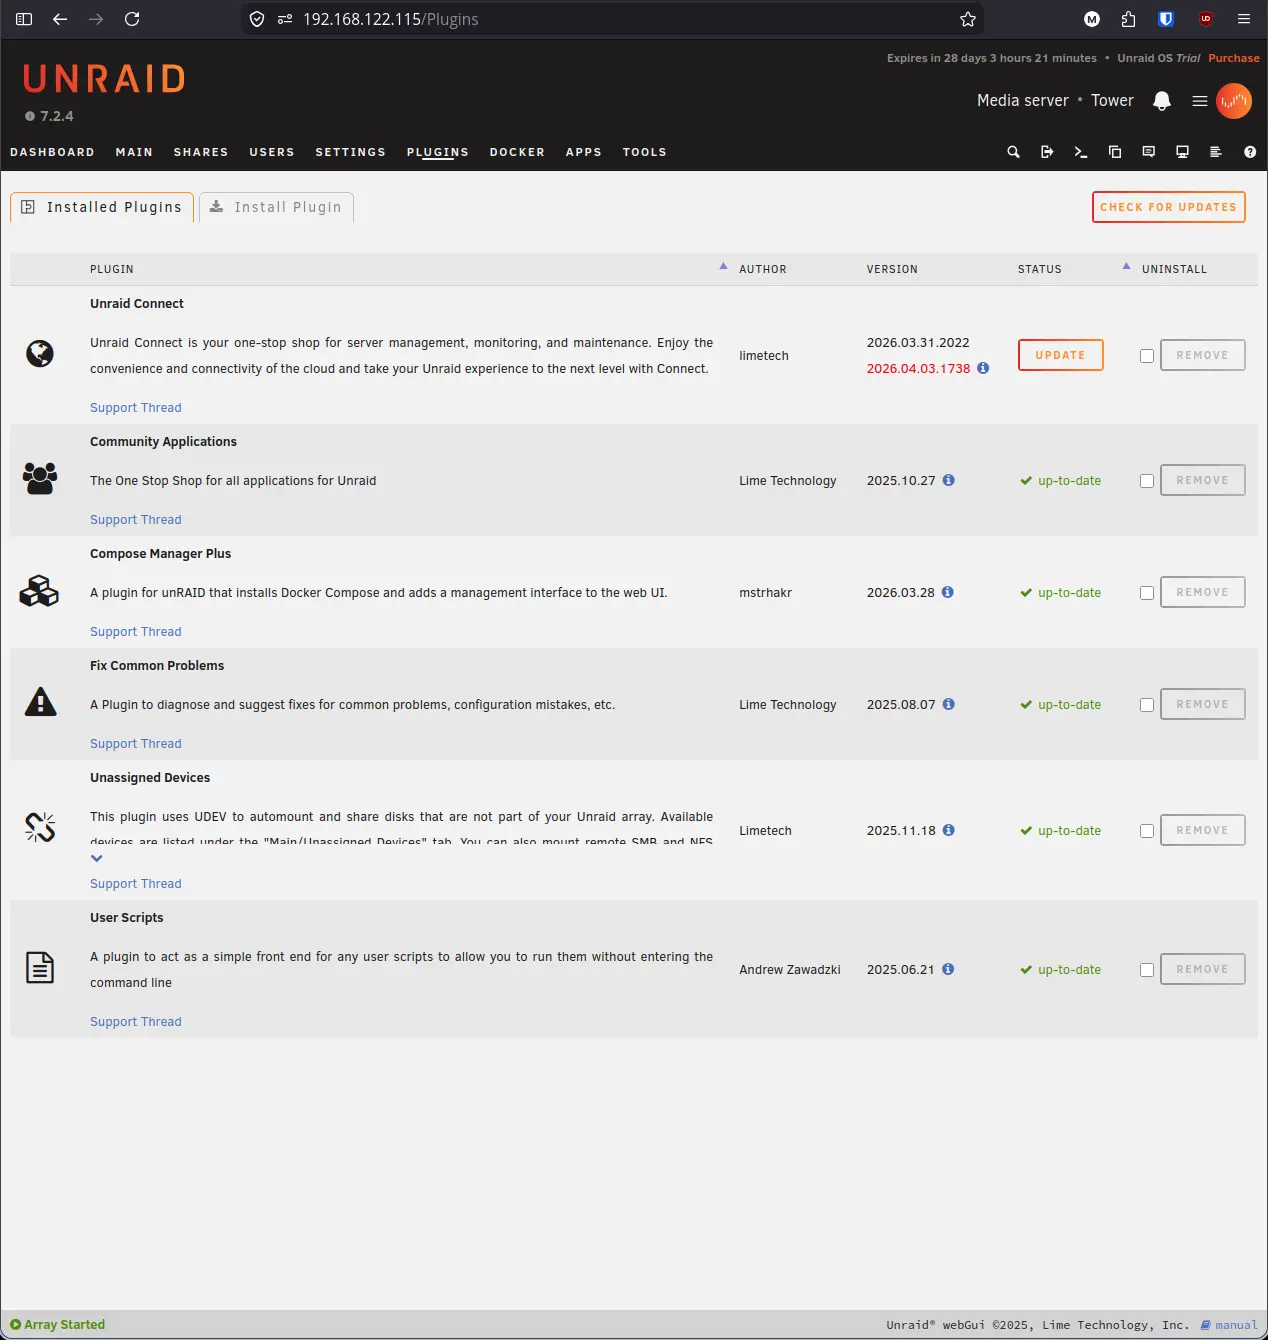
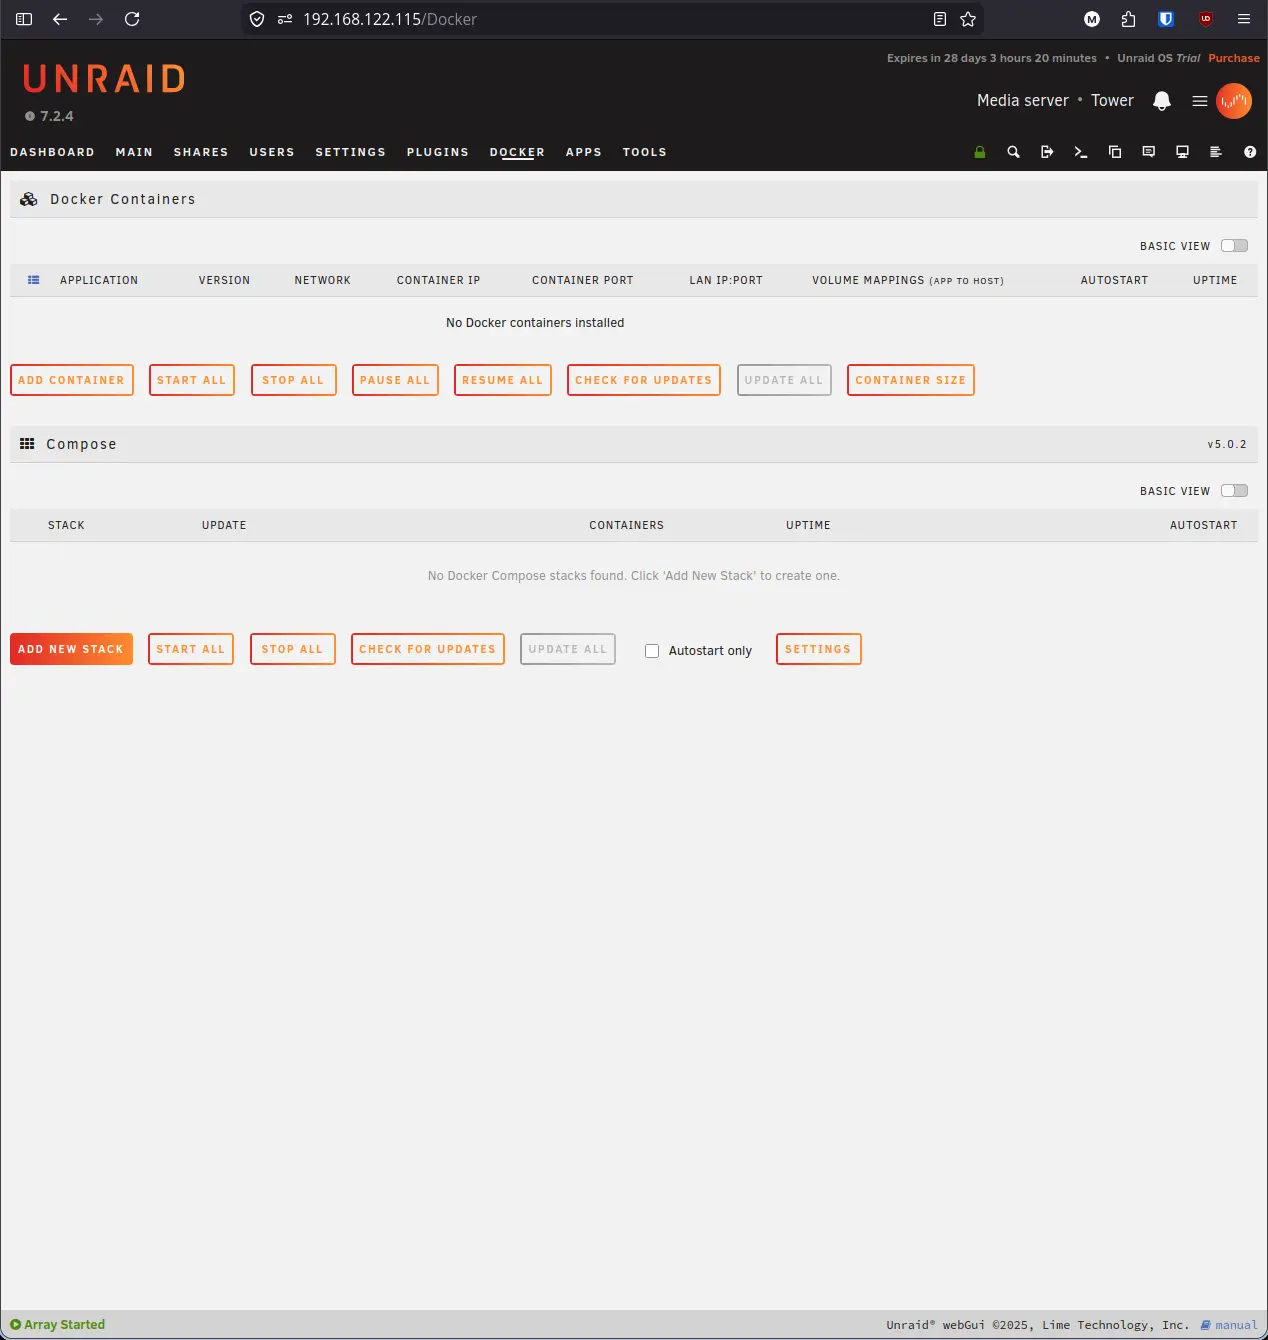
After install, open the Plugins tab to confirm Compose Manager Plus appears in the installed plugins list. Then click Docker in the top navigation bar. You will now see a Compose section at the bottom of the Docker tab with an Add New Stack button.
Step 3: Create your stack directory#
All compose stacks live under /mnt/user/compose/ on your Unraid server. Each stack gets its own subdirectory. Compose Manager Plus will store and edit the compose and .env files through its UI, but the directory itself needs to exist first.
Open a terminal via SSH and run:
mkdir -p /mnt/user/compose/example
ls /mnt/user/compose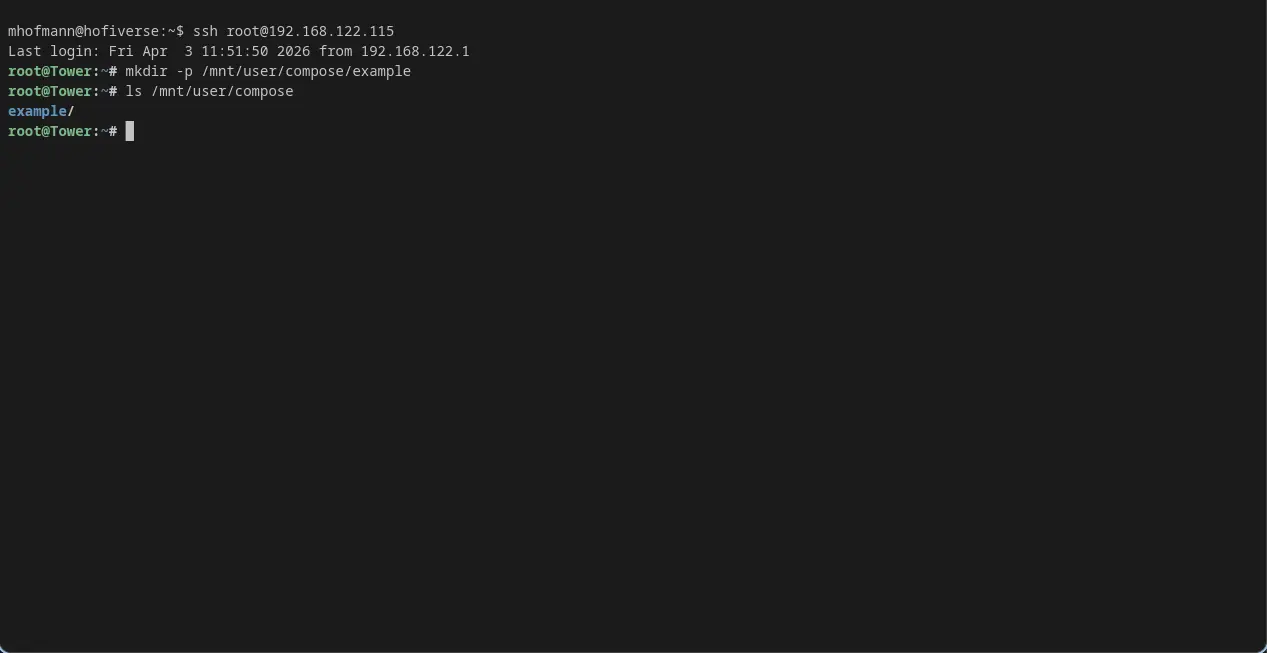
example directory was created under /mnt/user/compose/.
As you add more stacks later you will create additional subdirectories alongside it, for example /mnt/user/compose/media or /mnt/user/compose/security.
Step 4: Understand the compose file structure#
A docker-compose.yml file has a predictable structure. Here is a minimal example with the key sections labeled:
services:           # defines the containers in this stack
  my-container:     # this is the service name (used internally by Compose)
    image: some-image:latest    # the Docker image to pull
    container_name: my-container  # the name Docker gives the running container
    restart: unless-stopped     # restart automatically unless you stop it manually
    environment:                # environment variables passed into the container
      - MY_VARIABLE=my-value
    ports:                      # maps host ports to container ports (host:container)
      - "8080:80"
    volumes:                    # maps host directories into the container
      - /mnt/user/appdata/my-container:/data
    networks:                   # which Docker networks this container joins
      - core_net

networks:           # declares the networks used by services in this file
  core_net:
    external: true  # tells Compose this network already exists, do not create it
Each section is optional depending on what your container needs, but image and container_name are almost always present.
Step 5: Understand environment variables and the .env file#
Hardcoding sensitive values like passwords and API keys directly into a compose file is a bad habit. If you ever share the file or commit it to a Git repository (a version control system for tracking changes to files), those values are exposed.
The solution is a .env file (a plain text file that stores key-value pairs used as variables). Docker Compose automatically reads a .env file in the same directory as your docker-compose.yml and substitutes the values into your config at runtime.
For example, instead of writing:
environment:
  - DB_PASSWORD=mysecretpassword
You write:
environment:
  - DB_PASSWORD=${DB_PASSWORD}
And in your .env file:
DB_PASSWORD=mysecretpasswordThe compose file stays safe to share. The .env file stays private.
Step 6: Add the stack to Compose Manager Plus#
Now that the directory exists, add it to Compose Manager Plus so you can edit the compose and .env files from the UI.
- In the Unraid web UI, click the Docker tab.
- Scroll down to the Compose section and click Add New Stack.
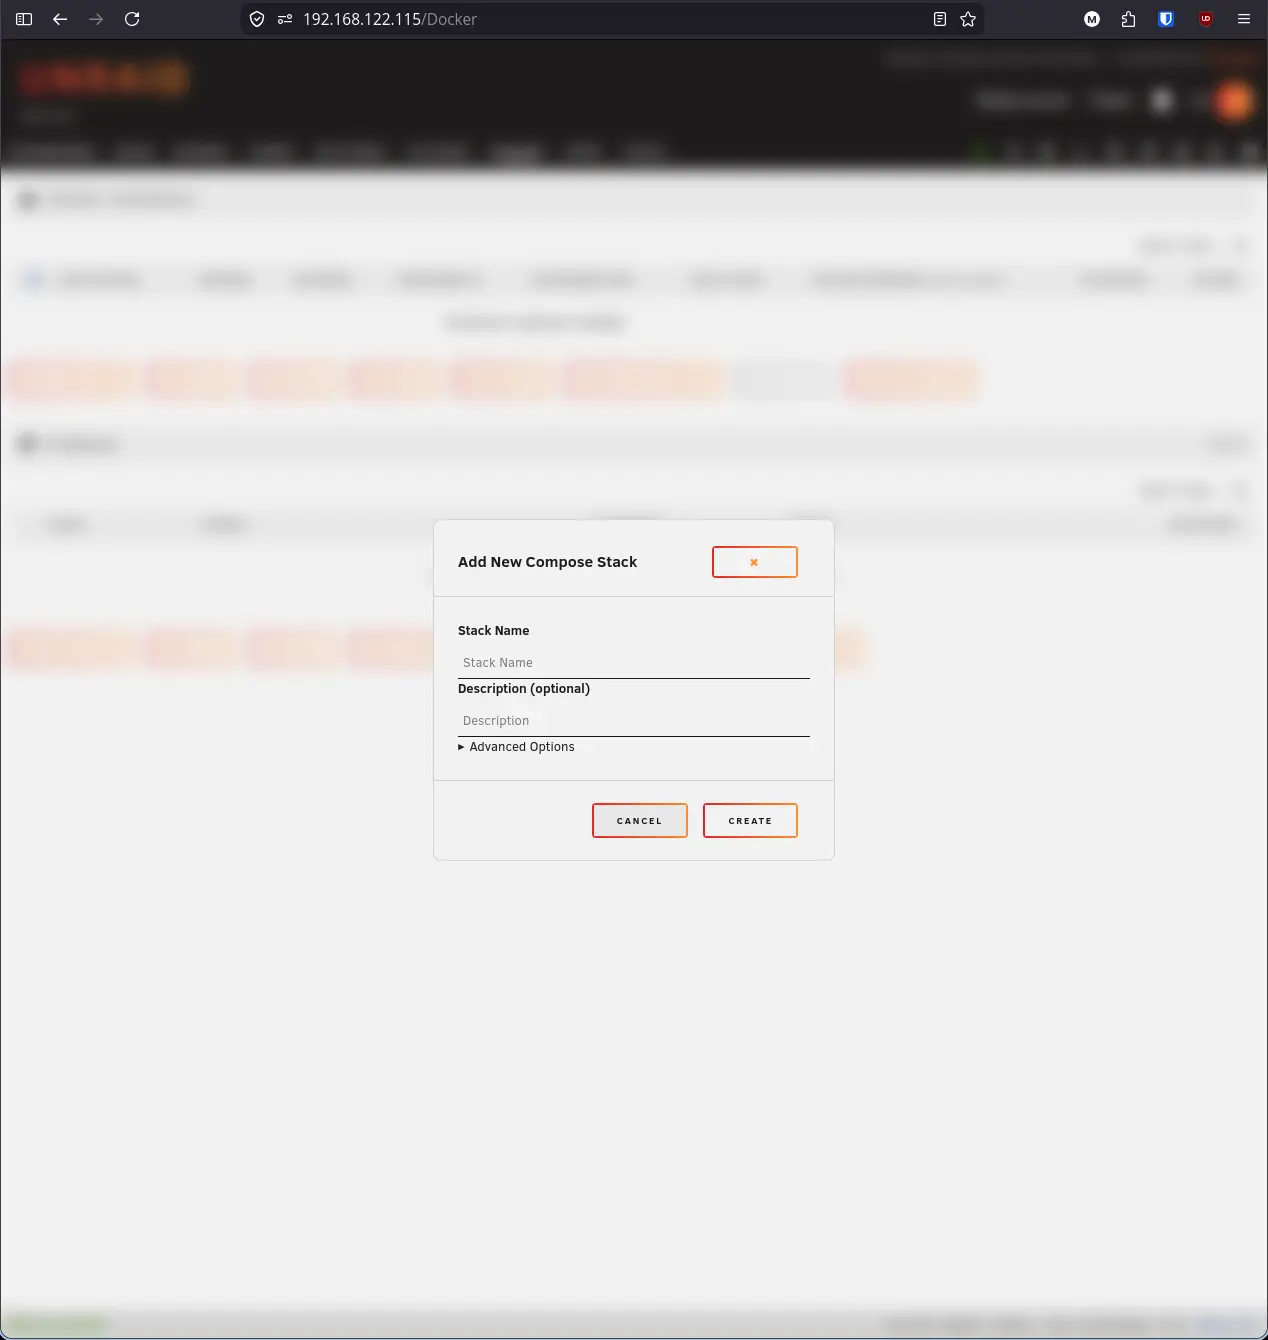
- In the Stack Name field, type
example - whoami. - Add a description like
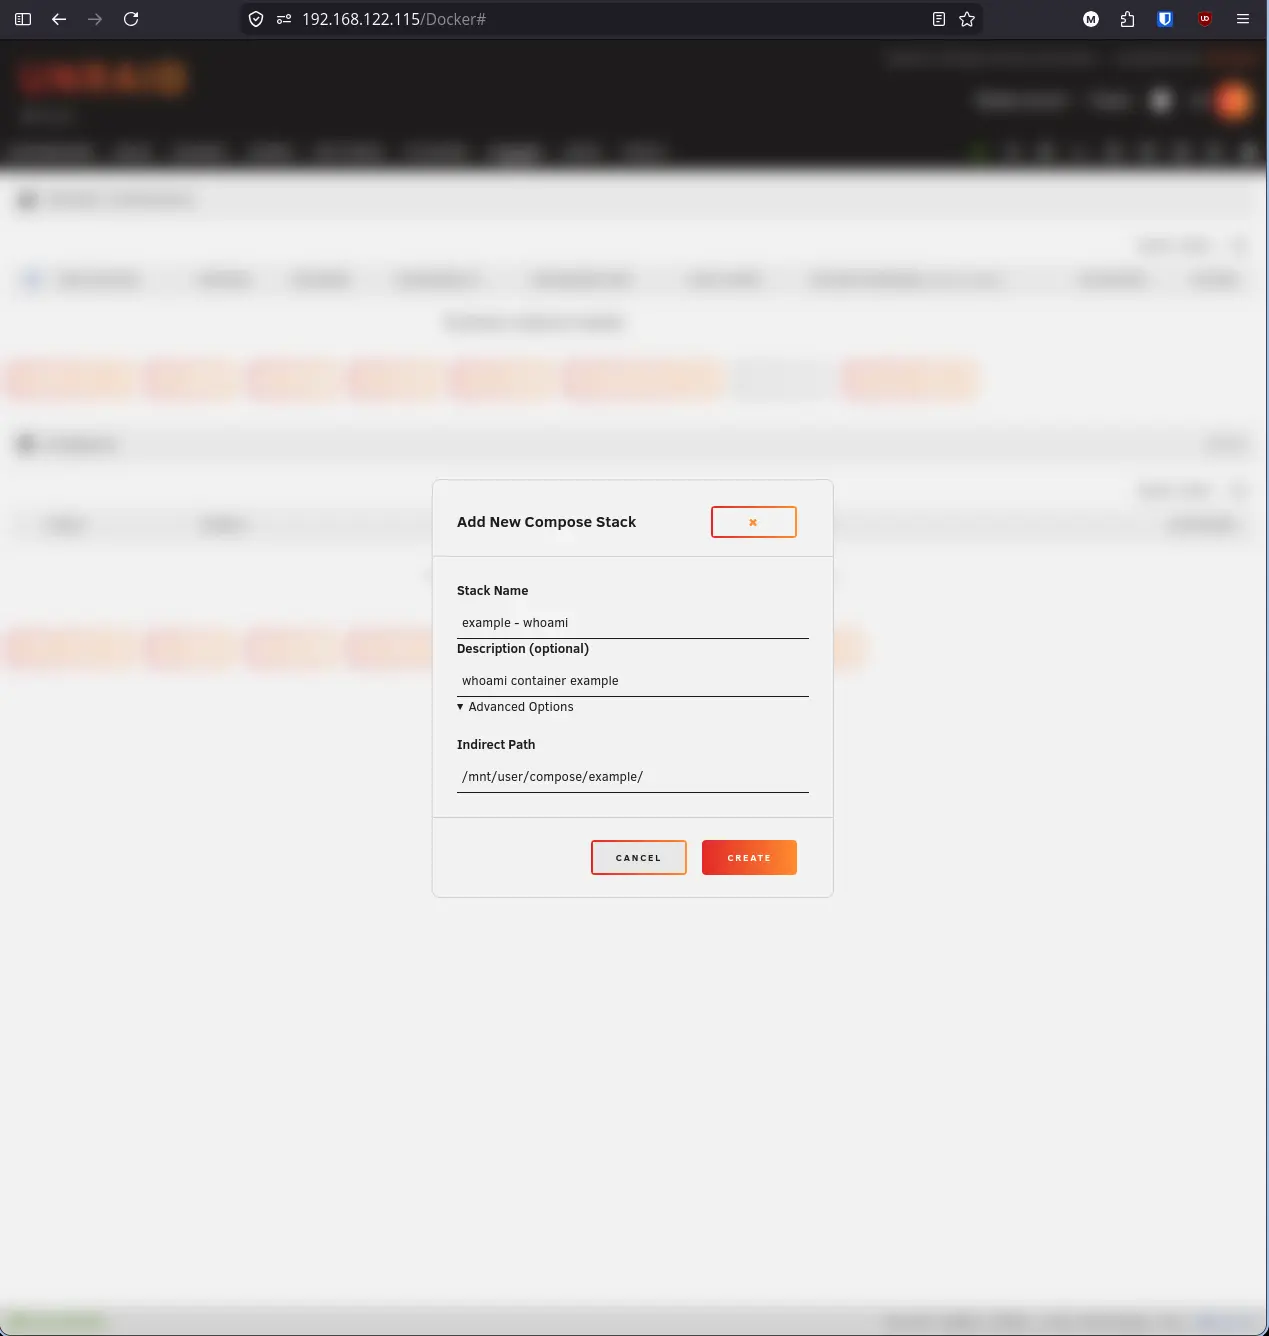
whoami container example. - Click Advanced Options to expand the section. You will see an Indirect Path field. As you start typing
/mnt/user/compose/a file browser will appear showing your directory structure. Selectexampleor finish typing the full path/mnt/user/compose/example/.
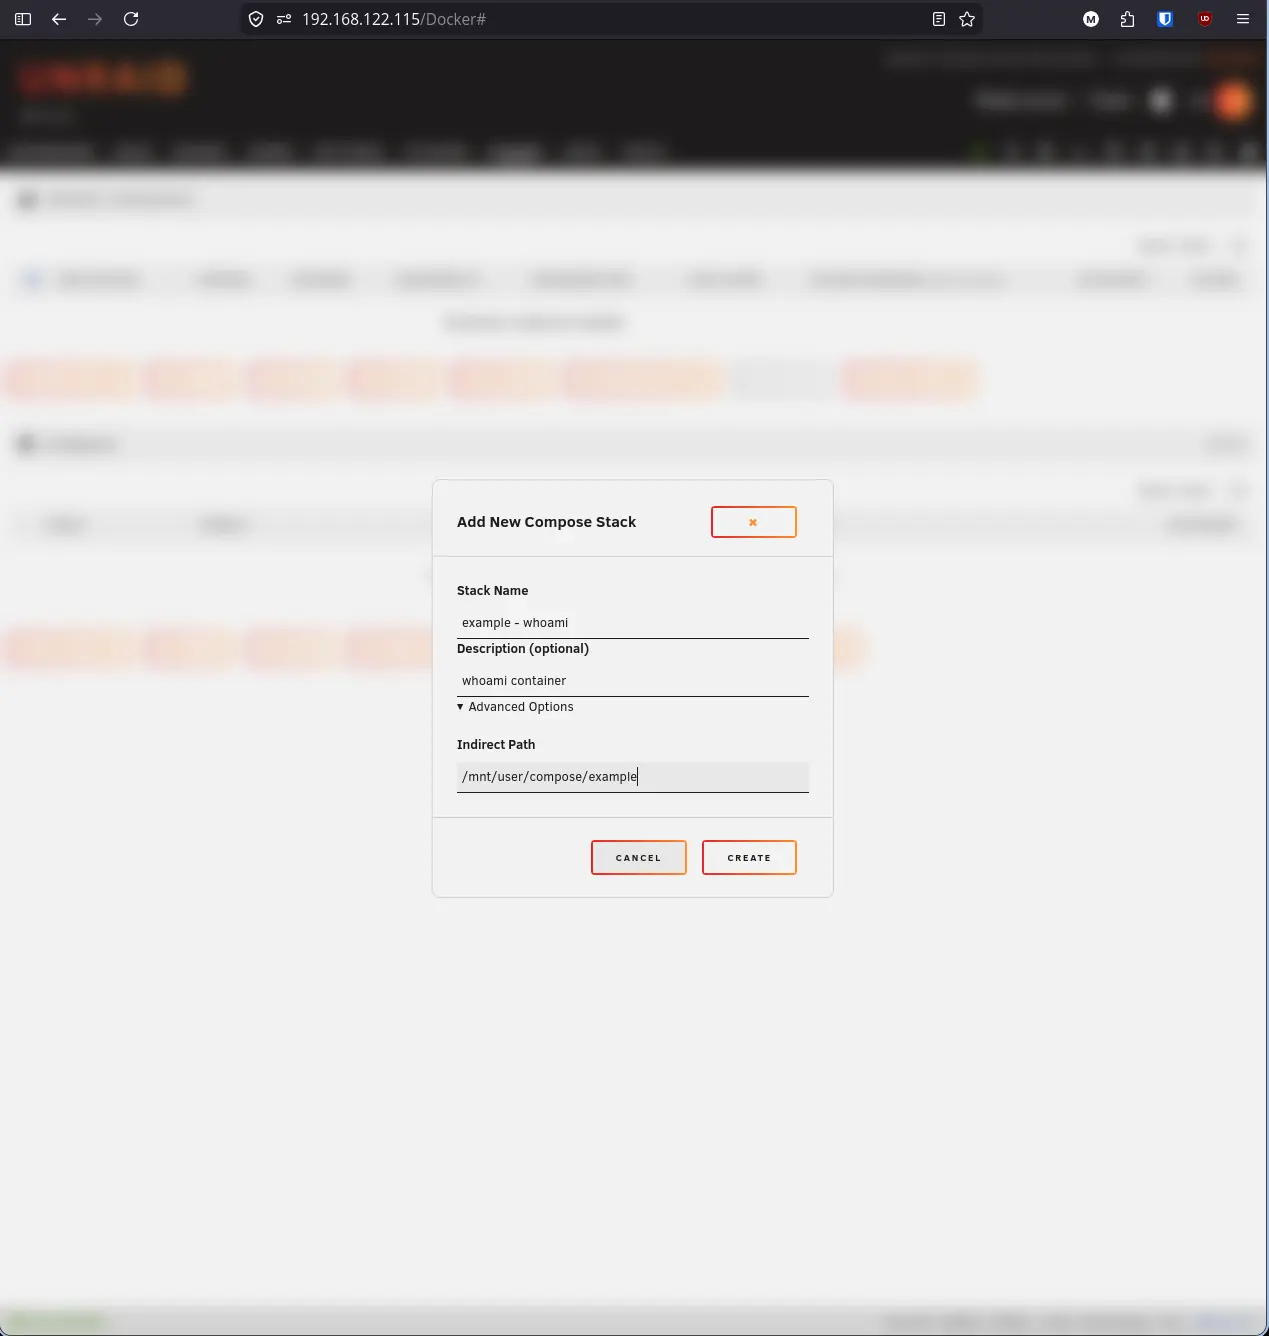
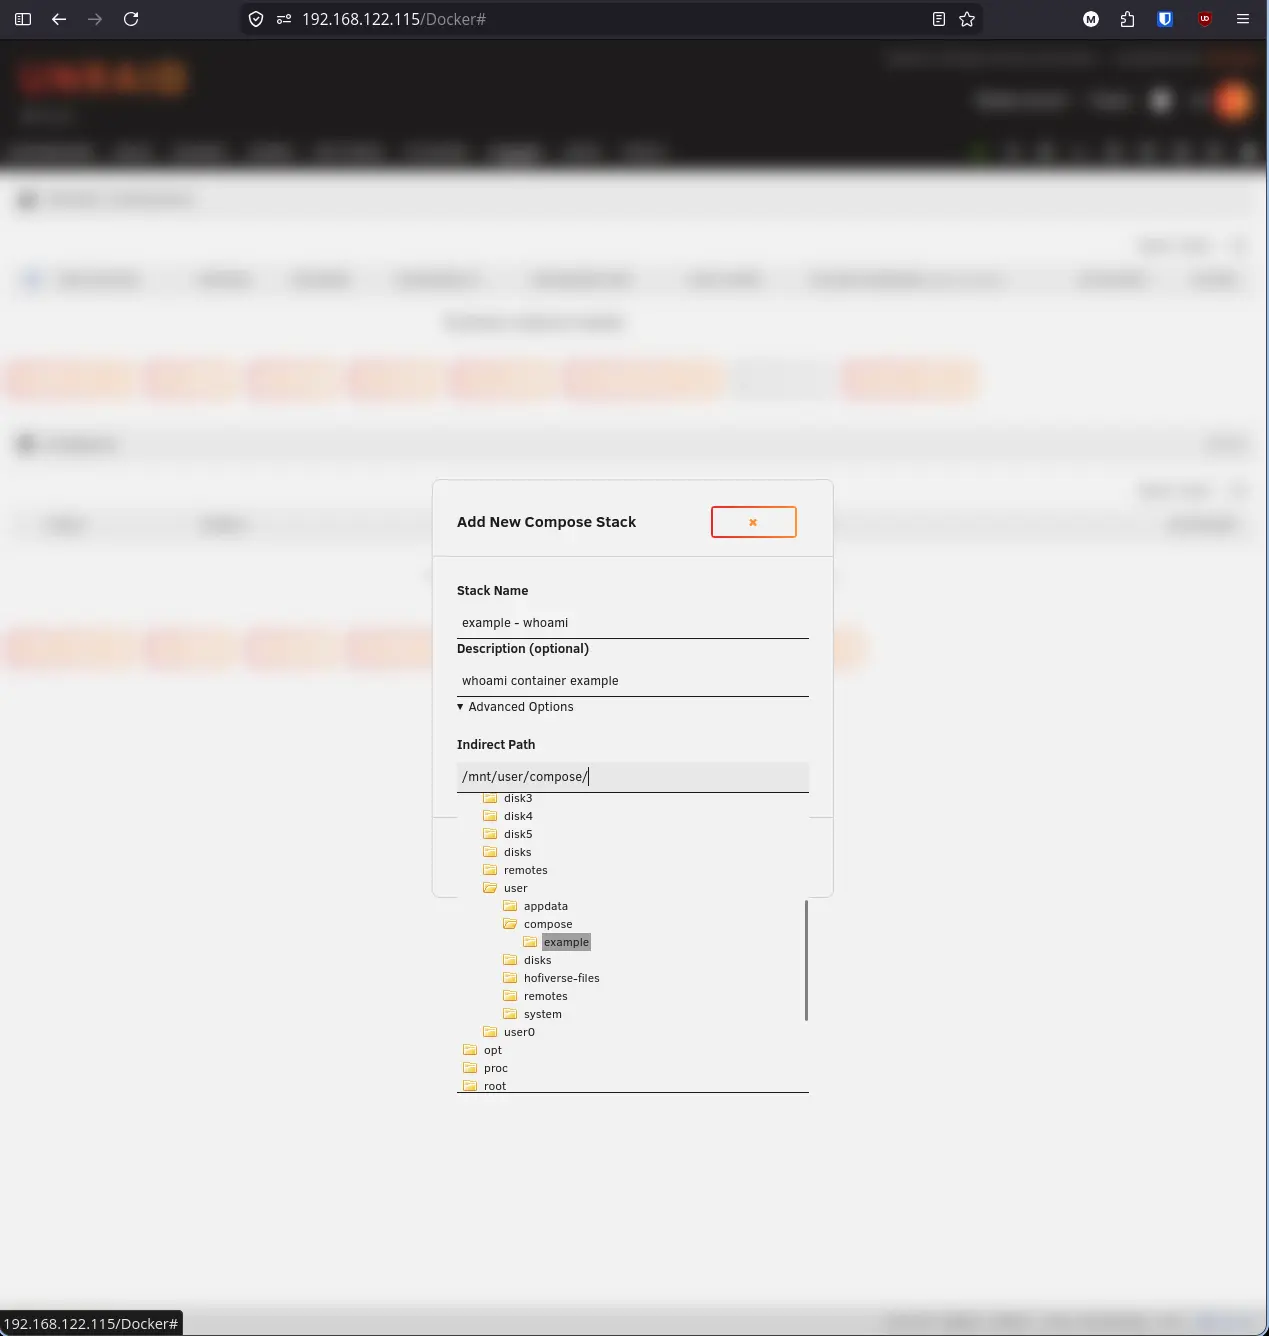
- Click Create.
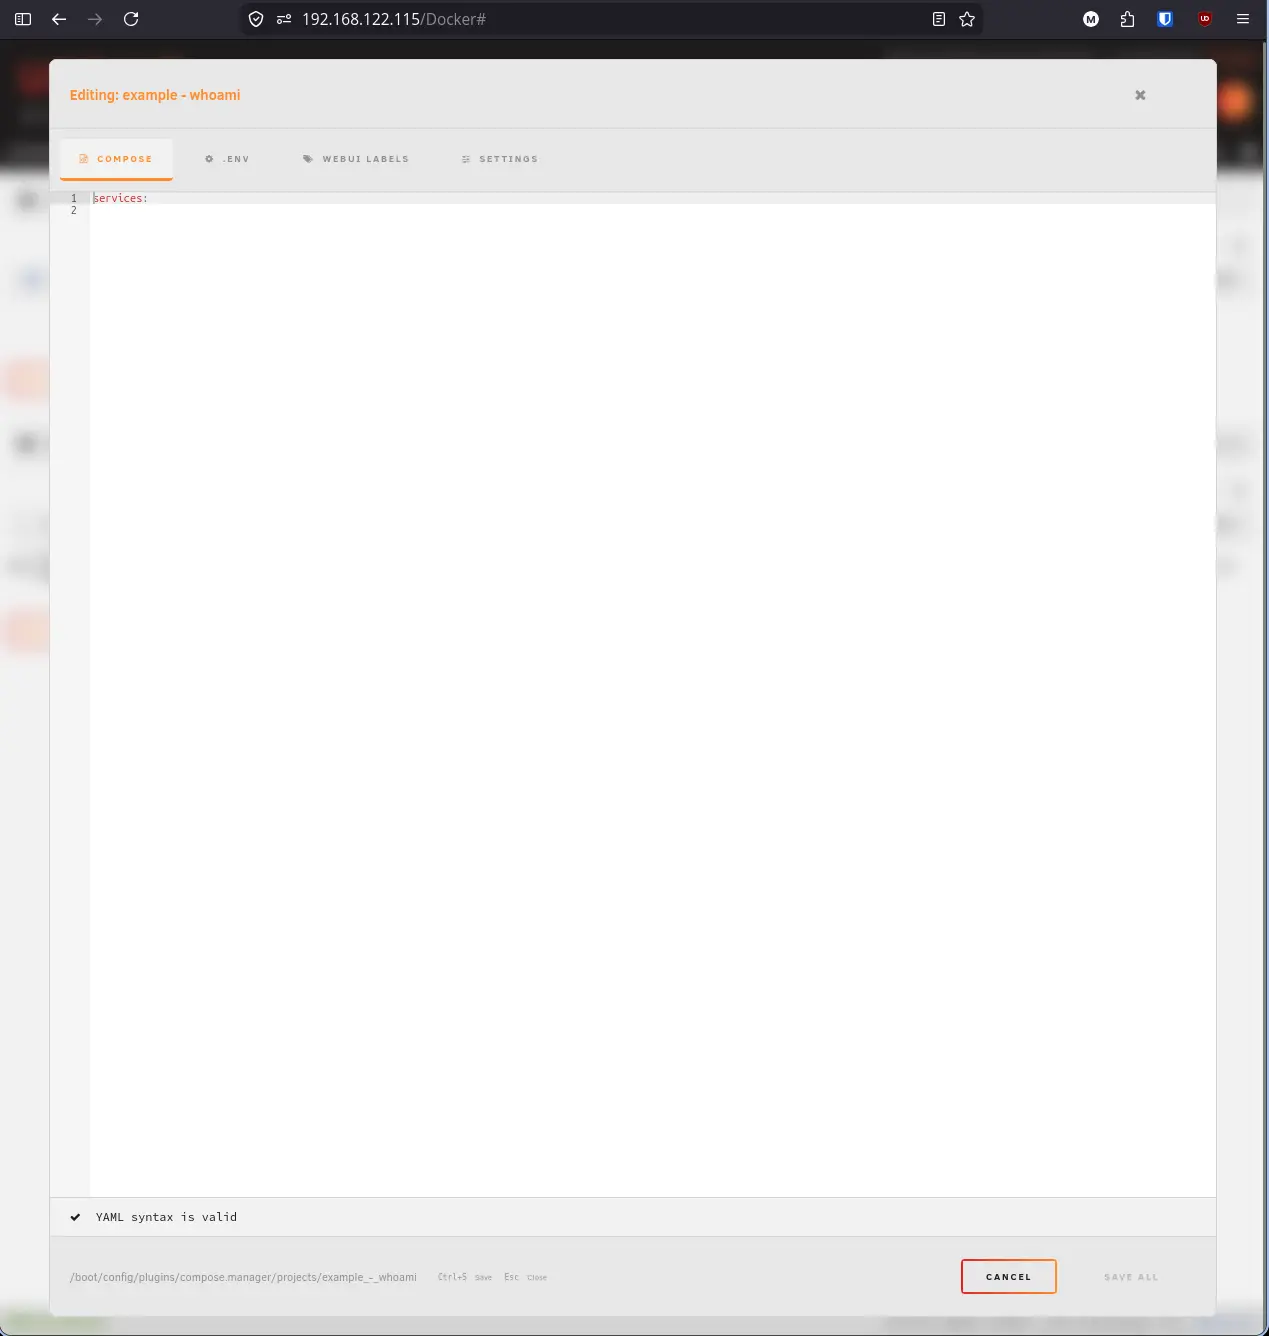
After clicking Create, the stack editor opens automatically. You will see four tabs: Compose, .ENV, WebUI Labels, and Settings.
Step 7: Add the WebUI address#
Before writing the compose file, set the WebUI URL so Unraid knows how to link to your container. Click the Settings tab.
[IP] and [PORT] as dynamic placeholders.
In the Stack WebUI section, set the WebUI URL field to:
http://[IP]:[PORT]:8088The [IP] and [PORT] placeholders are automatically replaced with your server’s IP and the container’s mapped port at runtime.
Step 8: Write the compose file#
Click back to the Compose tab. Clear any placeholder content and paste the following:
services:
  whoami:
    image: traefik/whoami:latest
    container_name: whoami
    restart: unless-stopped
    ports:
      - "${HOST_IP}:${WHOAMI_PORT:-8088}:80"
    networks:
      - core_net

networks:
  core_net:
    external: true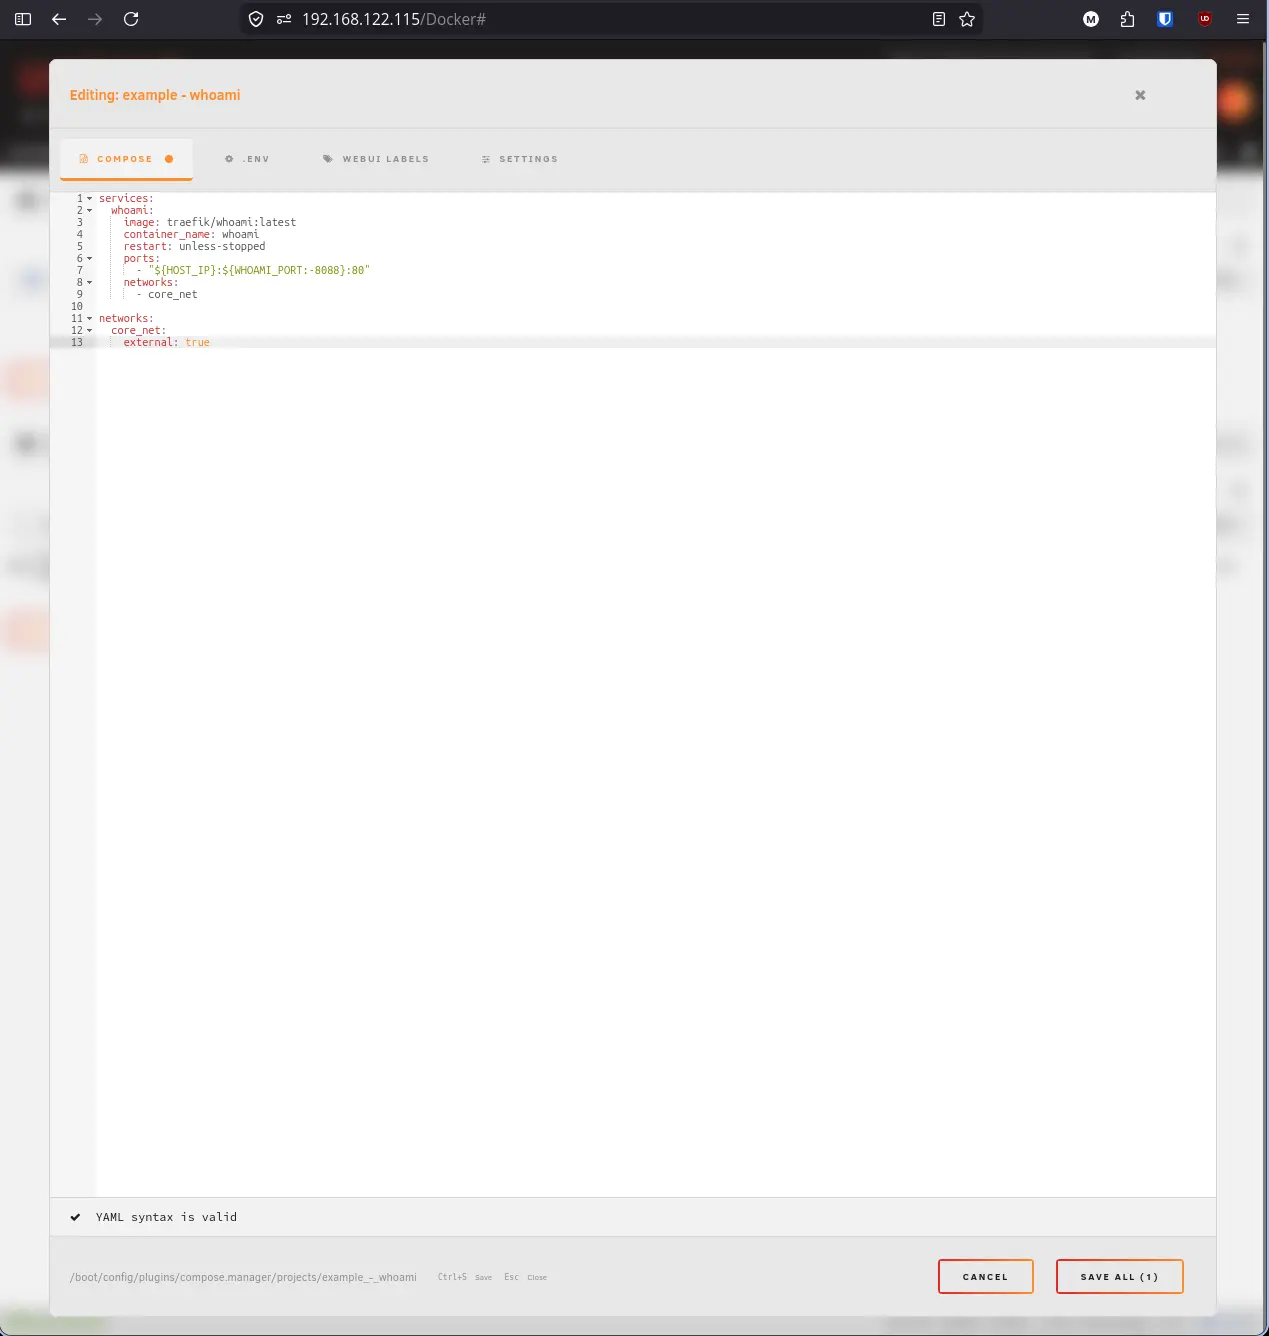
Step 9: Add the .env file and save#
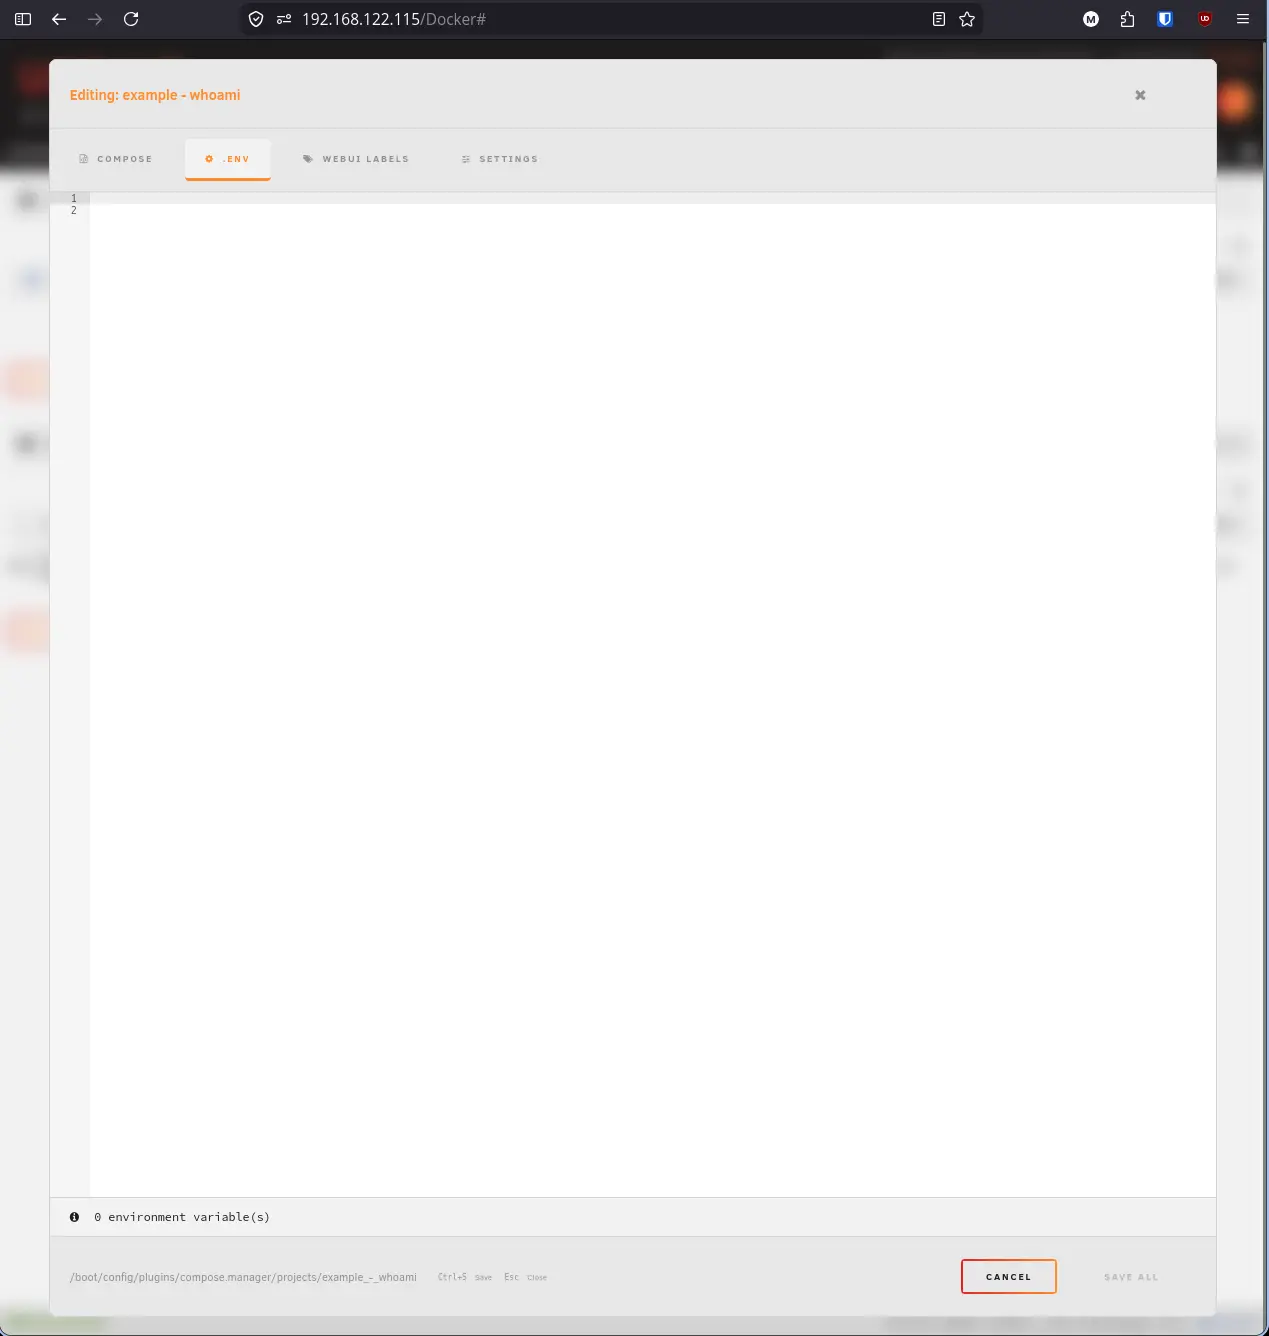
Click the .ENV tab. You will see an empty editor showing 0 environment variable(s). Paste the following:
TZ=America/Phoenix
HOST_IP=YOUR_UNRAID_IP
WHOAMI_PORT=8088
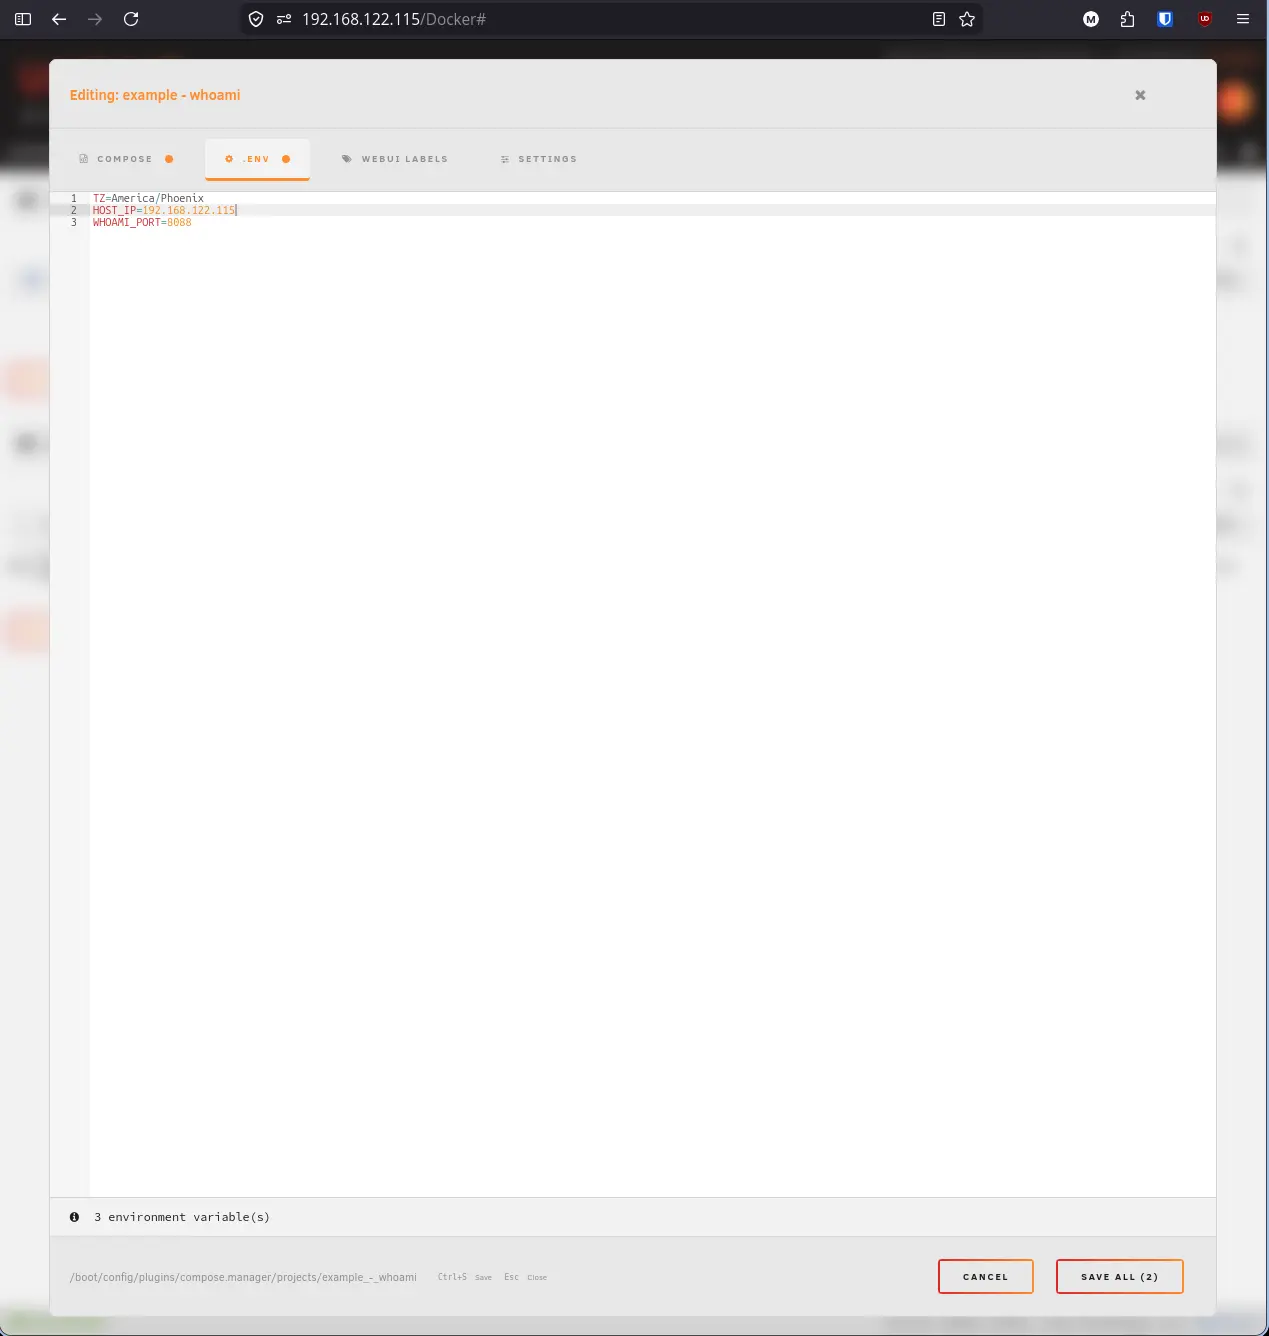
Replace YOUR_UNRAID_IP with your Unraid server’s local IP address and America/Phoenix with your timezone (a full list is available at en.wikipedia.org/wiki/List_of_tz_database_time_zones).
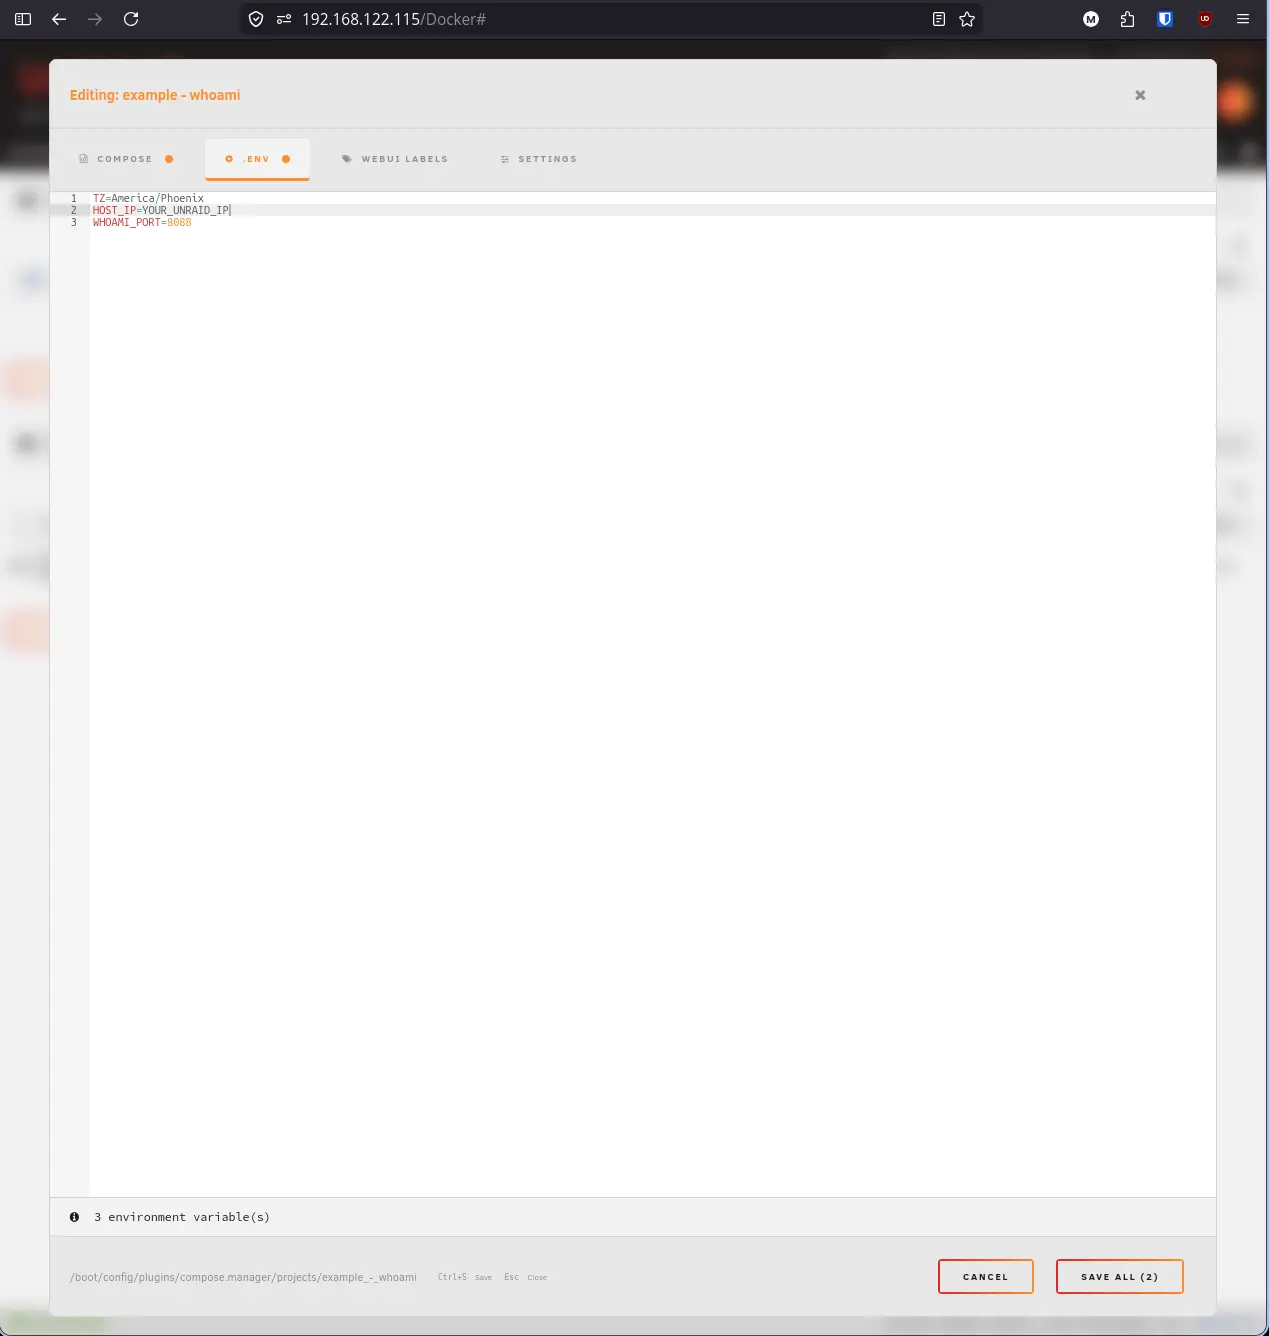
YOUR_UNRAID_IP with your actual server IP before saving.
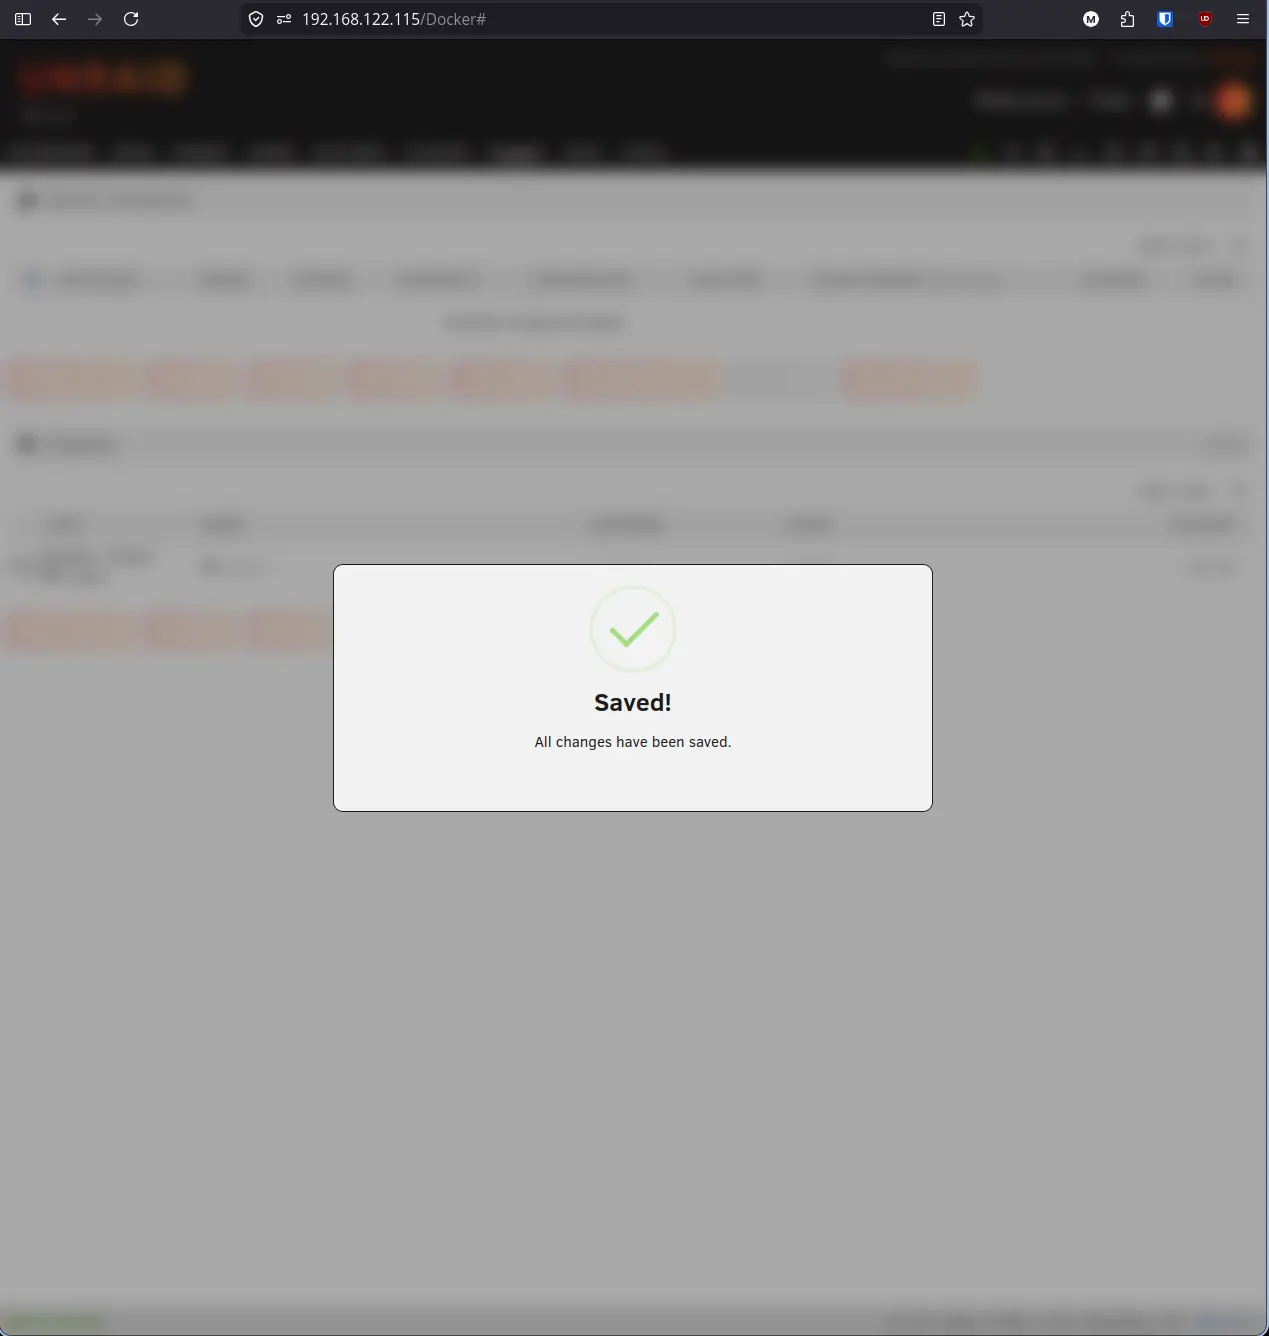
Click Save All to save both the compose file and the .env file at once.
Step 10: Start the stack and verify#
Close the editor. Back on the Docker tab you will see the stack listed in the Compose section with a status of stopped. Click the stack row icon to open the context menu and select Pull & Up. This pulls the latest image and starts the container in one step.
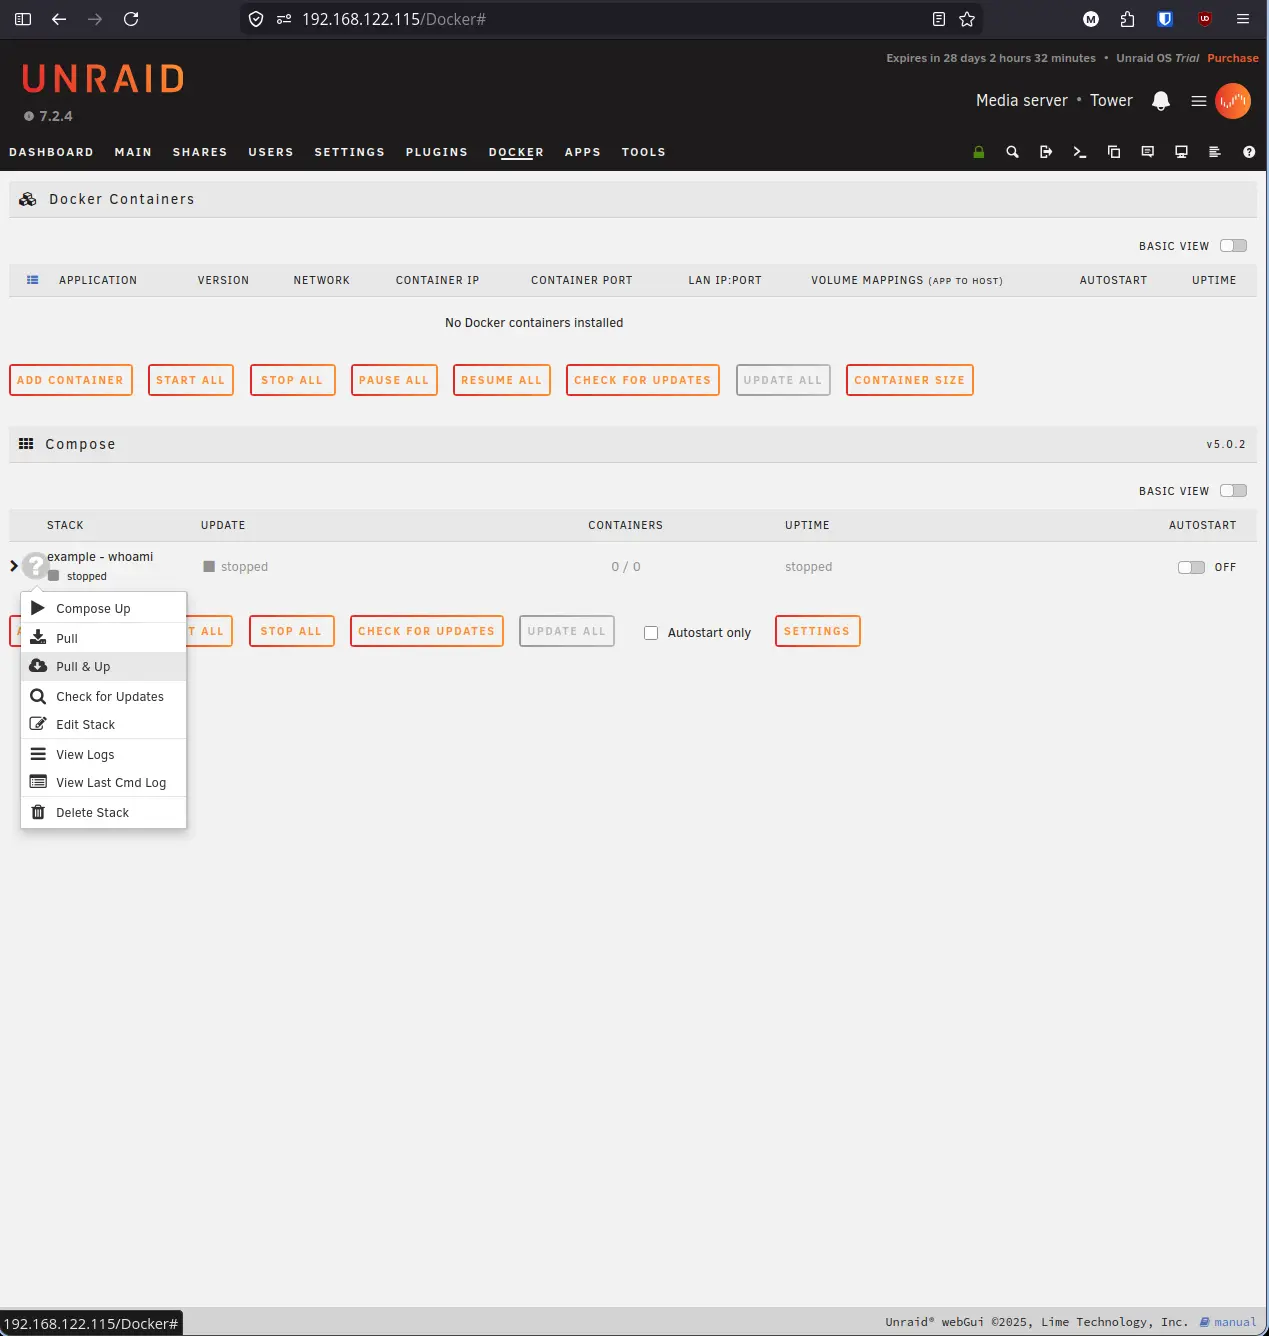
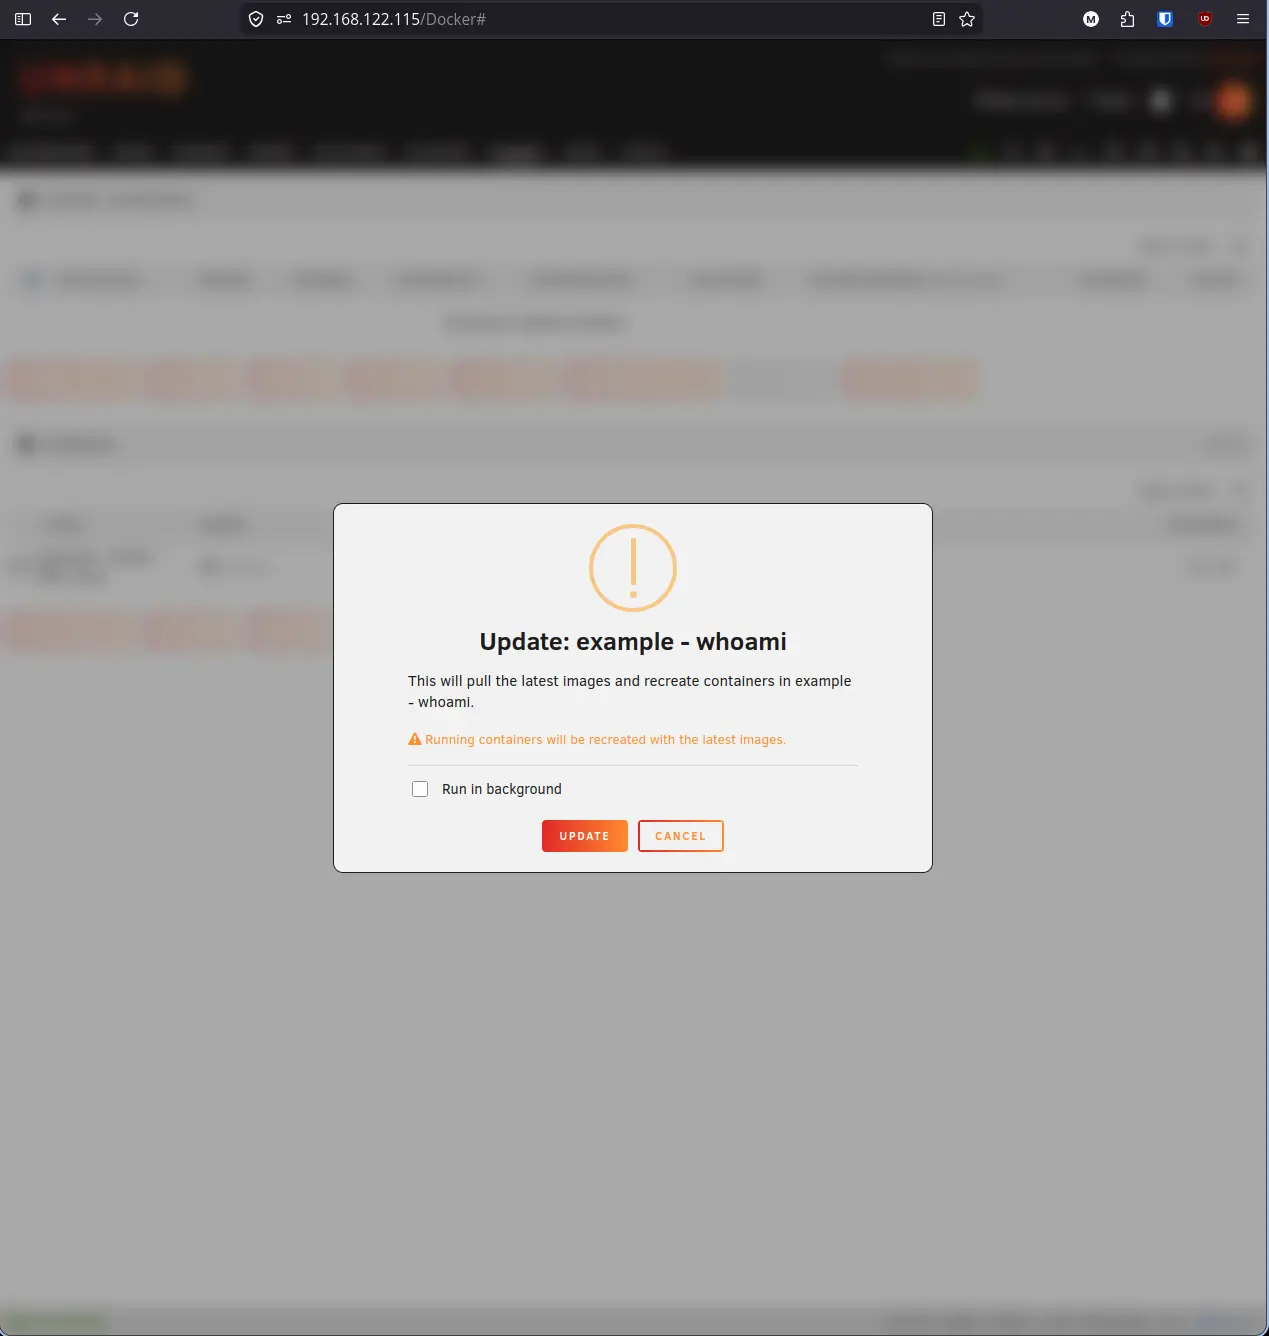
A confirmation dialog will appear. Click Update to proceed.
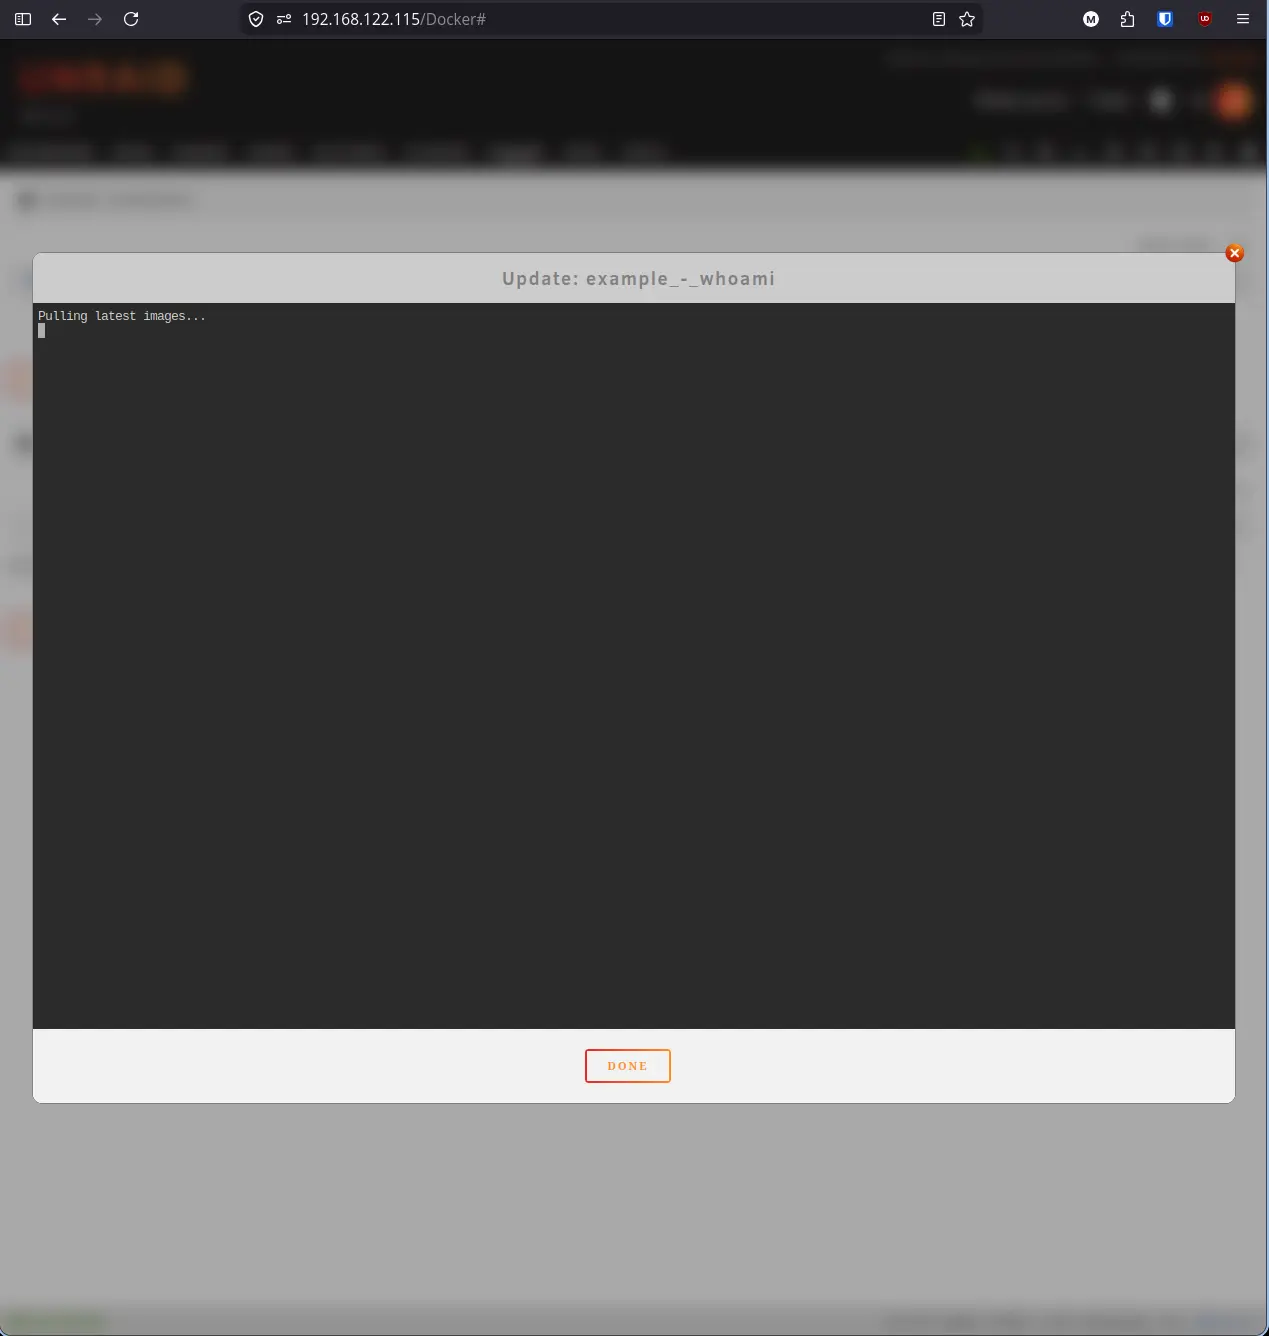
The progress terminal will open showing the image being pulled and the container being created.
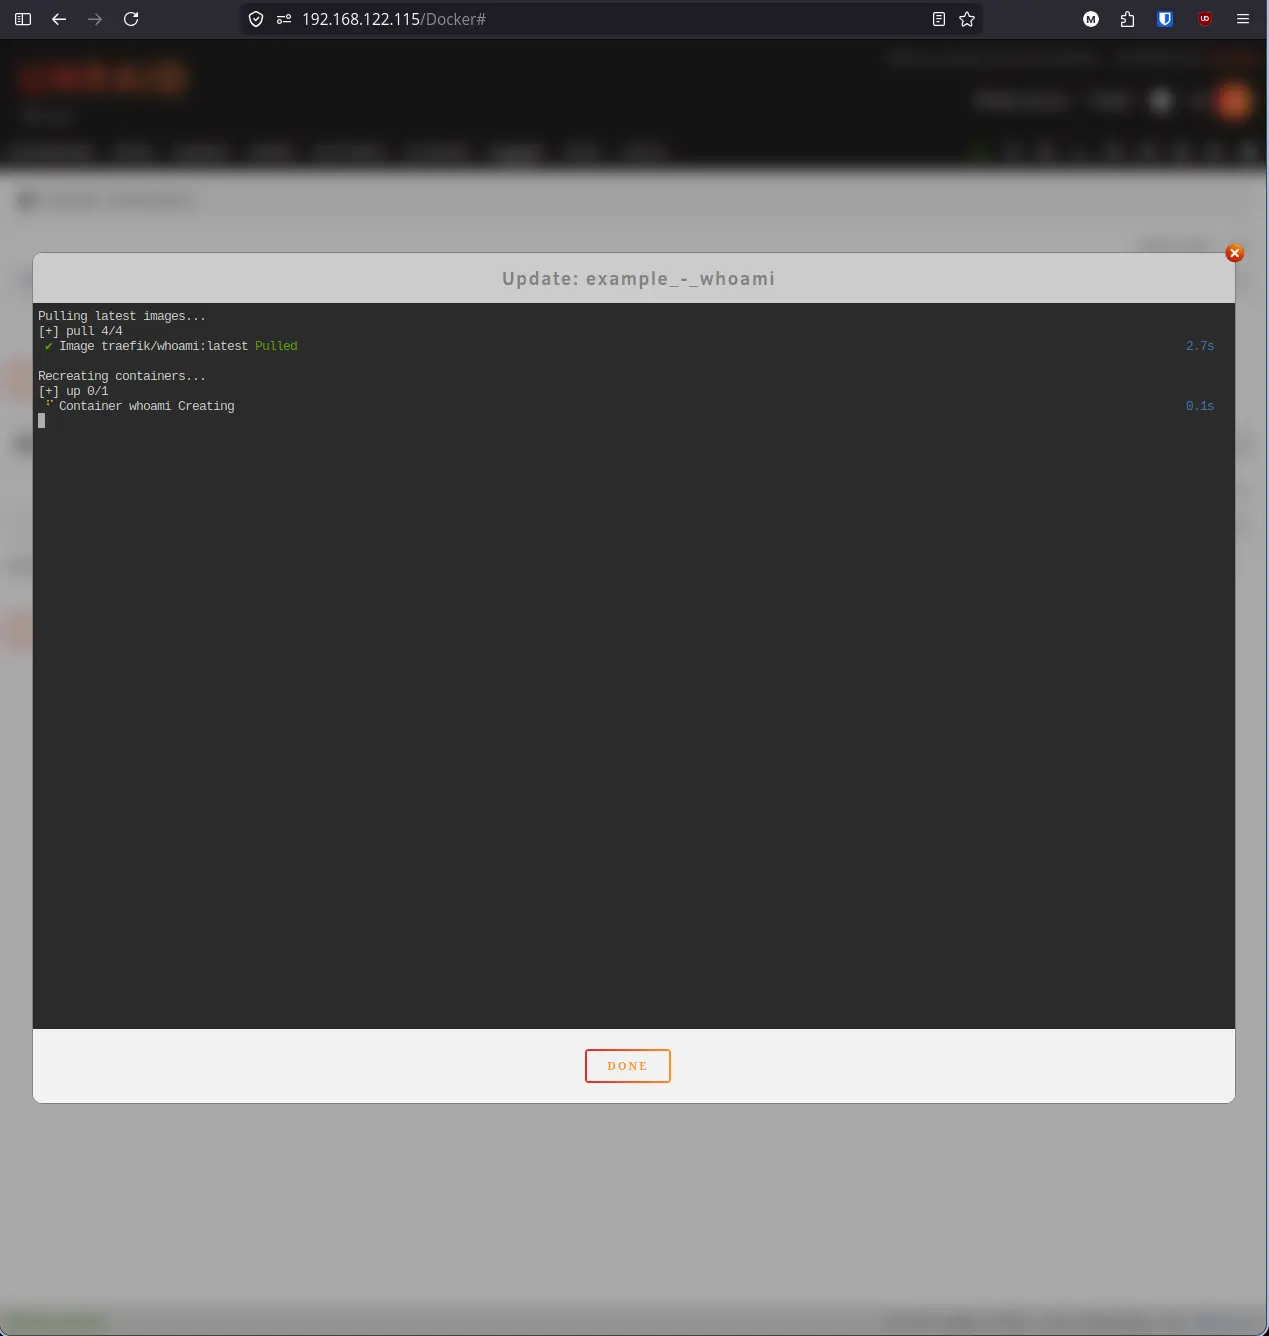
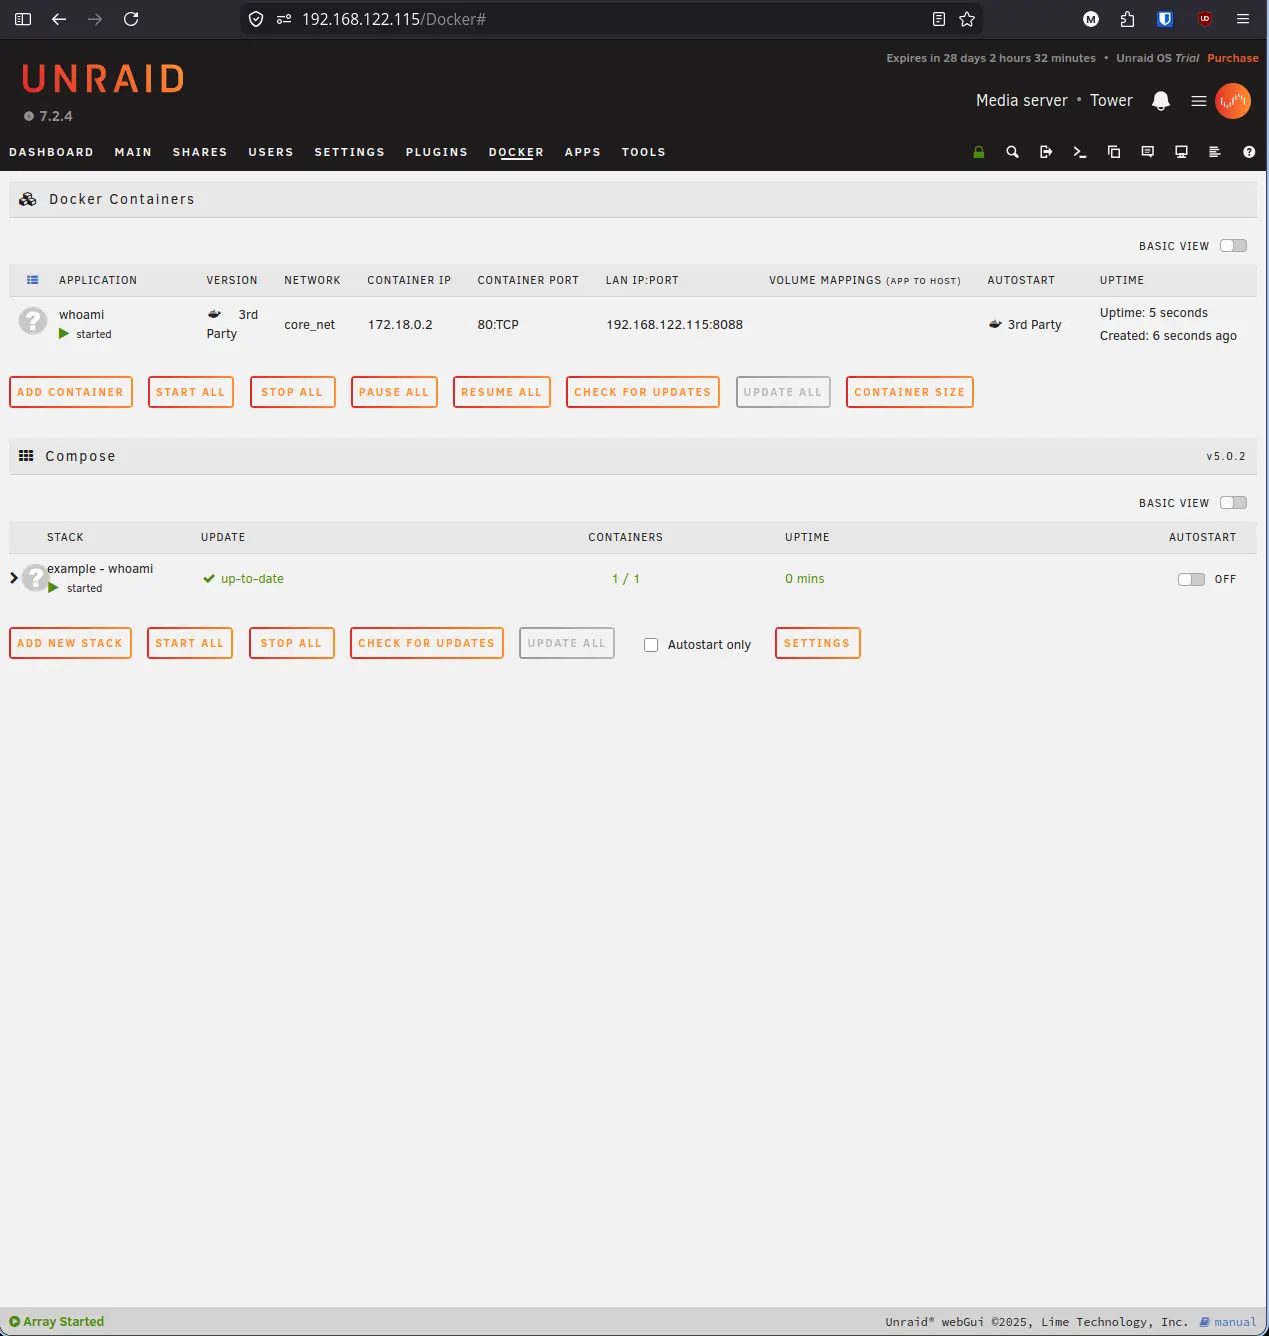
Click Done. The Docker tab will now show the whoami container in the Docker Containers section with a status of started, and the Compose section will show 1/1 containers running.
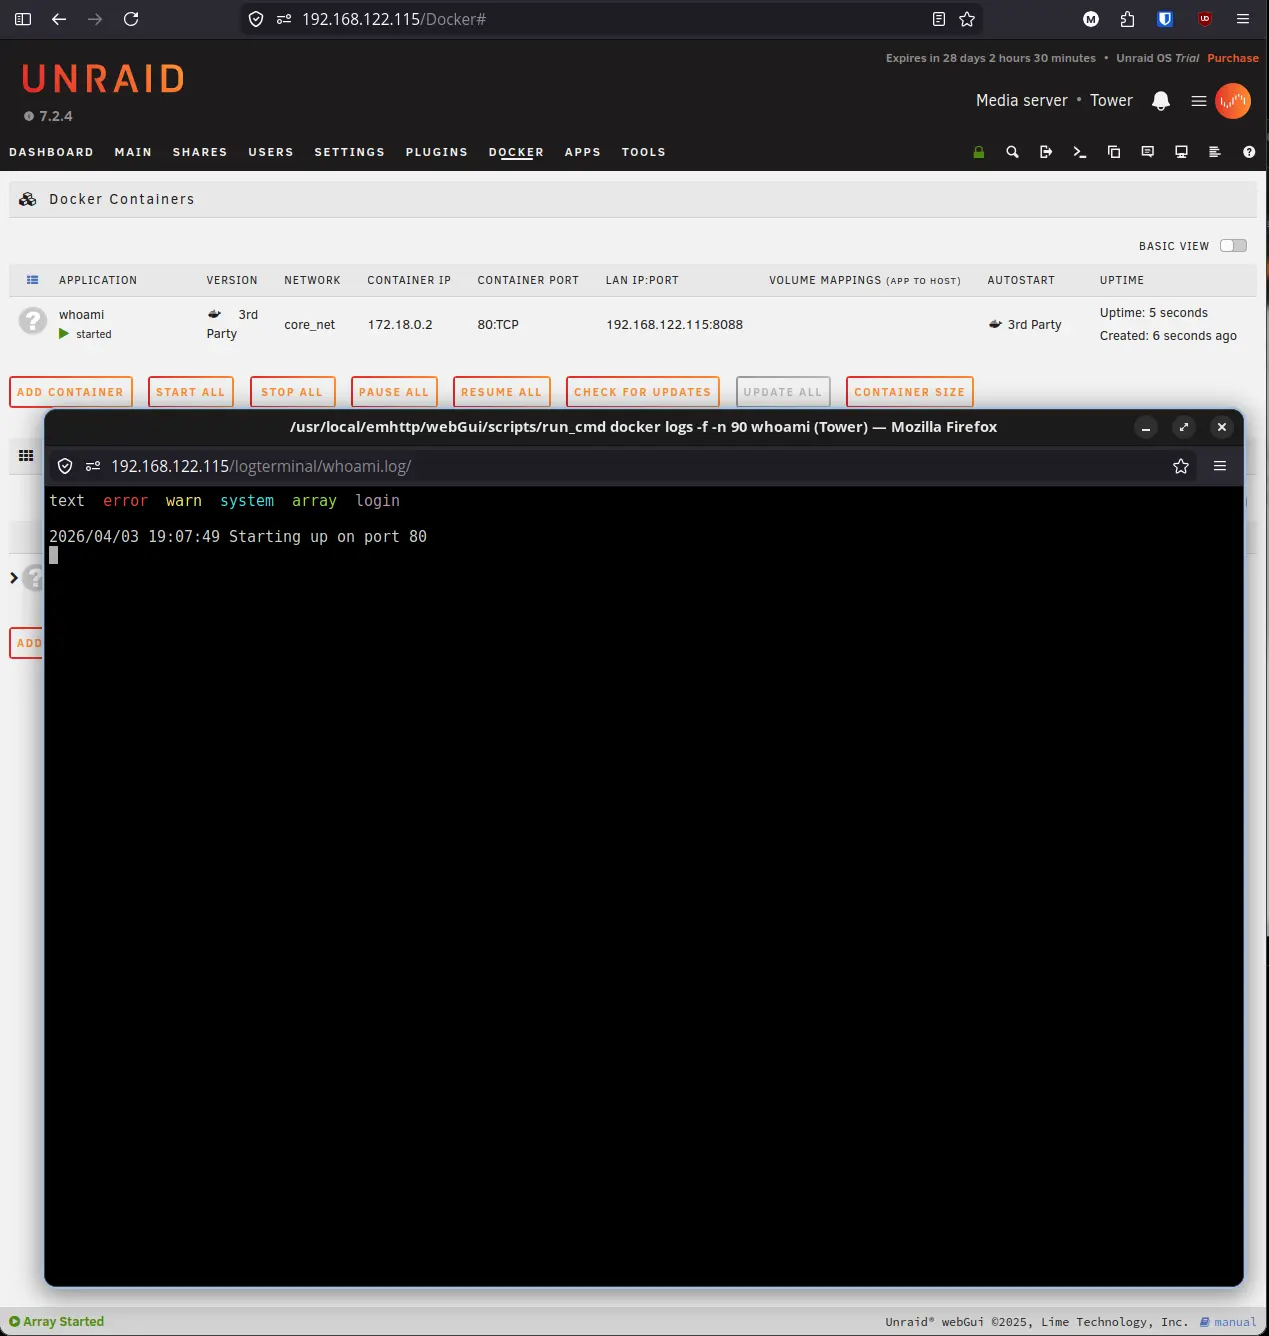
To verify the container is working, click the container row icon in the Docker Containers section and select Logs.
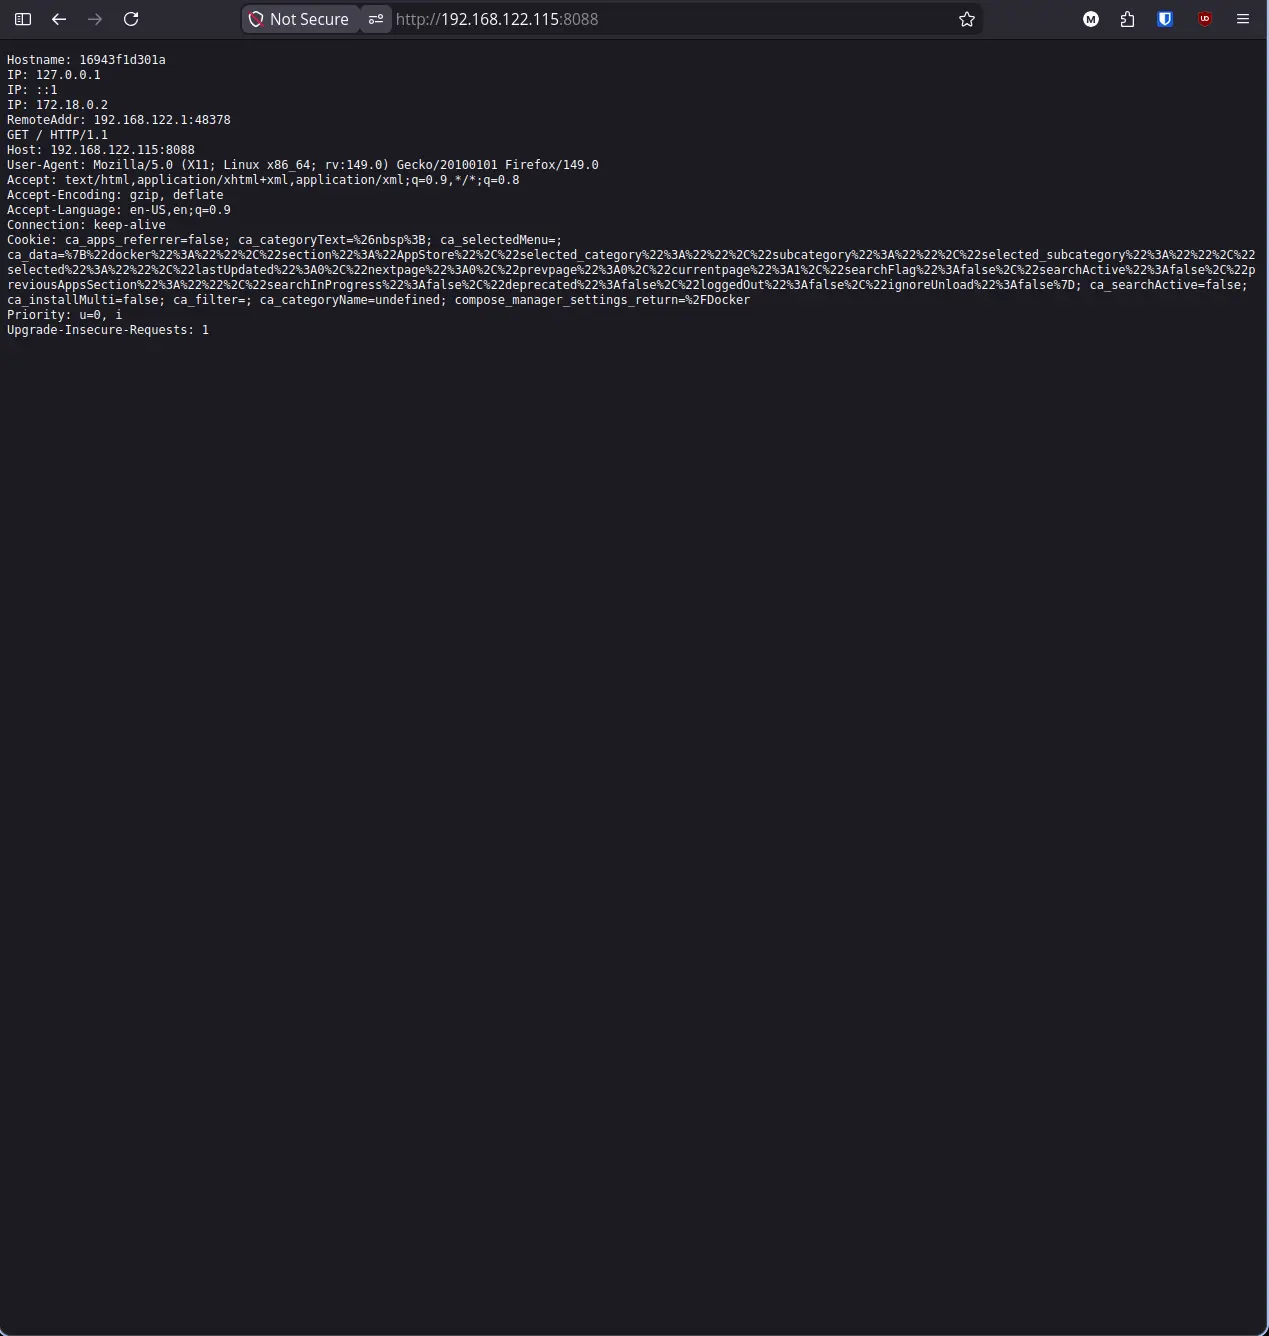
You can also open a browser and go to http://YOUR_UNRAID_IP:8088. Whoami is not a traditional web application. It responds to any HTTP request with plain text showing the hostname, IP addresses, and request headers it received. This output confirms the container is reachable and networking is working correctly.
To set the stack to start automatically on boot, toggle the Autostart switch on the stack row in the Compose section.
Step 11: Manage a running stack#
Once a stack is running, right-clicking its row shows a different set of options:
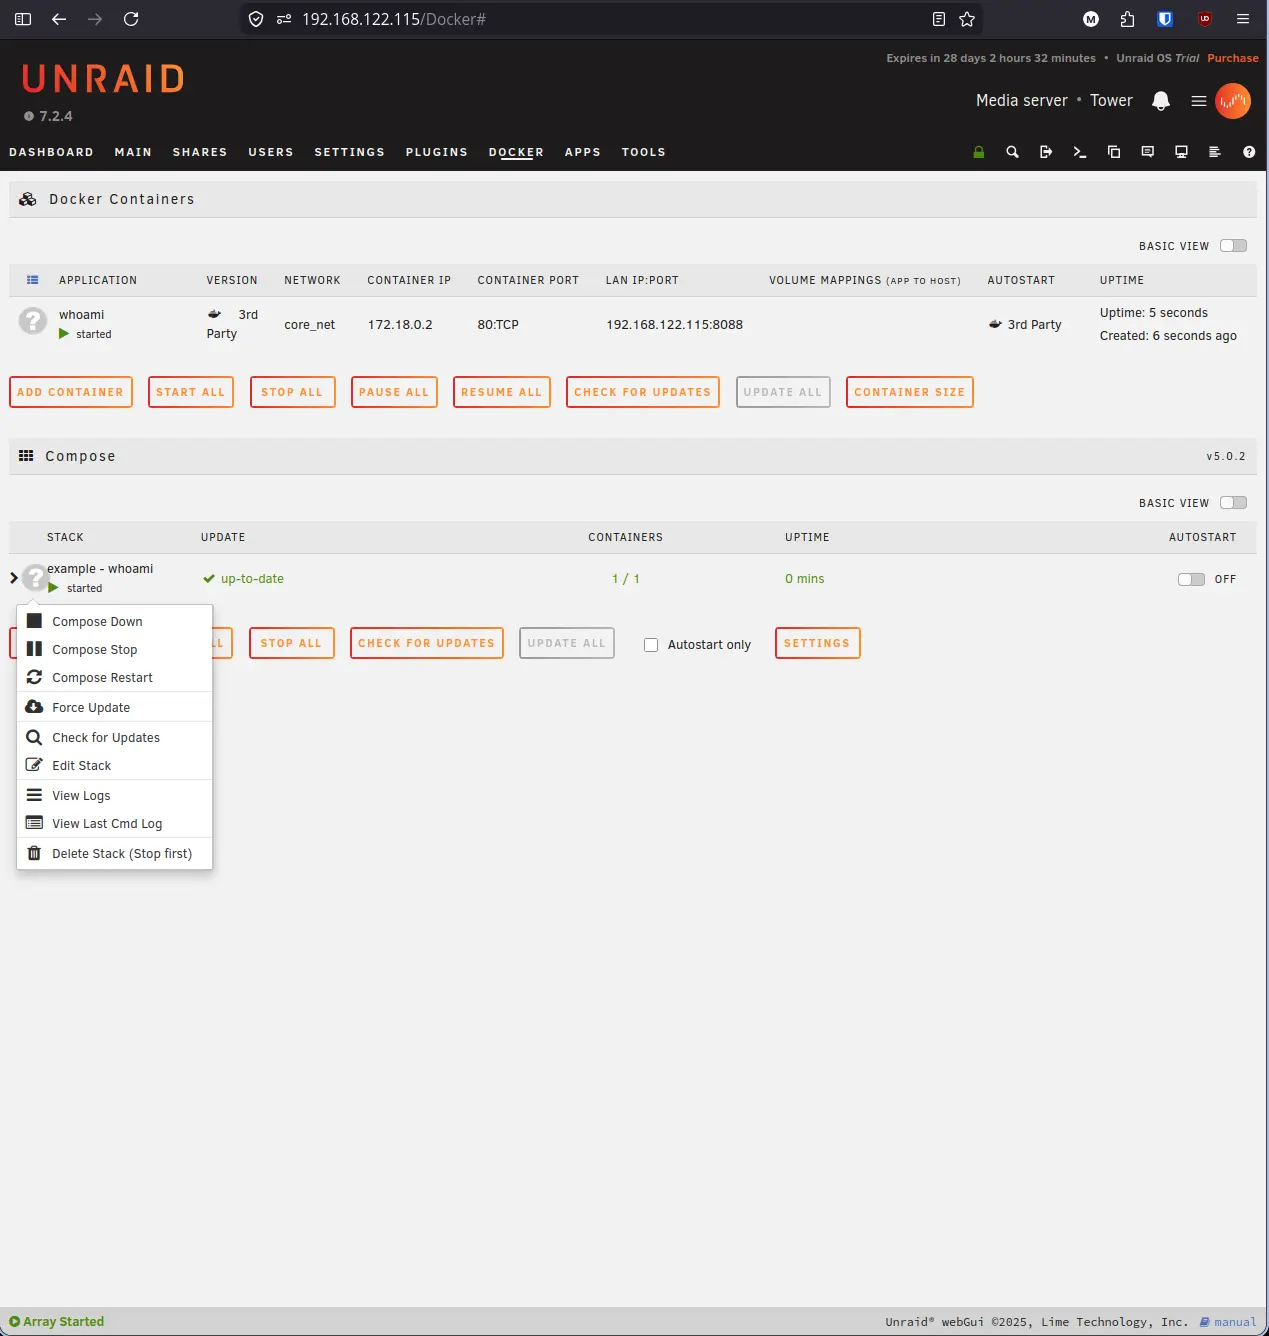
| Option | What it does |
|---|---|
| Compose Down | Stops and removes containers (images and volumes are kept) |
| Compose Stop | Stops containers without removing them |
| Compose Restart | Restarts all containers in the stack |
| Force Update | Pulls latest images and recreates containers |
| Edit Stack | Opens the compose/env editor |
| View Logs | Opens the stack log viewer |
Lab Notes & Troubleshooting#
“compose” is not a docker command. You have an older version of Docker that uses docker-compose (with a hyphen) instead of docker compose (with a space). Unraid 6.10 and later ships with the newer syntax. Update Unraid if you see this error.
Container starts then immediately stops. Check the logs with docker logs CONTAINER_NAME. The most common cause is a missing or incorrect environment variable.
Port is already in use. Another container or service is using that port. Change the host port in your .env file (the number on the left side of the colon in the ports mapping).
Changes to the .env file are not taking effect. Run docker compose up -d again from the stack directory. Compose re-reads the .env file every time it starts containers.
Compose Manager Plus does not show my stack. Confirm the Indirect Path you entered points to the directory containing docker-compose.yml, not to the file itself.
The core_net network is missing after a reboot. Make sure the core stack is set to Autostart in Compose Manager Plus and that it starts before other stacks. Compose Manager Plus starts stacks in the order they are listed.
Summary#
You now have Docker Compose set up on Unraid with Compose Manager Plus installed, a clean directory structure under /mnt/user/compose/, a core infrastructure stack that ensures core_net exists on boot, and a working example stack that demonstrates how compose files and .env files work together. Every container you deploy going forward will follow this same pattern.
Next Step: Deploying MariaDB on Unraid