While a traditional RAID might present one giant volume, Unraid uses Shares to act as top-level directories that can span across multiple physical disks. This abstraction allows you to keep your media, backups, and app data organized while benefiting from the combined capacity of your drives.
Executive Summary#
In this guide, we will create our first network shares, configure access permissions, and map these shares to your local computer so they appear as local hard drives on Windows, macOS, and Linux (Pop!_OS).
Prerequisites#
| Component | Requirement |
|---|---|
| Unraid Server | A running server with a started and protected Array |
| Client Machine | A PC, Mac, or Linux machine on the same local network |
| User Account | A non-root user created in the Users tab |
Assumptions: This guide assumes your array is already started and protected, as covered in the Installing and Configuring Unraid guide. We will focus on SMB (Server Message Block) as the primary protocol for Windows, macOS, and Linux compatibility.
Implementation#
Step 1: Create Your First Share#
Shares are the folders that the rest of your network will see.
- Navigate to the Shares tab in the Unraid Web UI.
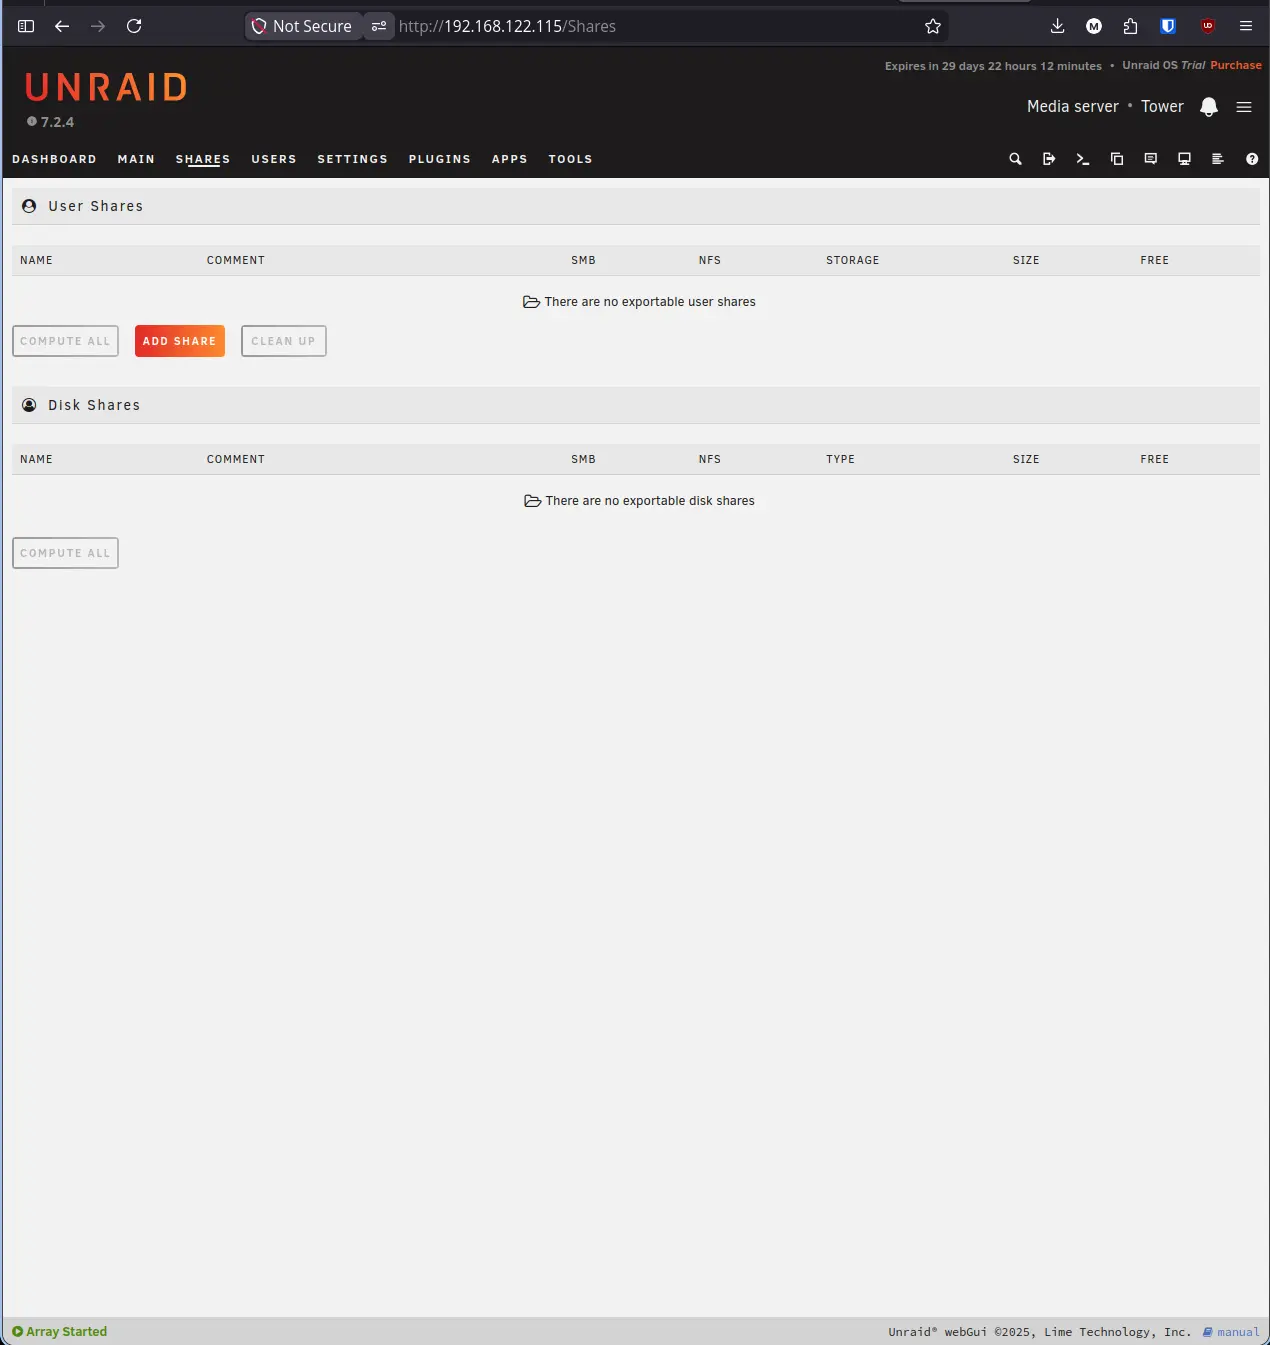
- Click Add Share.
- Share Name: Give it a name (e.g.,
MediaorBackups).
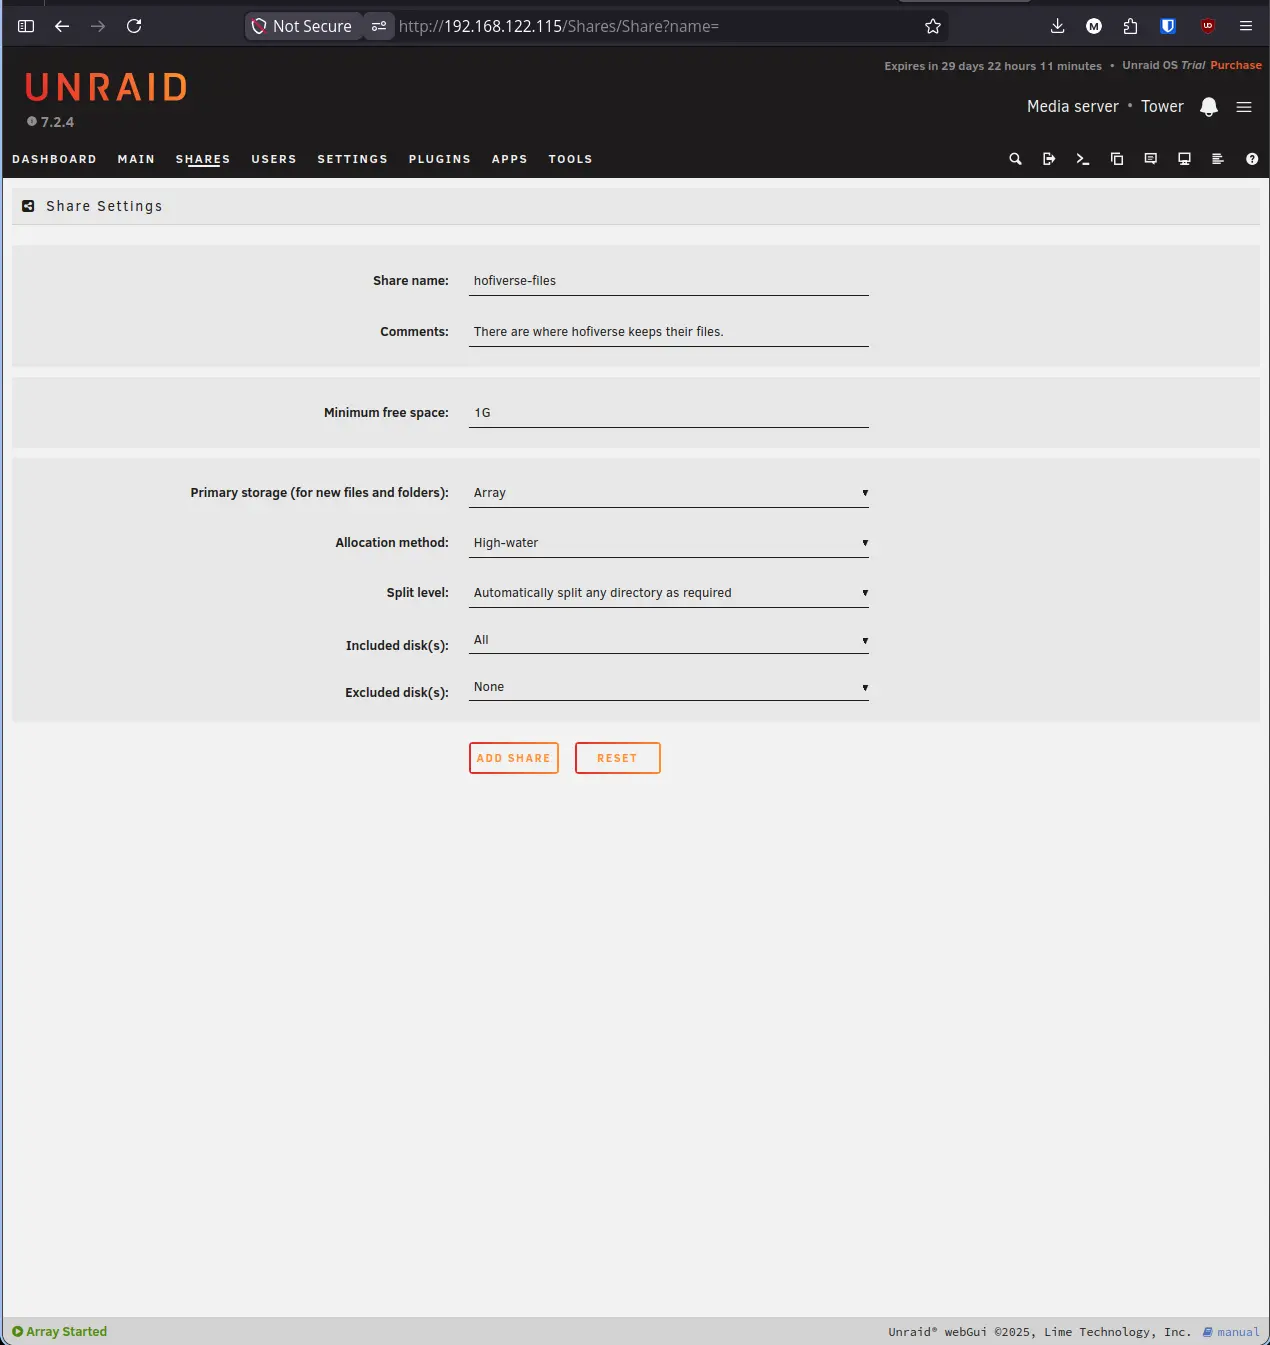
Note: Share names are case-sensitive and will appear exactly like this on your network. Avoid spaces if you plan to use command-line tools later.
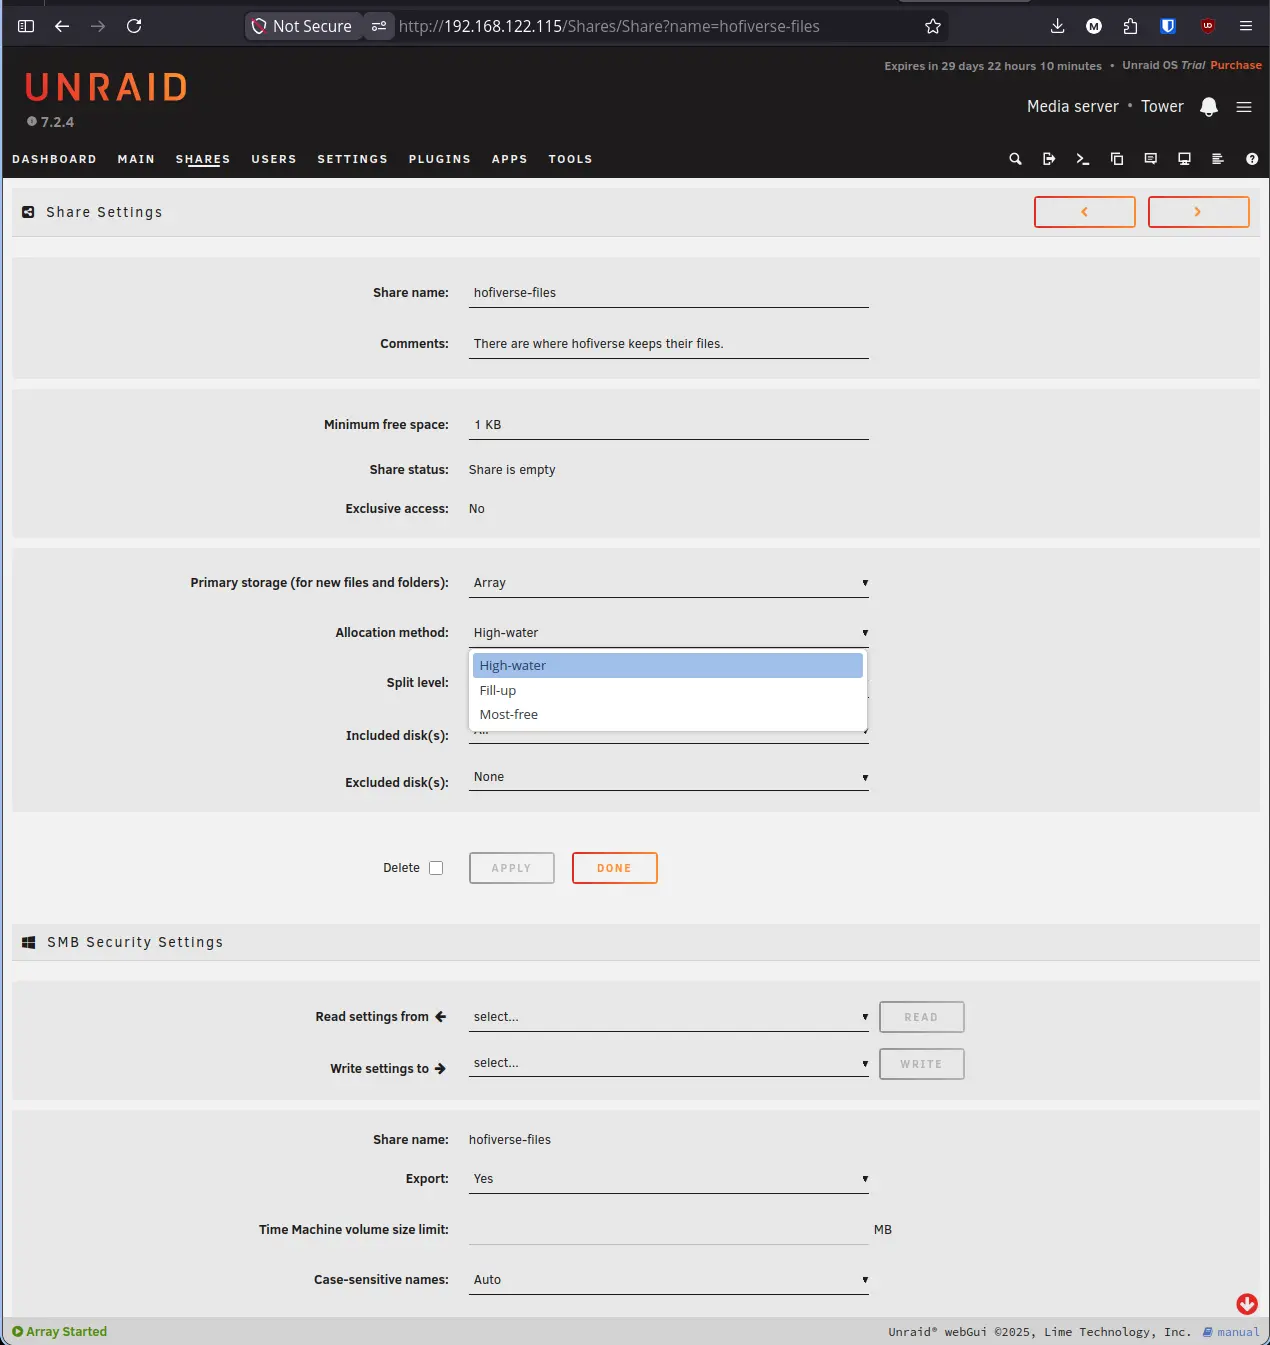
- Allocation Method: Leave as High-water. This ensures data is spread evenly across your disks to prevent any single drive from filling up too quickly.
| Method | How It Works | Best For |
|---|---|---|
| High-water | Fills one disk to a threshold, then moves to the next | Most setups. Keeps drives balanced without constant switching |
| Fill-up | Fills one disk completely before moving to the next | Keeping related files on the same physical disk |
| Most-free | Always writes to whichever disk has the most free space | Setups where drives are frequently added or removed |
For most home lab builds, High-water is the right choice and requires no further tuning.
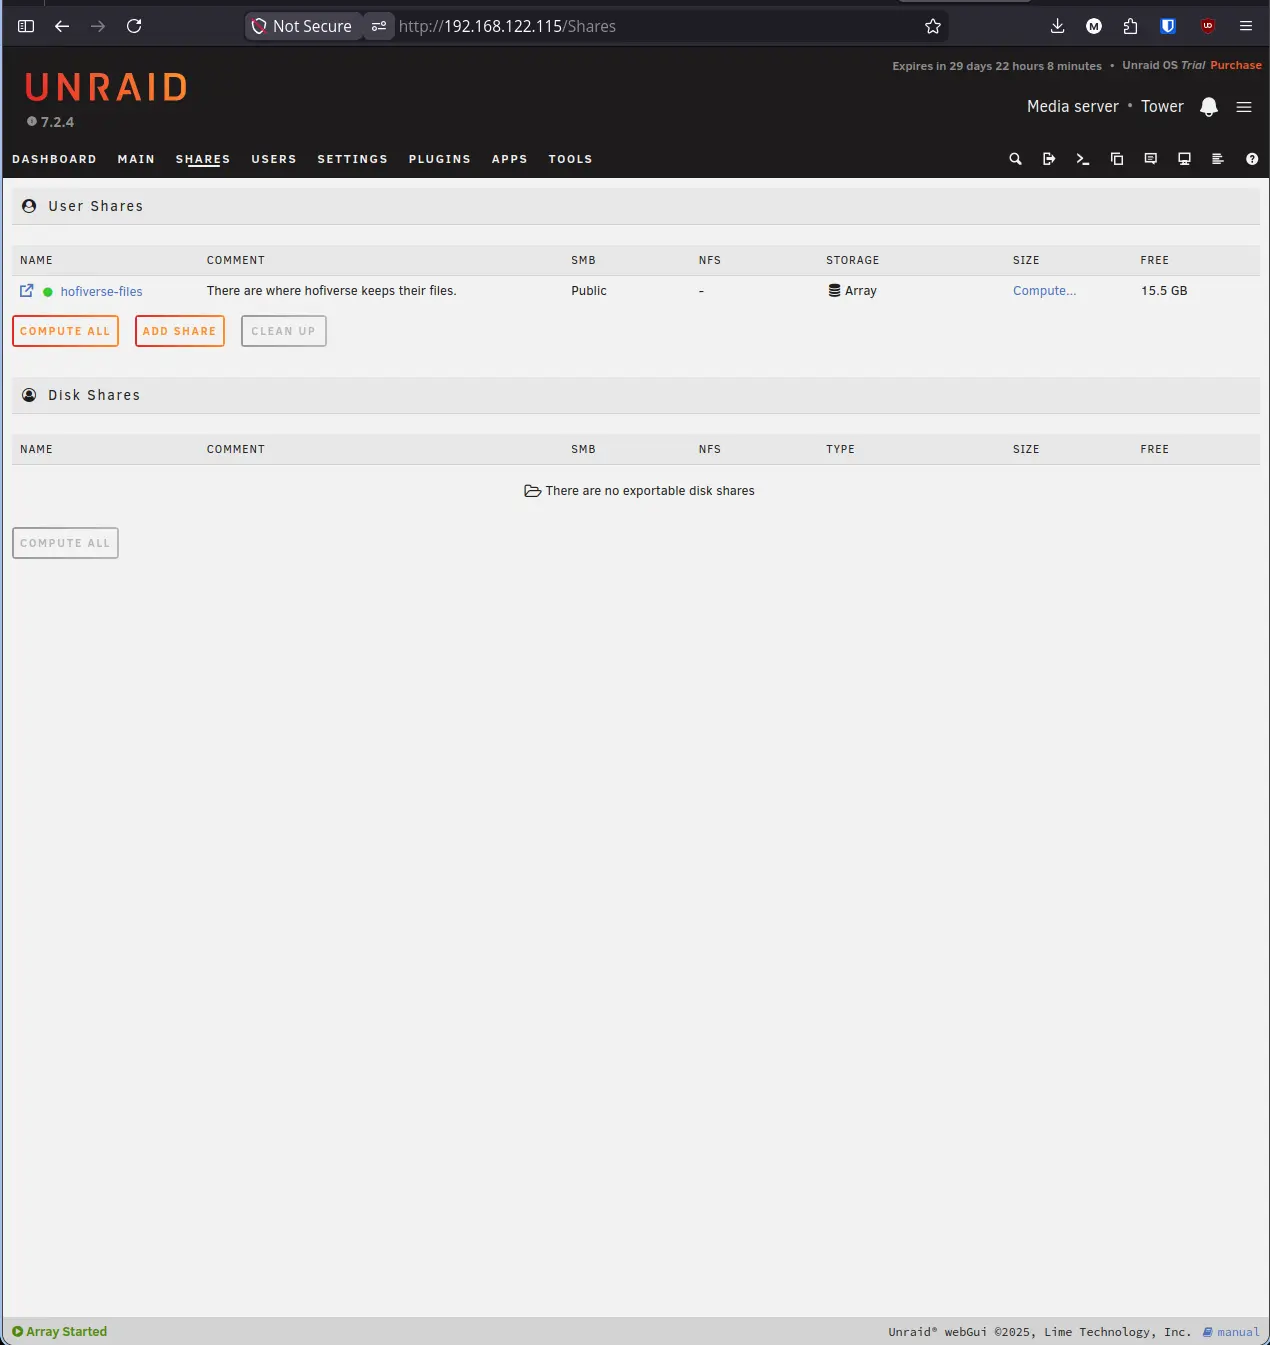
- Click Add Share to save.
Step 2: Setting Share Security#
By default, new shares are “Public,” meaning anyone on your network can see and edit the files. For this guide we will leave the share as Public to keep things simple, but be aware that this means any device connected to your home network can read and write to it without a password.
Note: If you are storing sensitive data, consider setting the share to Secure or Private after completing this guide. The security options are explained in the table below.
- Scroll down to SMB Security Settings.
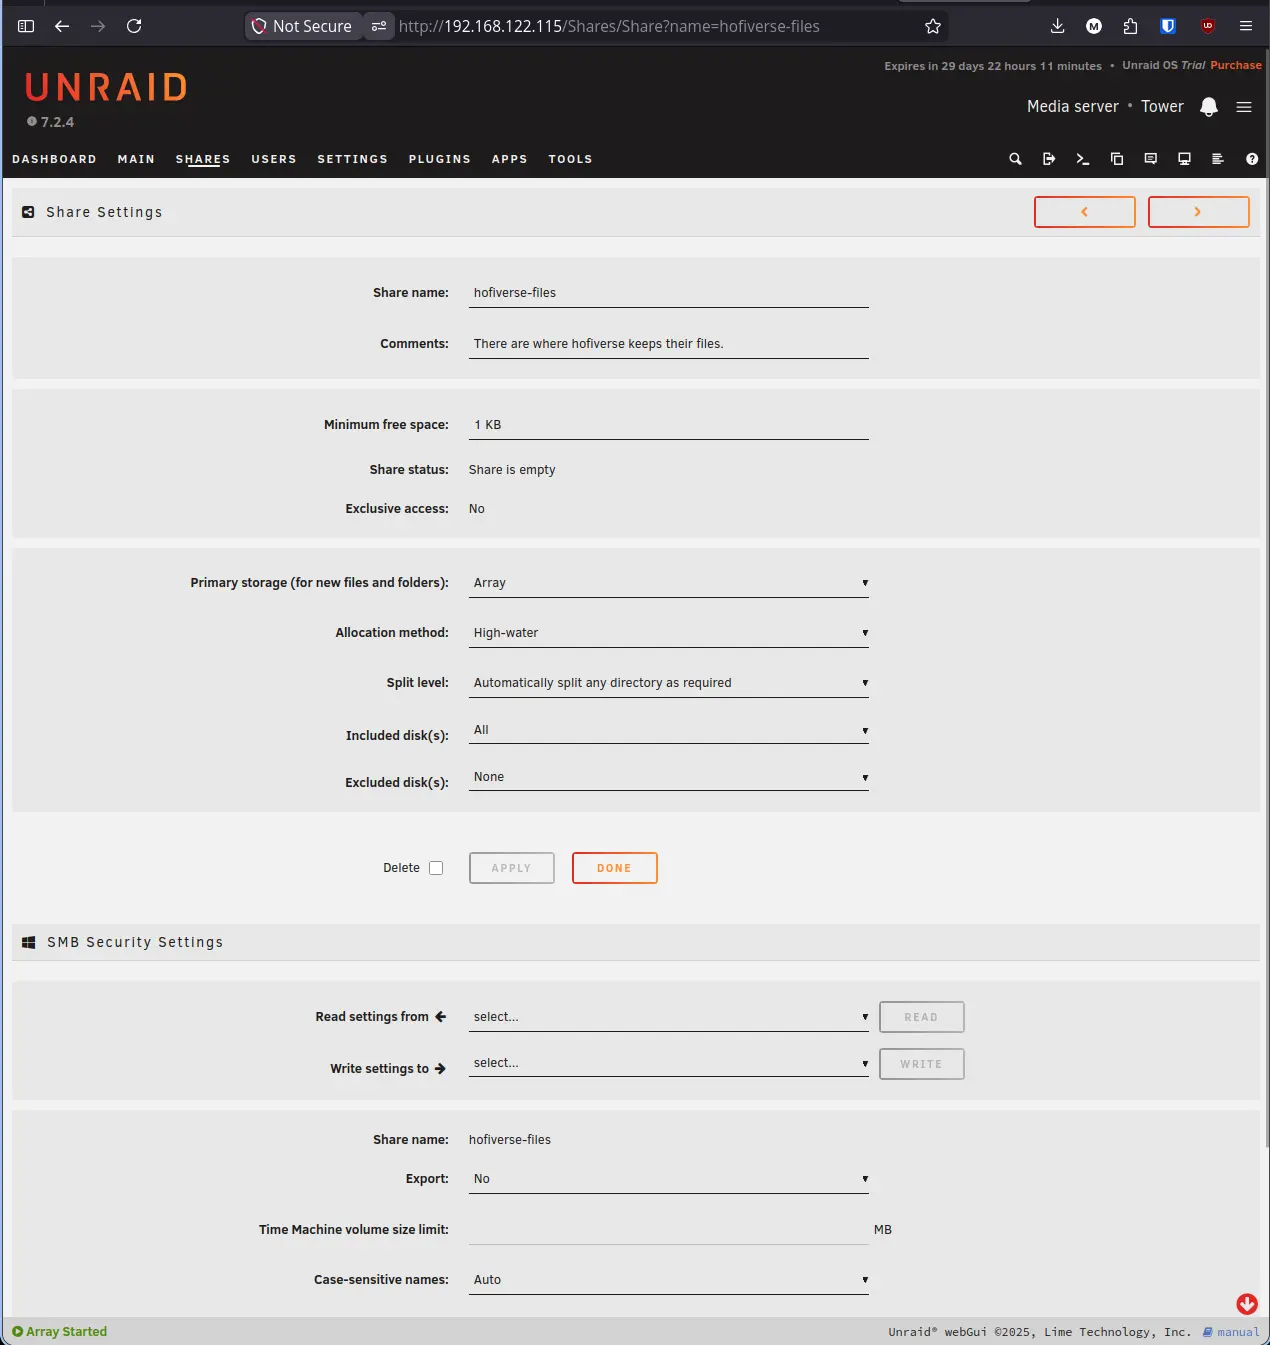
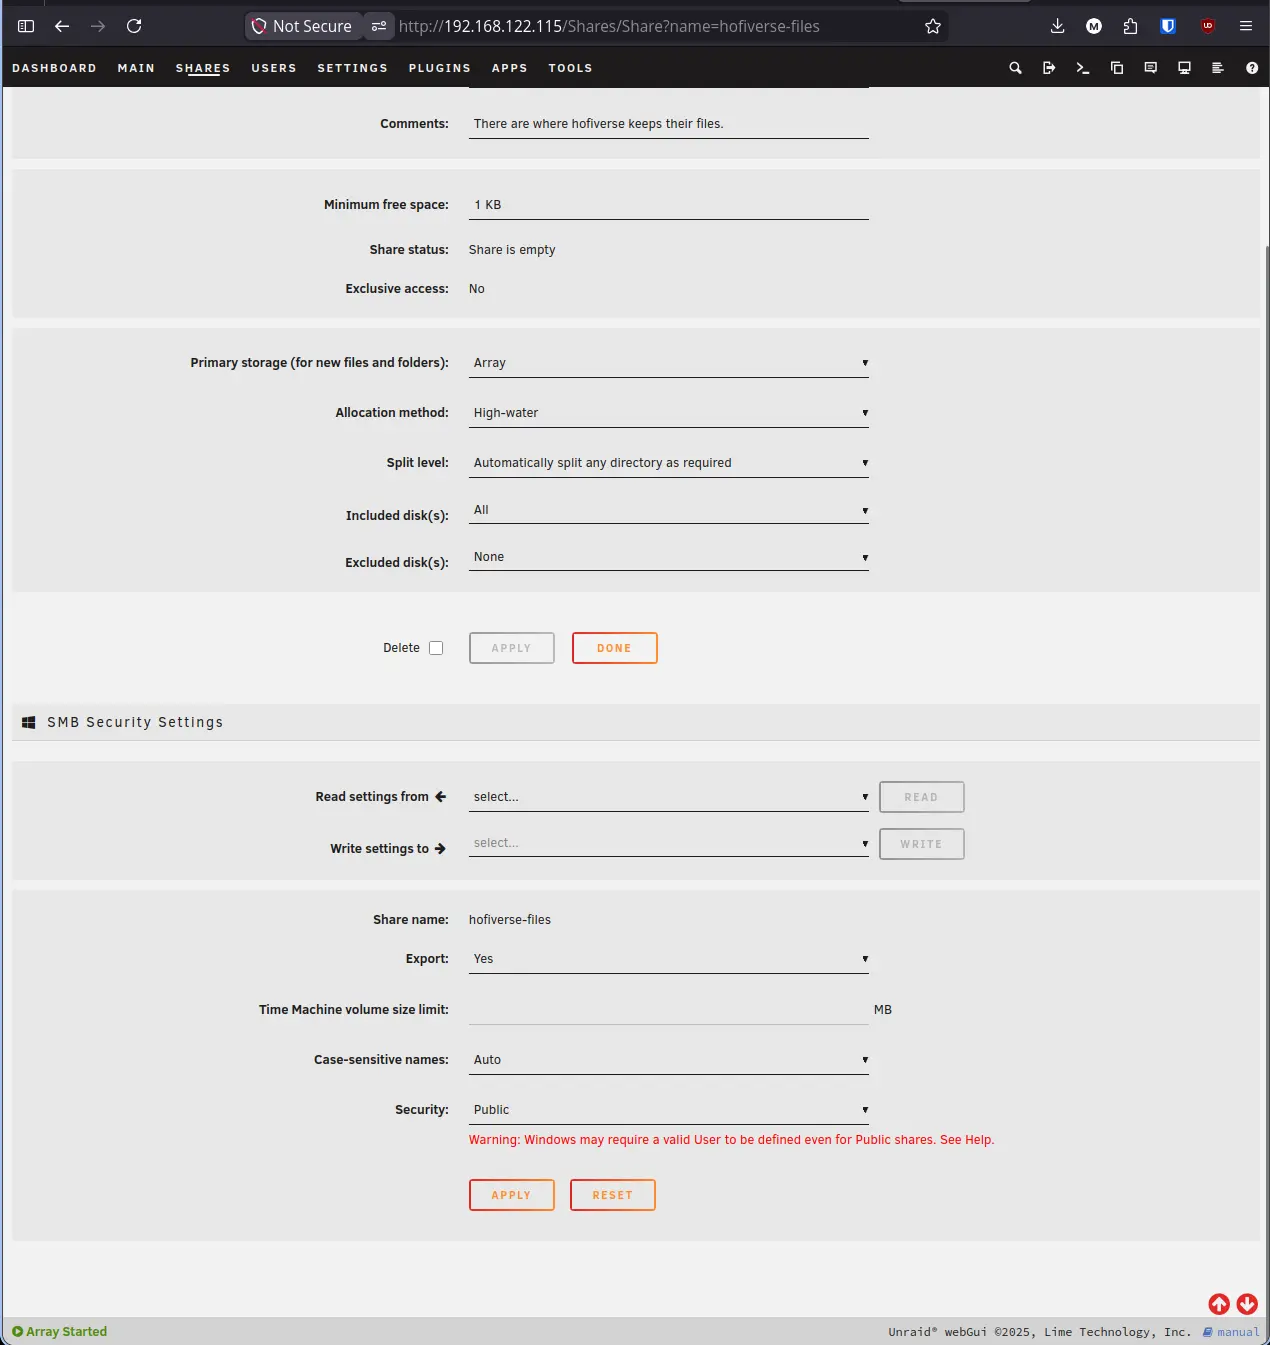
- Export: Set to Yes. This makes the share visible to the network.
- Security: Choose based on your needs:
| Option | Who Can Access |
|---|---|
| Public | Everyone has read/write access |
| Secure | Everyone can read, only specific users can write or delete |
| Private | Only authorized users can see or access the contents |
- Click Apply. If you chose Secure or Private, a list of users will appear at the bottom where you can toggle Read/Write or Read Only permissions.
Step 3: Mapping the Share to Your Client#
To make the share feel like a local drive, you need to “map” it to your operating system.
On Pop!_OS (and most Linux distributions):
- Open the Files app (Nautilus).
- Press
Ctrl + Lto open the location bar. - Enter
smb://YOUR_UNRAID_IP/YourShareNameand press Enter. - Enter your Unraid username and password when prompted.
To mount the share permanently so it survives a reboot, install cifs-utils, which is the package that allows Linux to speak SMB:
sudo apt install cifs-utilsNext, create the local folder that the share will appear in. This is called a mount point:
sudo mkdir -p /mnt/YourShareNameThen add the following line to /etc/fstab. This file tells Linux what to mount automatically at boot. Open it with:
sudo nano /etc/fstabAdd this line at the bottom, replacing the placeholders with your values:
//YOUR_UNRAID_IP/YourShareName /mnt/YourShareName cifs username=YOUR_USER,password=YOUR_PASSWORD,uid=1000,gid=1000 0 0Note:
uid=1000,gid=1000tells Linux which user owns the mounted files. On most single-user Pop!_OS installs your user ID is 1000 by default. You can confirm yours by runningidin the terminal.
Save and exit (Ctrl + X, then Y, then Enter), then test the entry without rebooting:
sudo mount -aIf no errors appear, the share is mounted and will reconnect automatically on every boot.
On macOS:
- Open Finder.
- Press
Cmd + K. - Enter
smb://YOUR_UNRAID_IP/YourShareName.
On Windows:
- Open File Explorer.
- Right-click This PC and select Map network drive.
- Enter
\\YOUR_UNRAID_IP\YourShareName.
Lab Notes & Troubleshooting#
“Access Denied” on Windows. Windows often gets confused if you try to log into the same server with two different user accounts. If you change a share from Public to Private, you may need to clear your Windows Credentials. Search for Credential Manager in the Start menu and remove any entries related to your Unraid IP.
Duplicate Folders across disks. If you see a folder on a disk that is not showing up in your Share, check the Split Level settings. For beginners, leaving Split Level as Automatically split any directory is the safest way to ensure Unraid handles the folder structure correctly.
Summary#
You now have a functional NAS with organized, accessible shares. Your data is protected by the parity array and accessible from any device on your network. This foundation allows you to start centralizing your data before moving into advanced topics like cache drives and storage pools.
Next Step: Installing and Managing Apps in Unraid