Restored full functionality for $4 vs. an estimated $150 service call
The Start button on my Whirlpool WDT730HAMZ0 started acting up about two years into ownership. It would sometimes work, sometimes not. Eventually it stopped responding most of the time. A service call or a replacement control board would have run $100 to $150. The actual fix cost $4 and took about an hour.
The Problem#
About two years in, the Start/Resume button on my Whirlpool WDT730HAMZ0 became intermittent. At first it would take a few presses to register. Then it got worse. Eventually it stopped responding almost entirely. Everything else on the dishwasher worked fine.
A quick search turned up dozens of other owners with the exact same complaint on the same model. Intermittent behavior before full failure is the classic sign of a worn tactile switch. The carbon contact pad inside wears unevenly over time, makes contact sometimes, then stops making contact entirely.
A replacement control board runs $80 to $150. A service call adds labor on top of that. I wanted to understand what was actually wrong before spending that kind of money on a part that might not even be the problem.
The Goal#
Fix the dishwasher for as little money as possible without replacing the entire control board. Success meant the Start button working reliably on the first press, every time, for a total parts cost under $20.
The Build#
The Investigation#
The WDT730HAMZ0 has a single button board behind the control panel face. The front side has the relays, power supply, and main processor. The back side is where the tactile switches are soldered. Each button on the front corresponds to one SMD tactile switch on that back side.
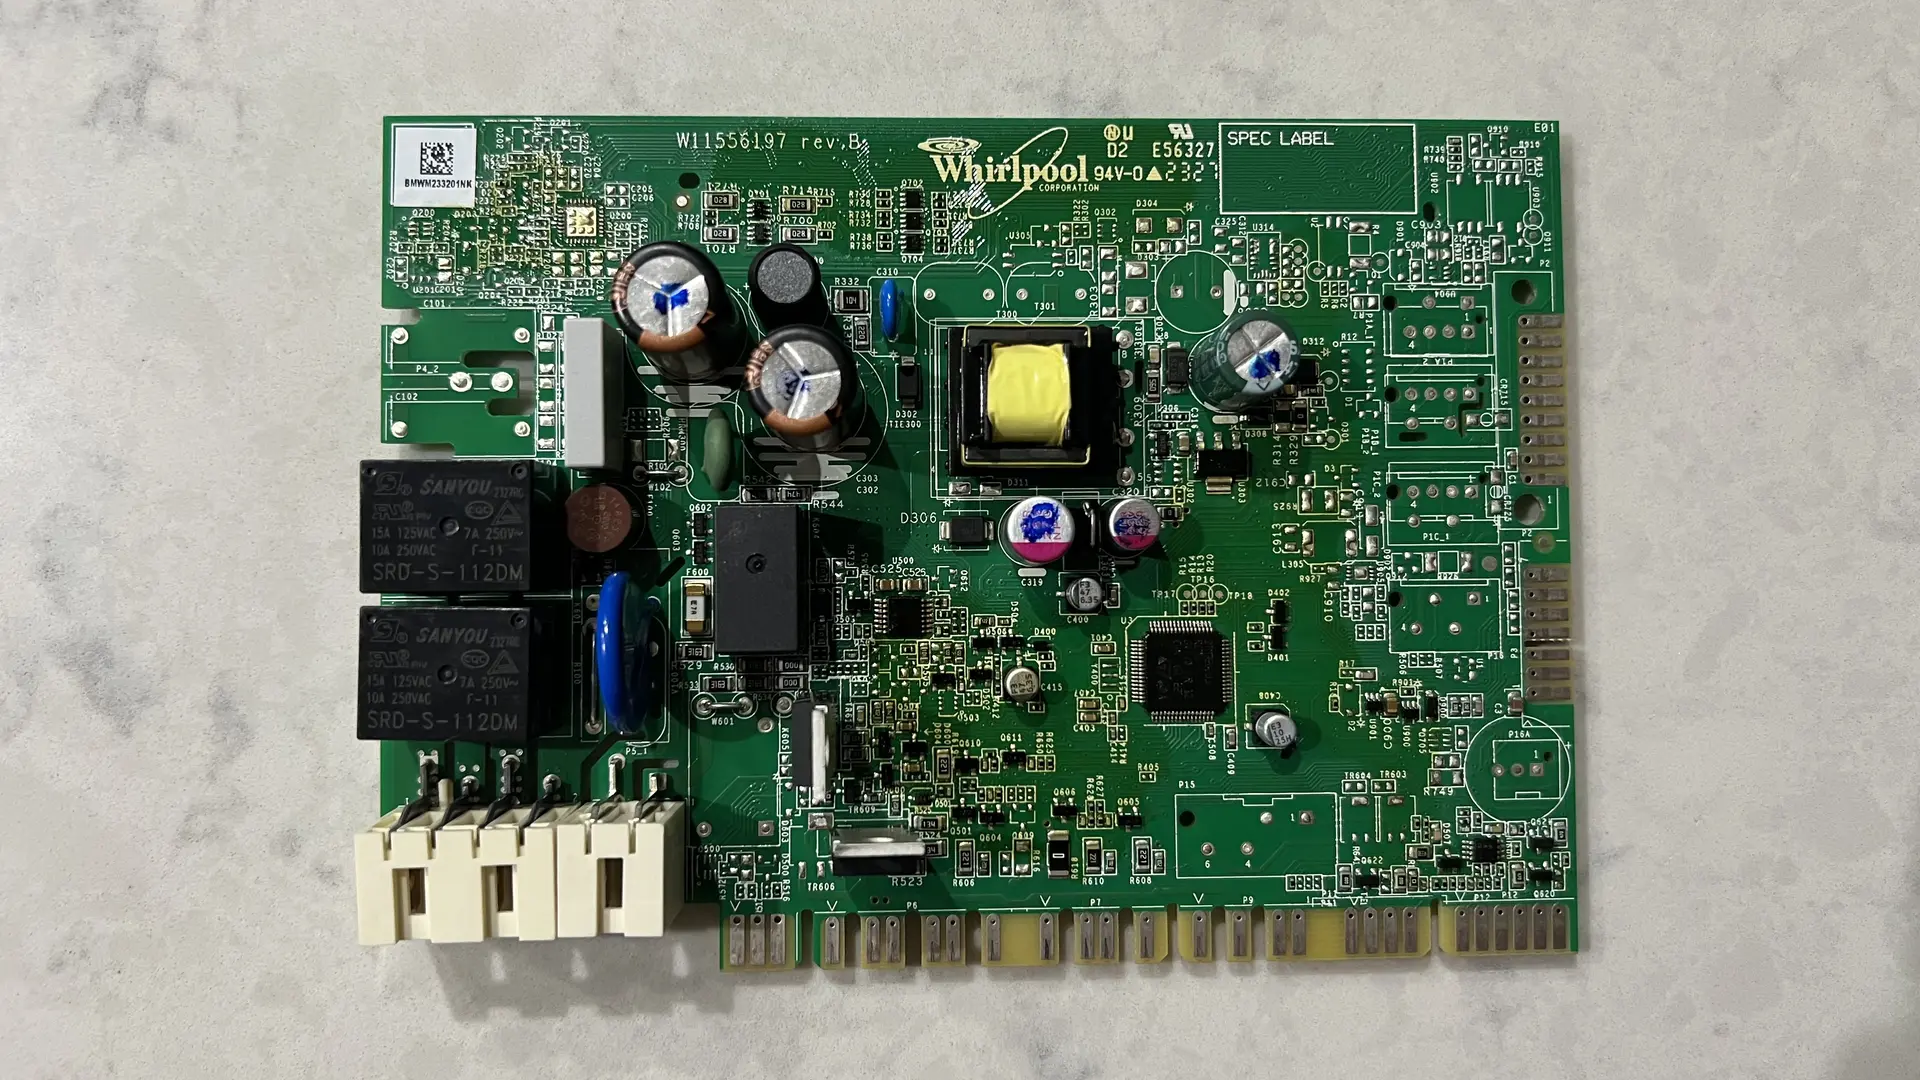
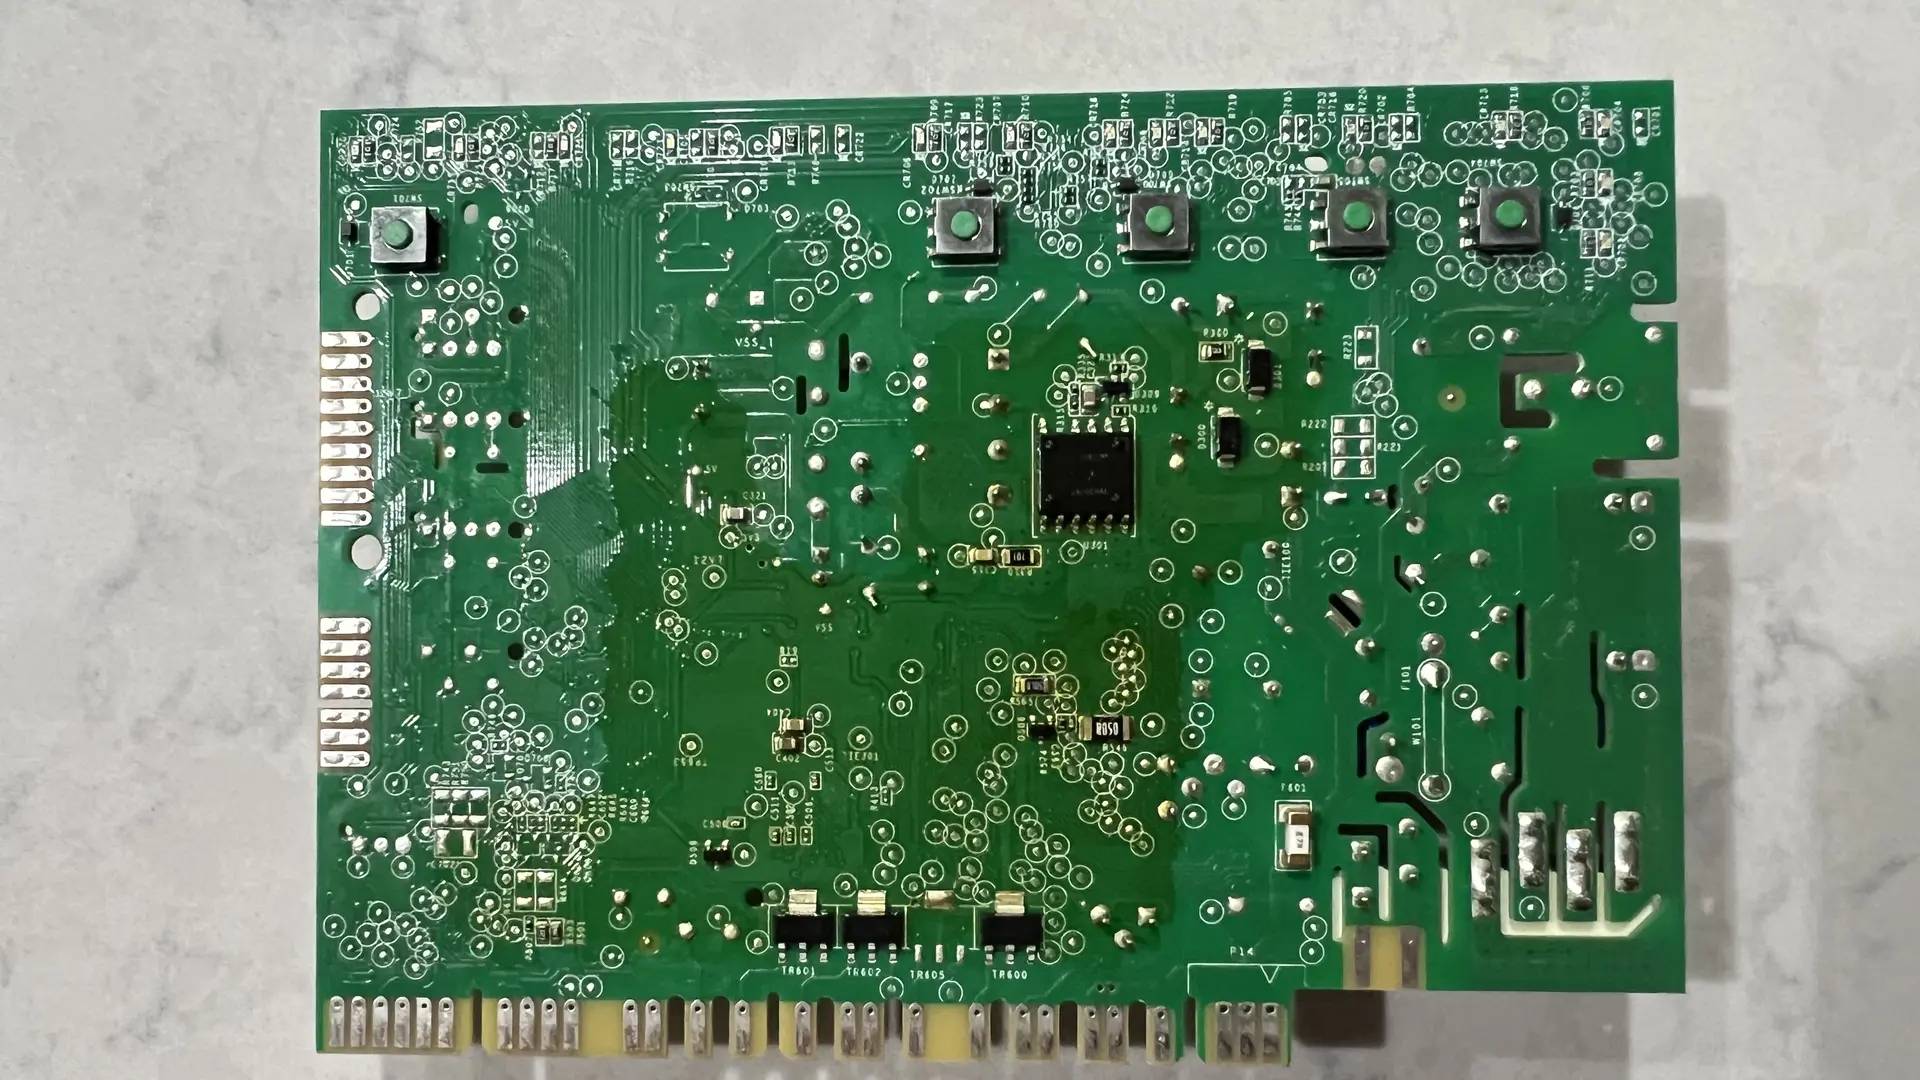
No membrane, no ribbon cable. Just small switches soldered to a PCB with a conformal coating for moisture protection. The door cavity that houses all of this gets real heat and humidity during every cycle. Mechanical wear combined with that environment is what kills these switches over time.
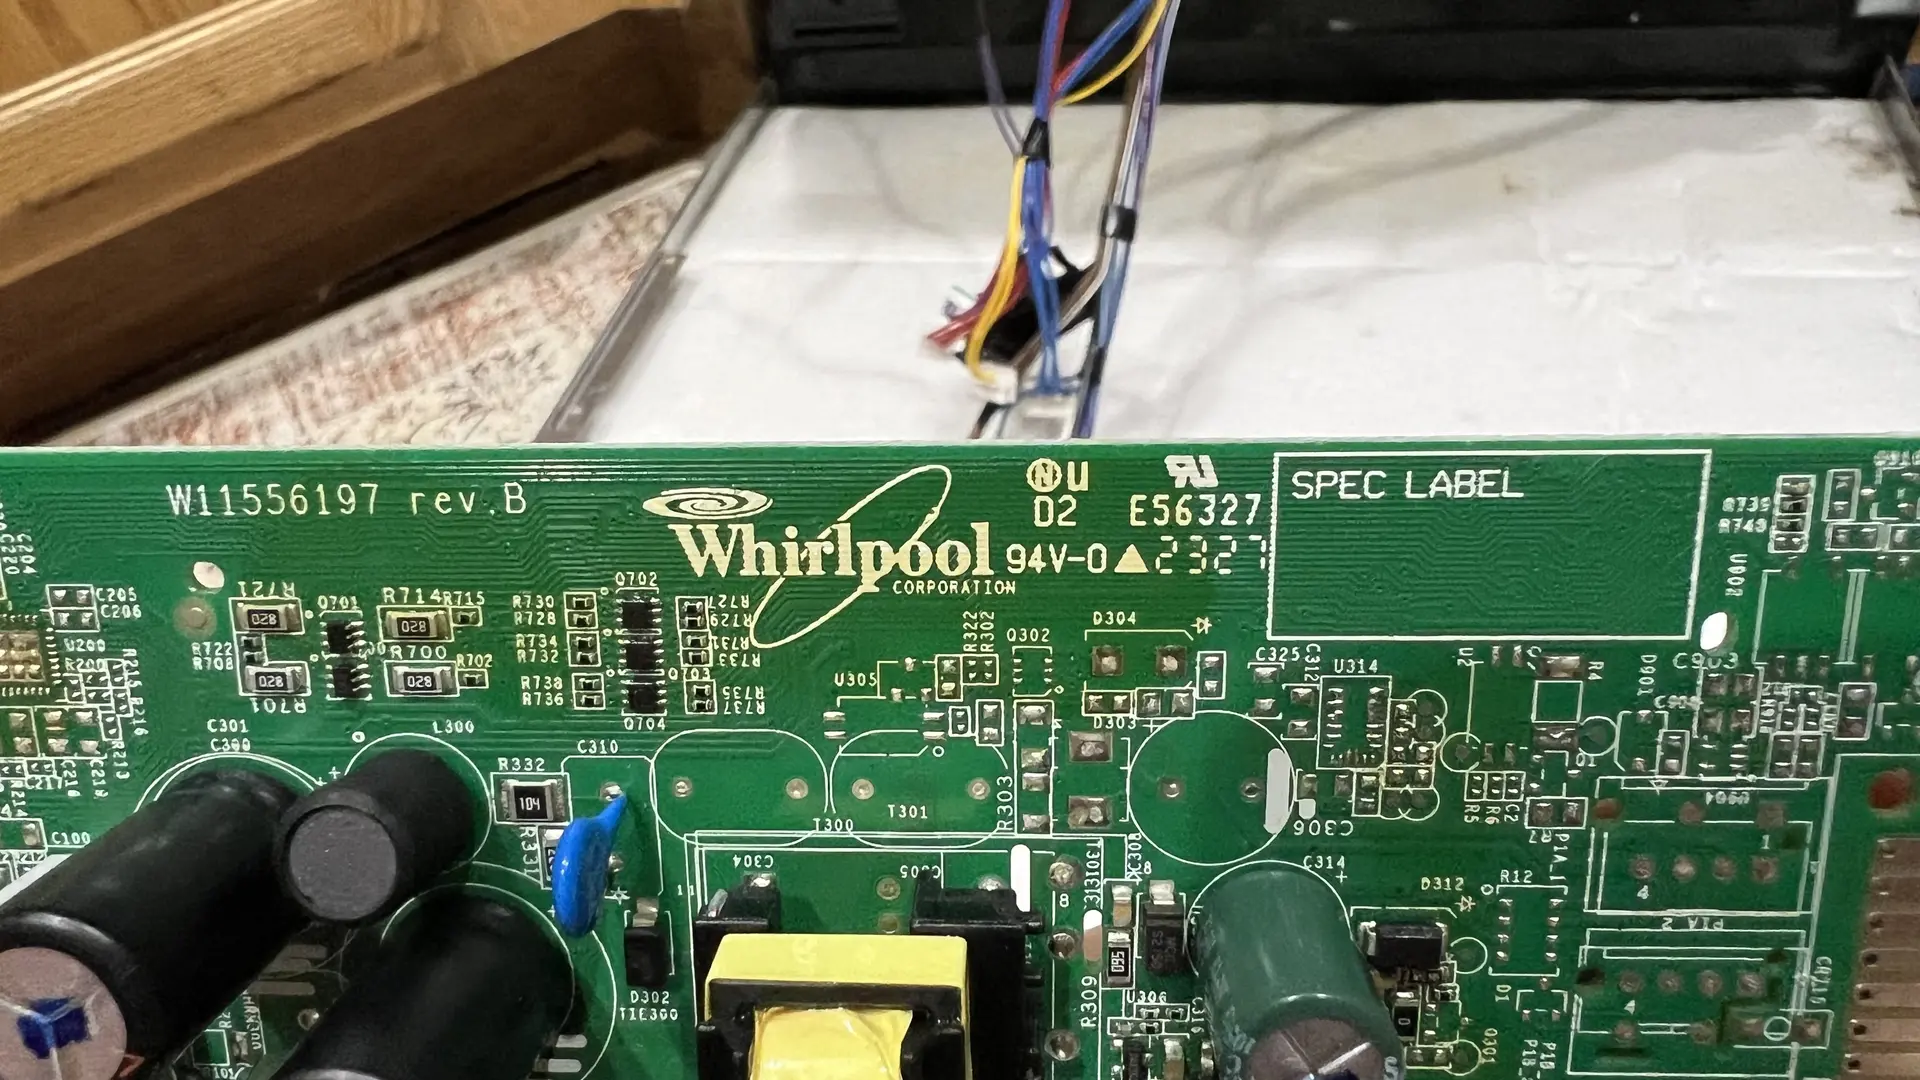
Disassembly took about 15 minutes. Four longer Torx screws and six shorter ones separate the door panels. Three more release the top panel. Two small hex screws free the housing around the board. Unplug the wiring harness and the board comes right out.
Finding the Right Part#
The switches on this board are 6x6mm SMD tactile switches with 5 solder joints: 4 corner signal pins plus a metal shell tab for mechanical stability. I measured with calipers to confirm the actuator height at 3.0mm, width at 6.5mm, and lead spacing at 4.0mm.
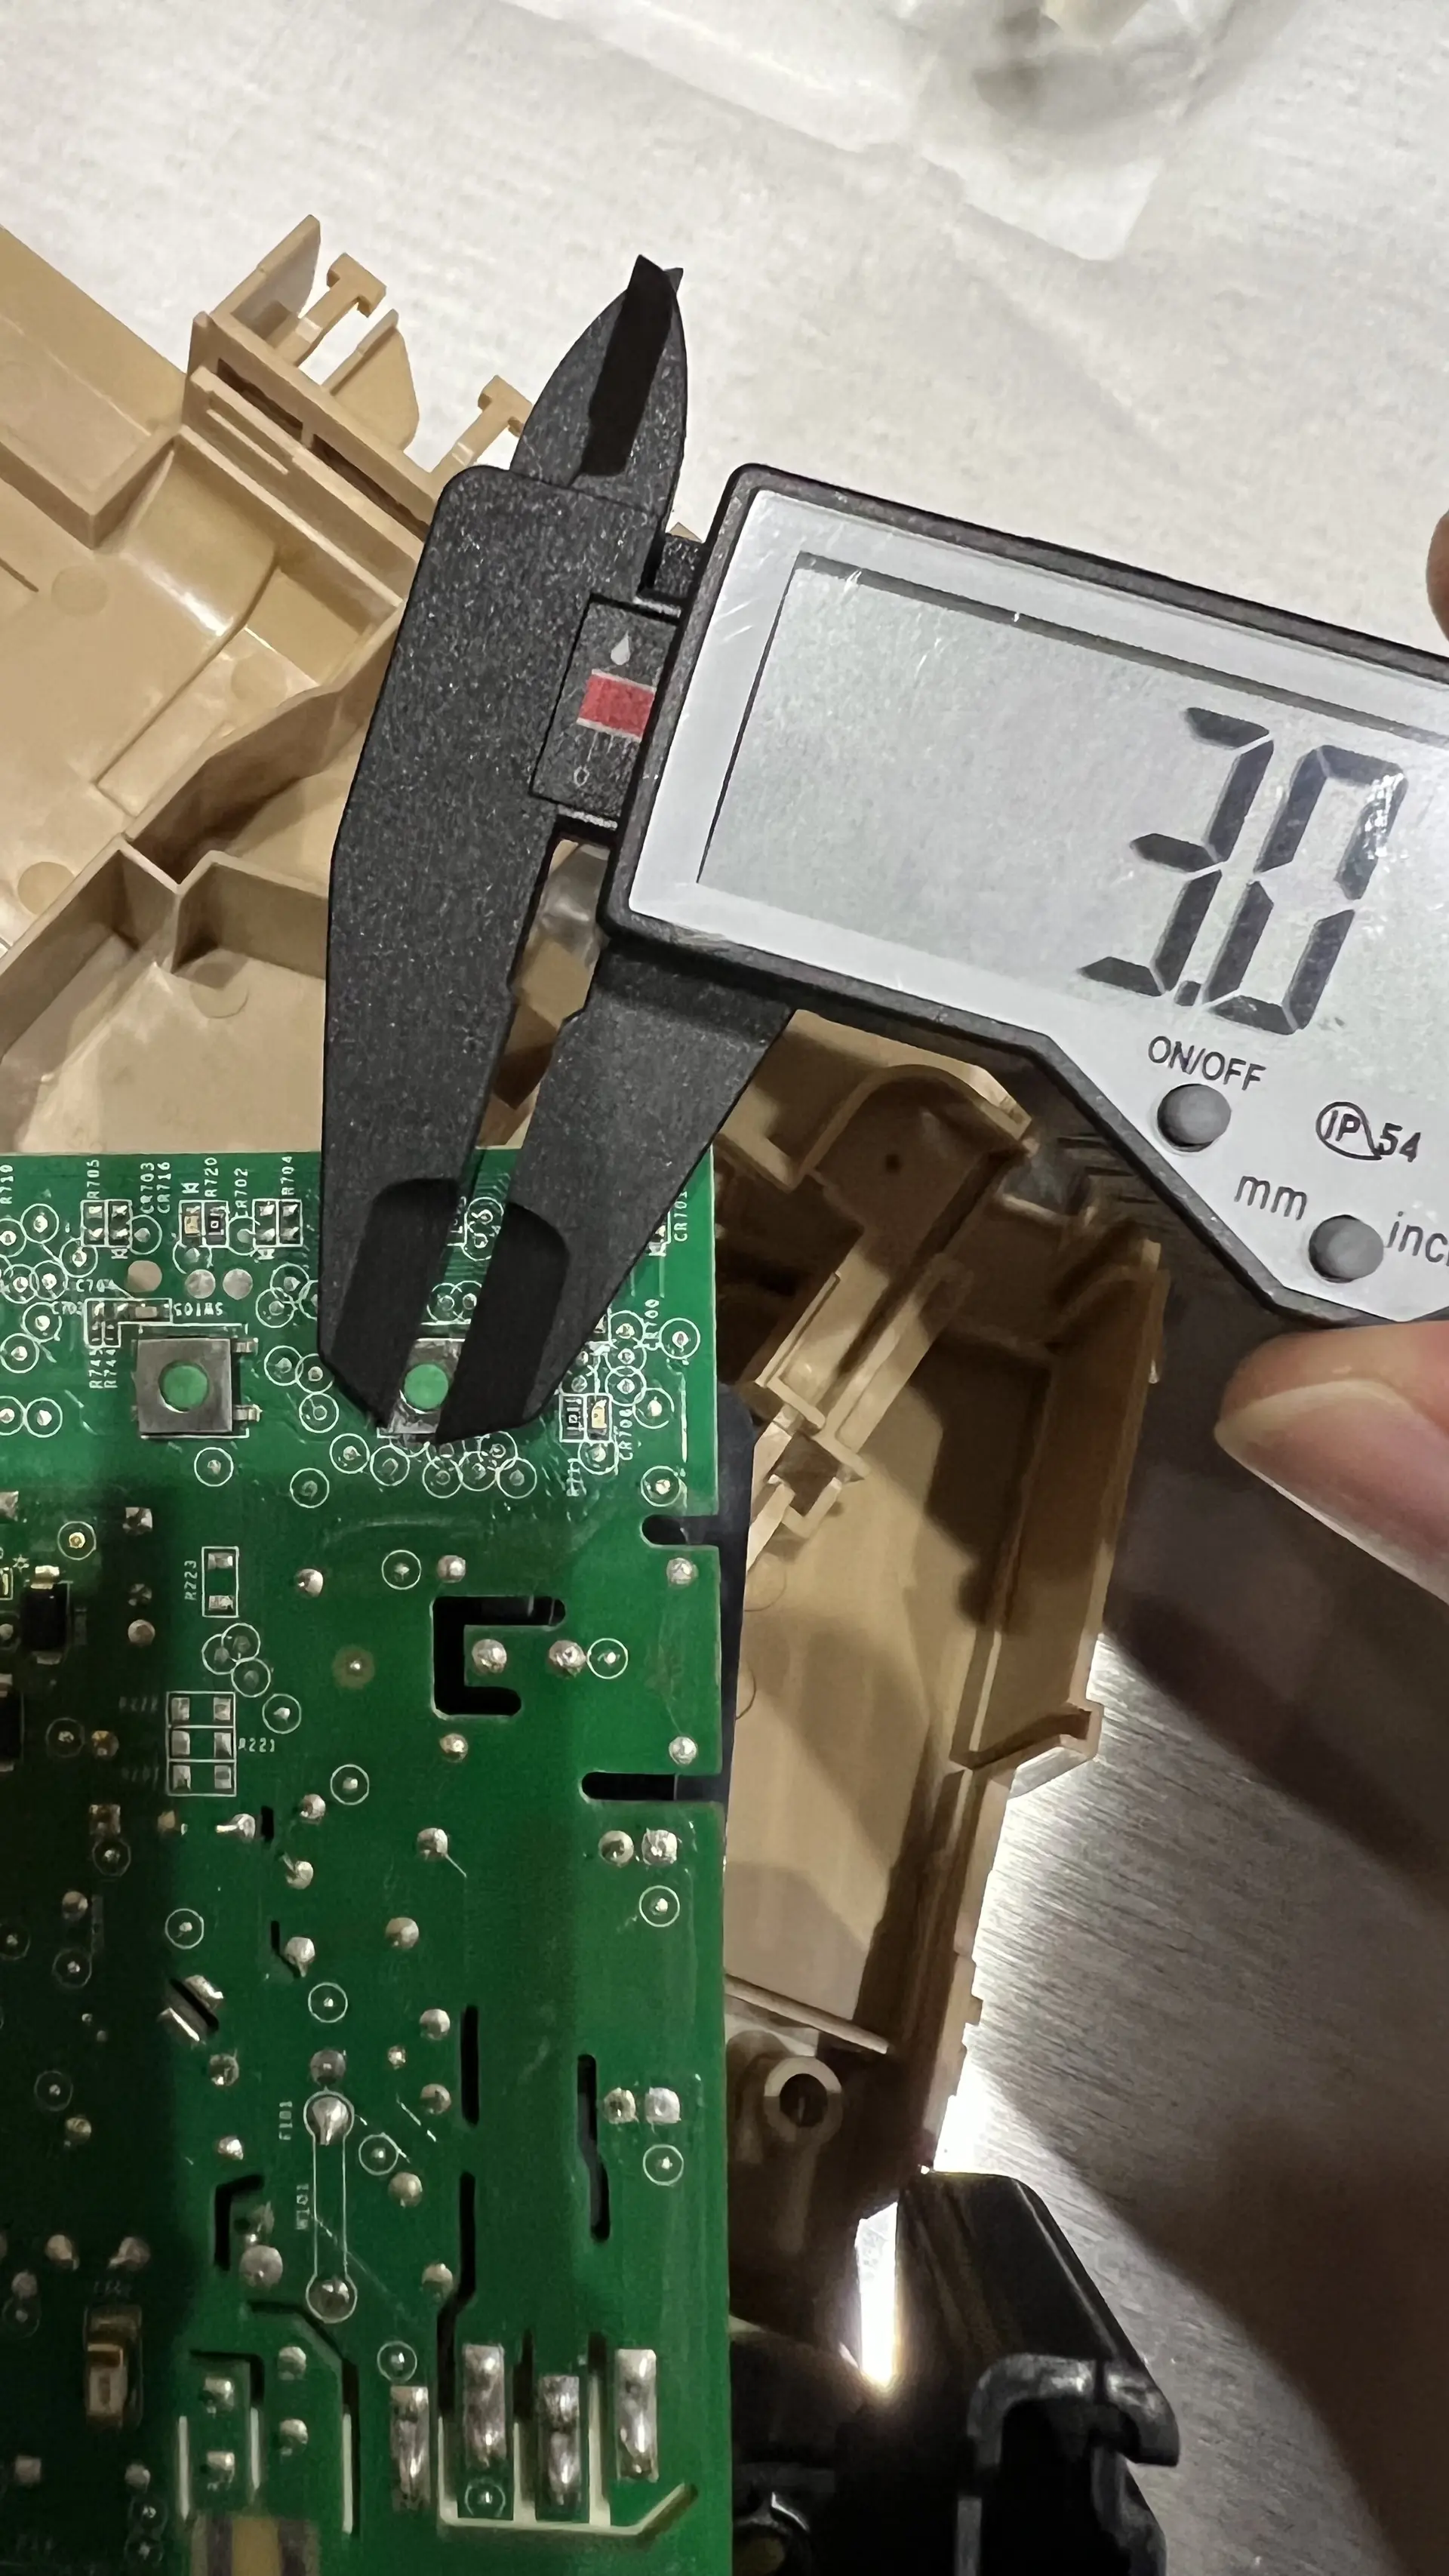
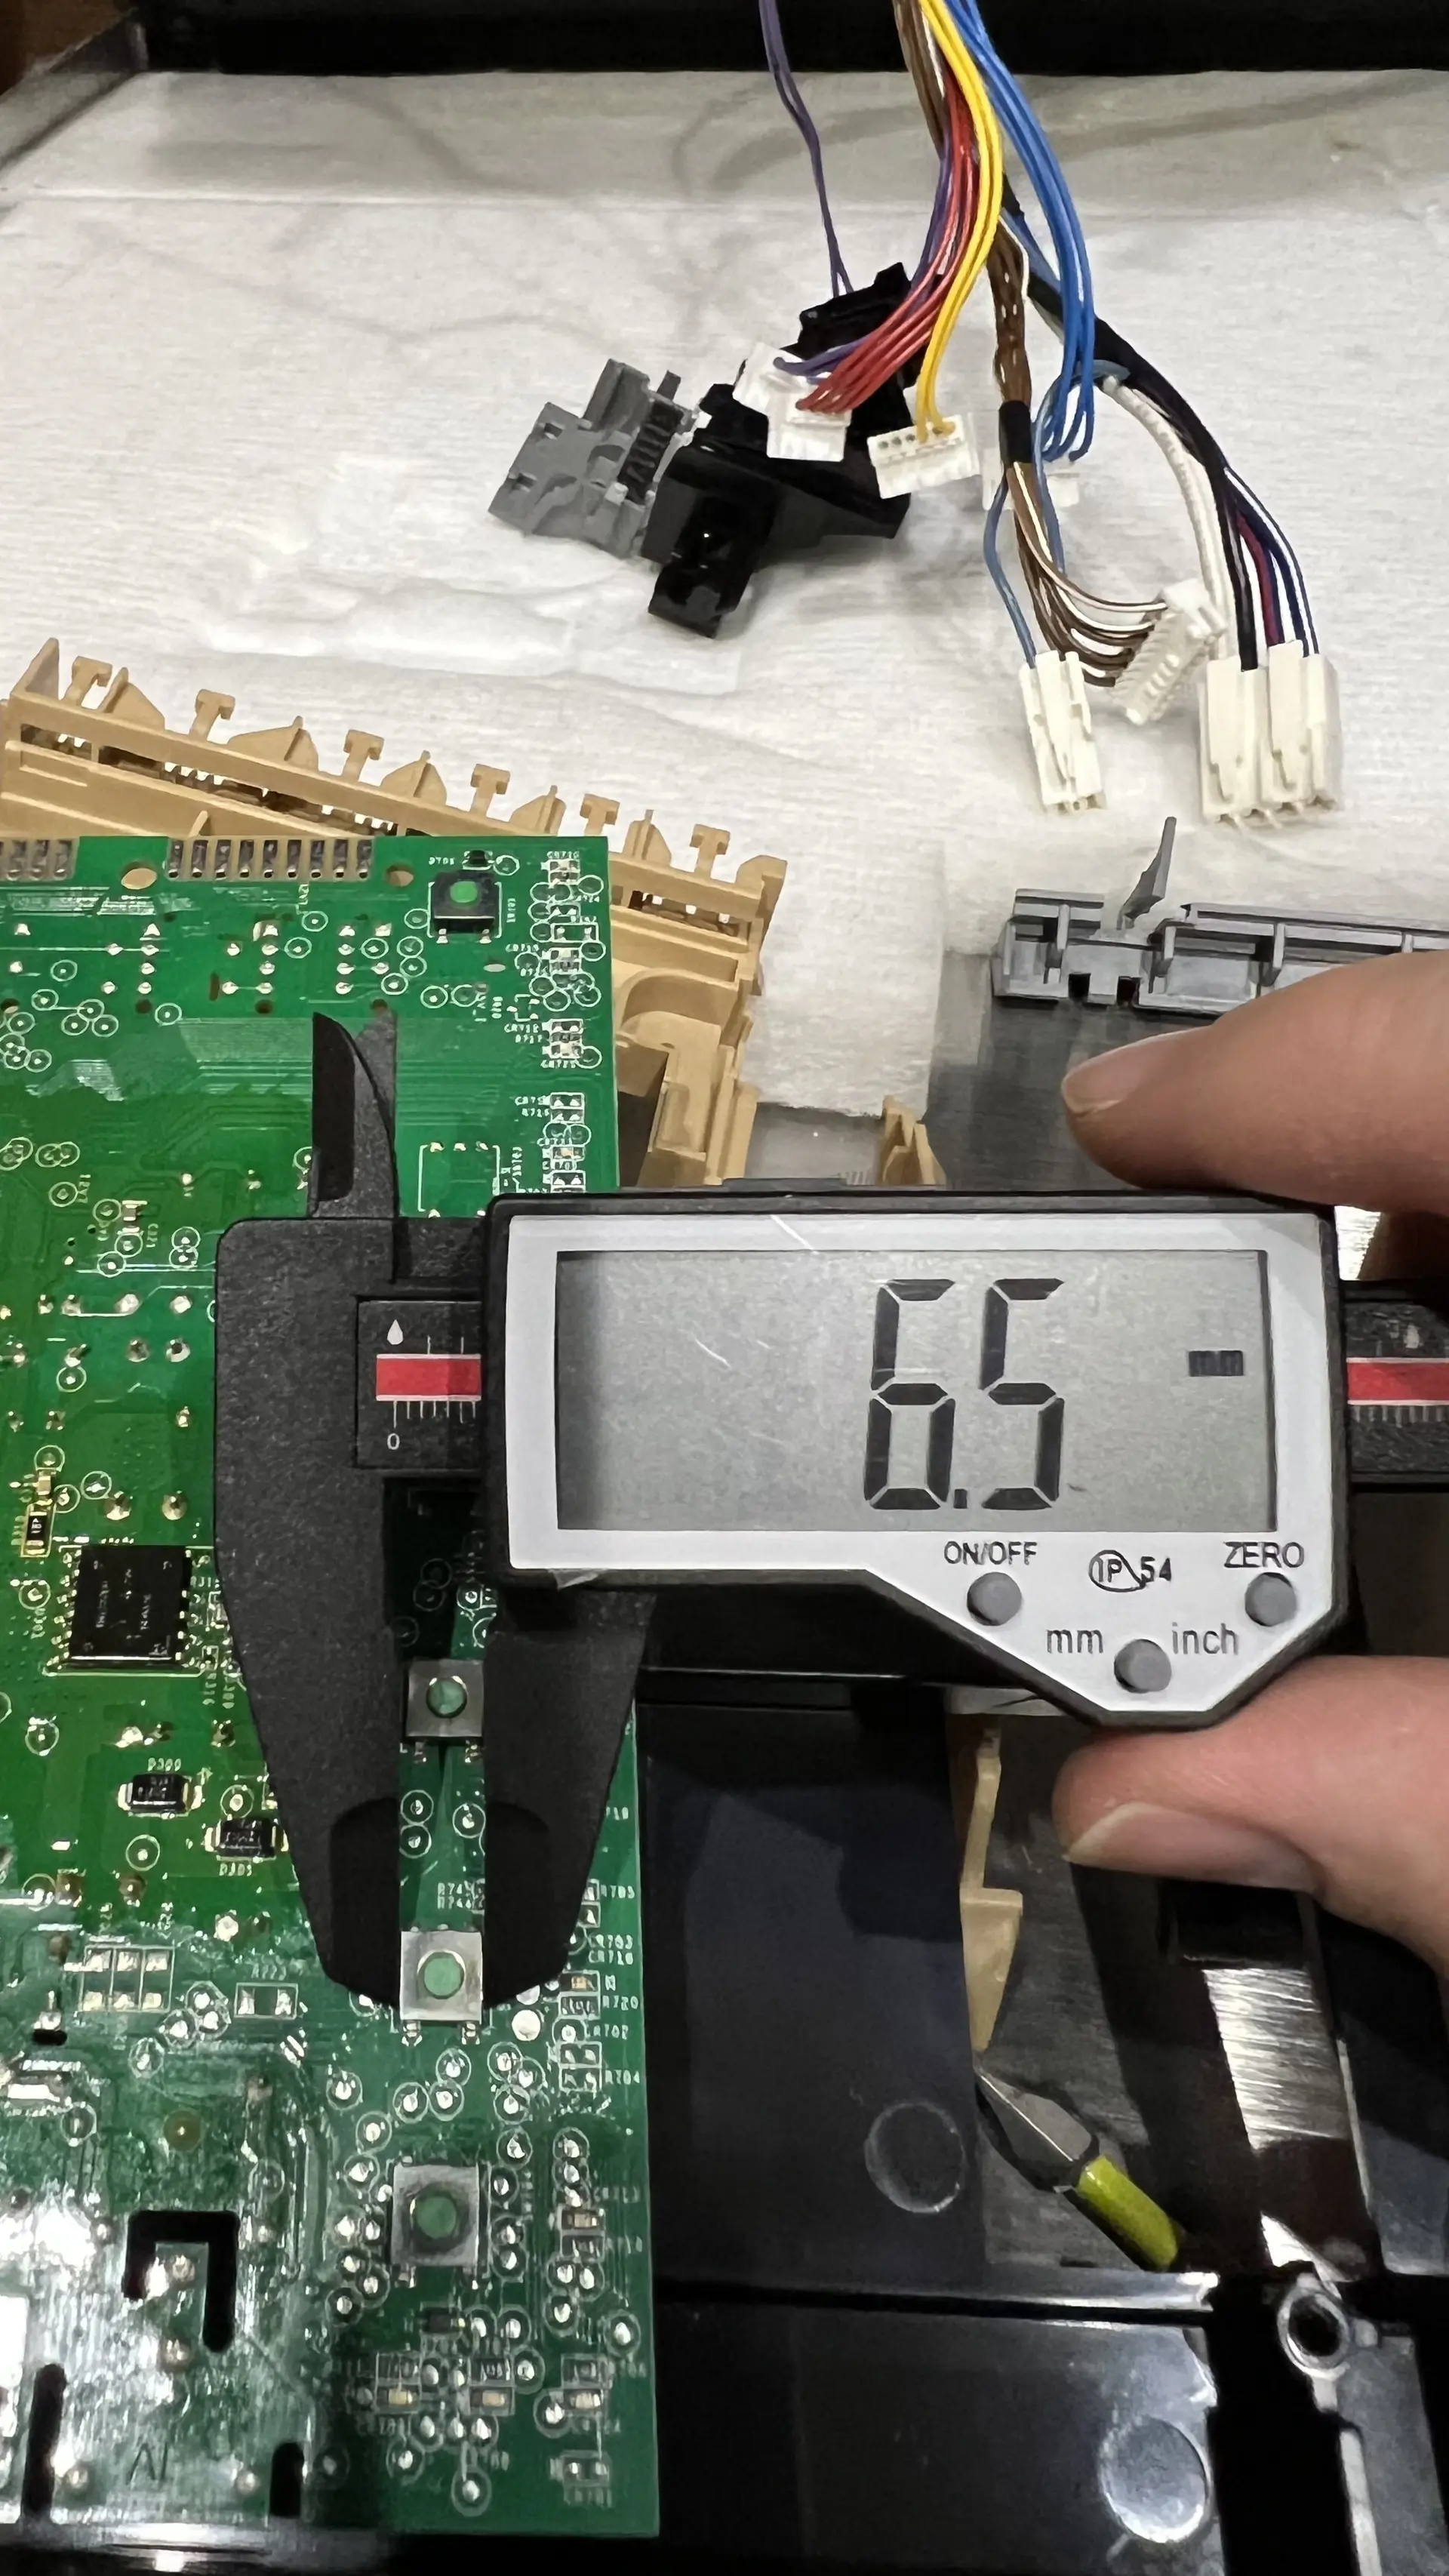
The spec to search is 6x6x3.1mm SMD tactile switch 5-pin. I ordered 20 pieces from eBay for about $4 shipped. All the switches on the board are identical so having extras made sense. The others will fail eventually.
The Fix#
The key to SMD rework on lead-free factory boards is flux and low-melt solder. Trying to remove the switch dry will stress the pads and potentially lift them off the board entirely.
I used Kapton tape to protect neighboring components, applied flux to each joint, then touched low-melt solder to each one to mix with the factory solder and drop the melting point. A heat gun on a low setting flowing across all joints lifted the switch cleanly.
Cleaned the pads with solder braid, inspected for bridging, then positioned the new switch on the footprint. Tacked one corner pin first to hold it in place, soldered the remaining pins, then the shell tab last.
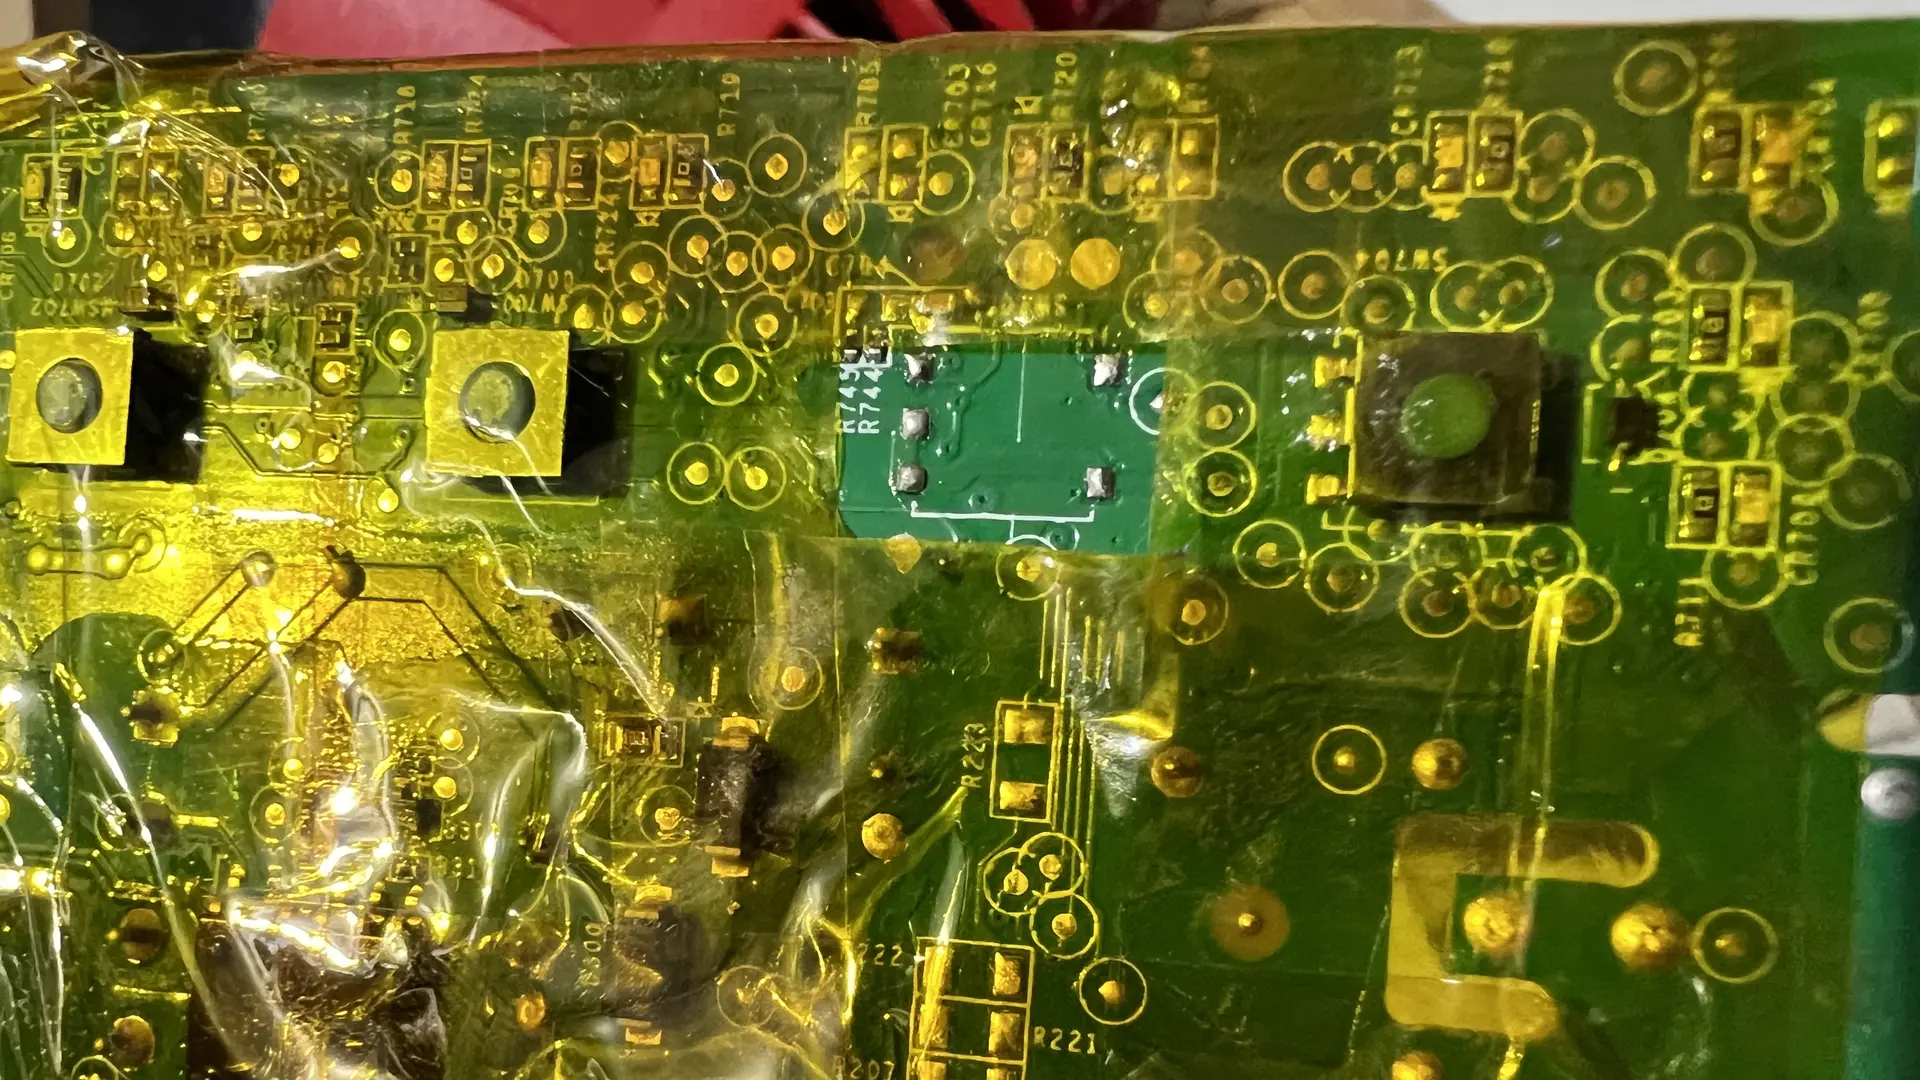
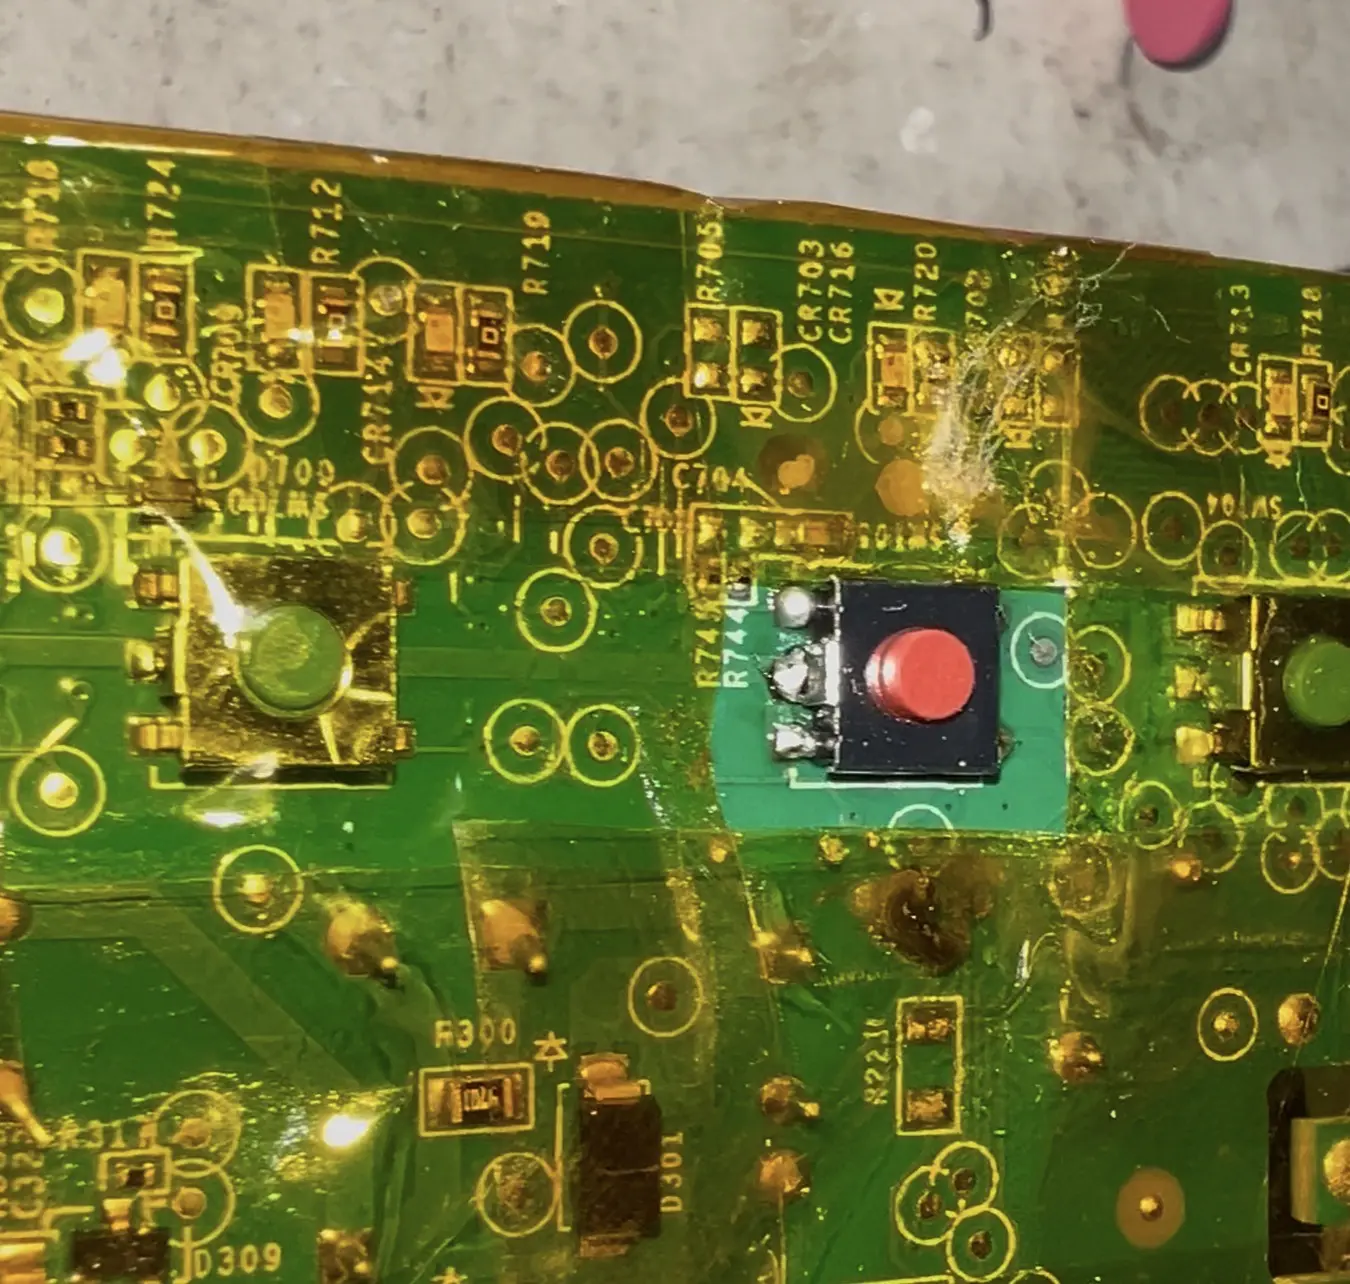
The dishwasher started on the first button press after reassembly.
Results#
Fully functional dishwasher. Start button responds on the first press every time. Total cost was $4 for 20 replacement switches. A replacement control board for this model runs $80 to $150 and a service call adds labor on top of that.
What I Would Do Differently#
Measure before ordering. The 3.0mm vs 3.1mm difference between what I measured and the part spec was inconsequential here, but if I had ordered the wrong actuator height it would not have cleared the button cap on the front panel. Always confirm with calipers before ordering SMD parts.
I would also replace all the switches while the board is already out rather than just the one that failed. They are all the same age living in the same environment. It is only a few dollars more and saves pulling the whole thing apart again in a year.
What Is Next#
The remaining original switches on the board are still working. I plan to replace them proactively the next time I have cause to pull the board out. If any other button starts showing the same intermittent behavior before then, that will be the trigger.
Parts and Tools#
Switch spec: 6x6x3.1mm SMD tactile switch, 5-pin with metal shell tab. Search eBay for “6x6x3.1mm SMD tact switch 5 pin”, 20 pieces for around $4 shipped. DigiKey alternative: C&K PTS645SM43SMTR92 LFS.
Tools used:
- Torx screwdriver set and small hex key set
- Soldering iron with fine tip
- Low-melt solder (critical for lead-free board rework)
- Flux paste
- Solder braid
- Heat gun with concentrator nozzle
- Kapton tape
- Fine-tip tweezers
- Digital calipers